William Thorup

Illustrator, Motion Graphics Designer, Animator, and VFX Artist

Category: Atari ST

  • Atari Consoles | 3D Illustrations

    Atari Consoles | 3D Illustrations

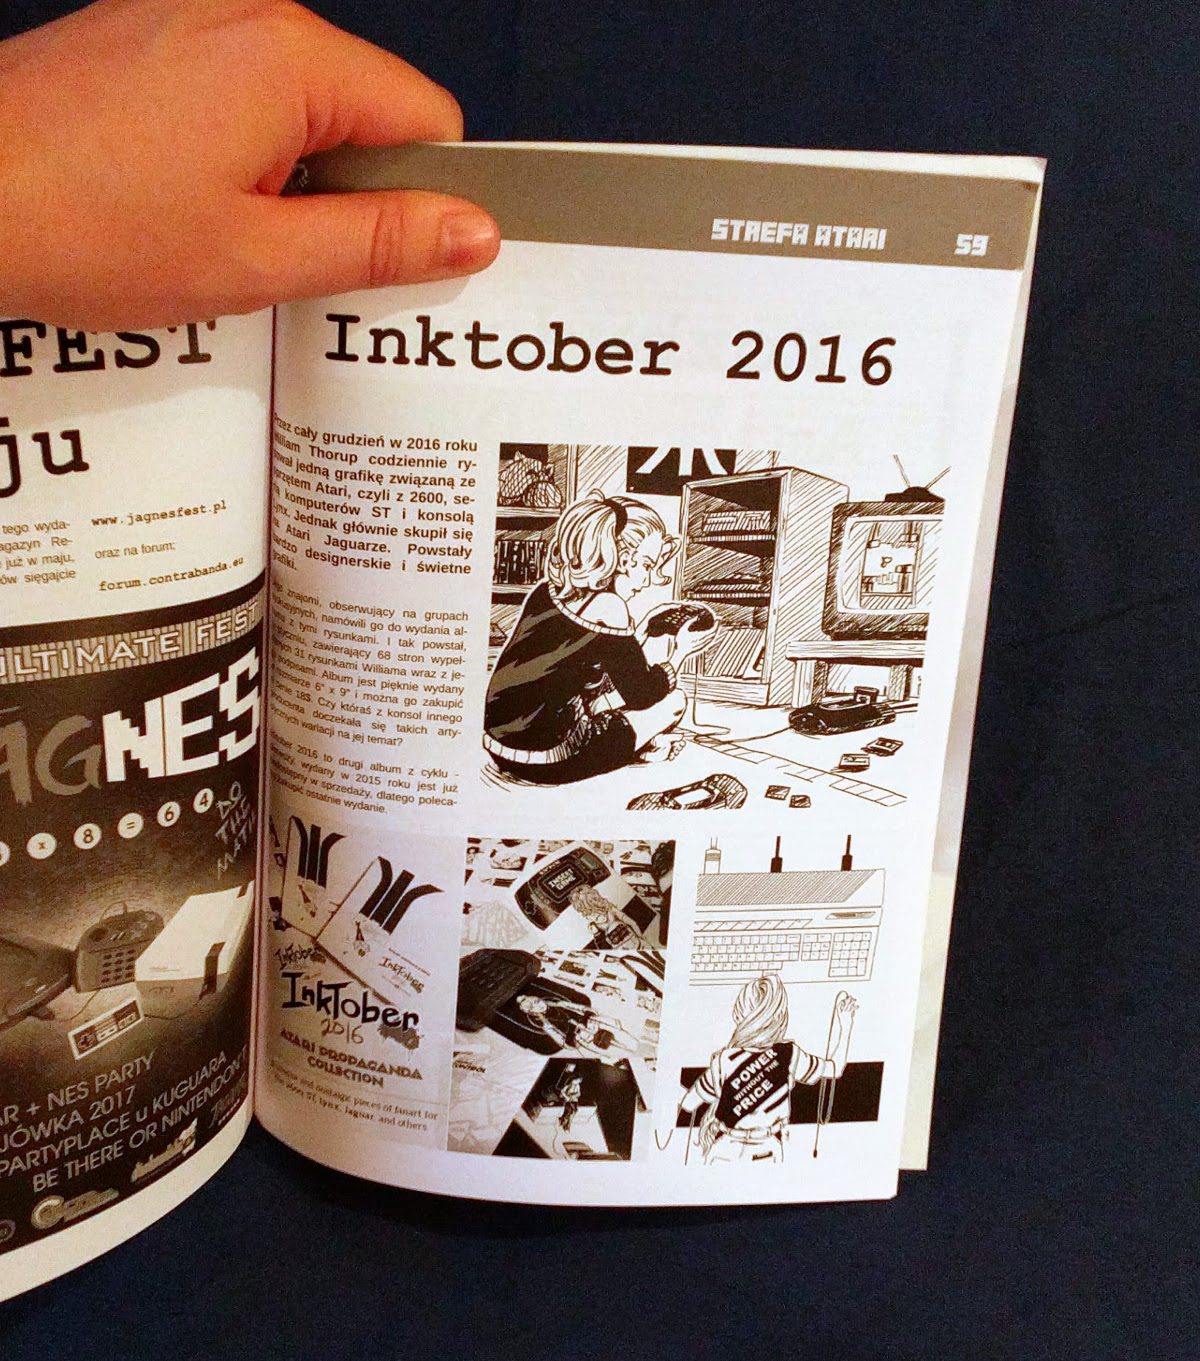
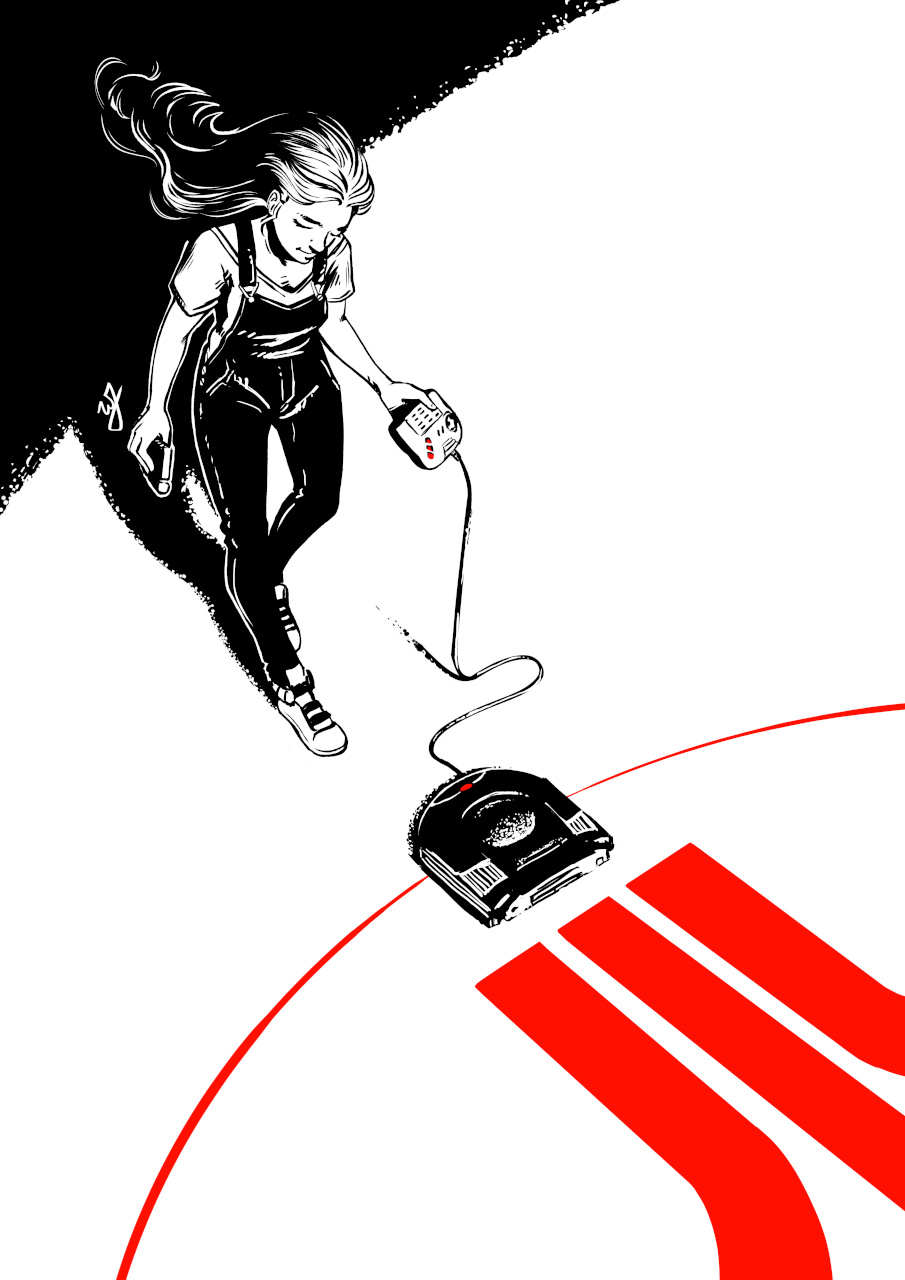
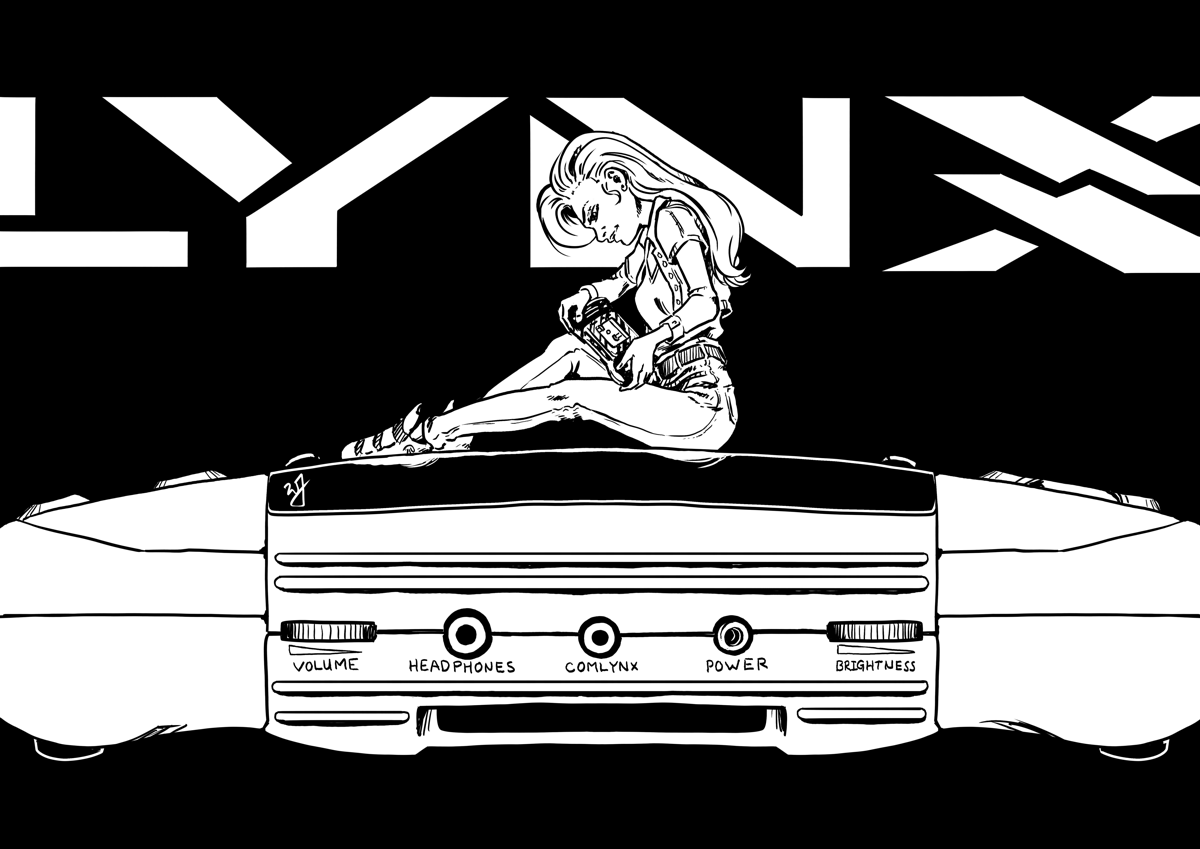
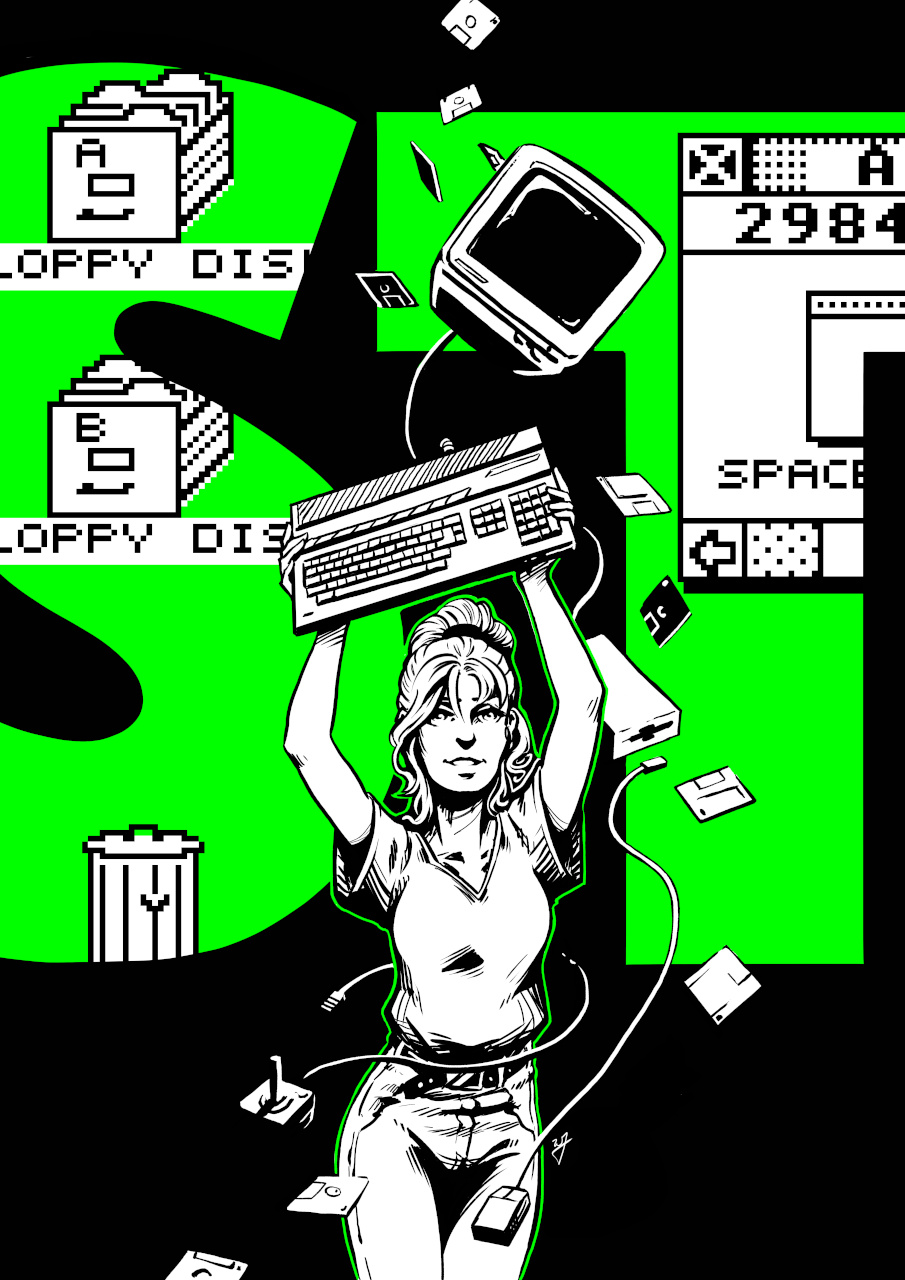
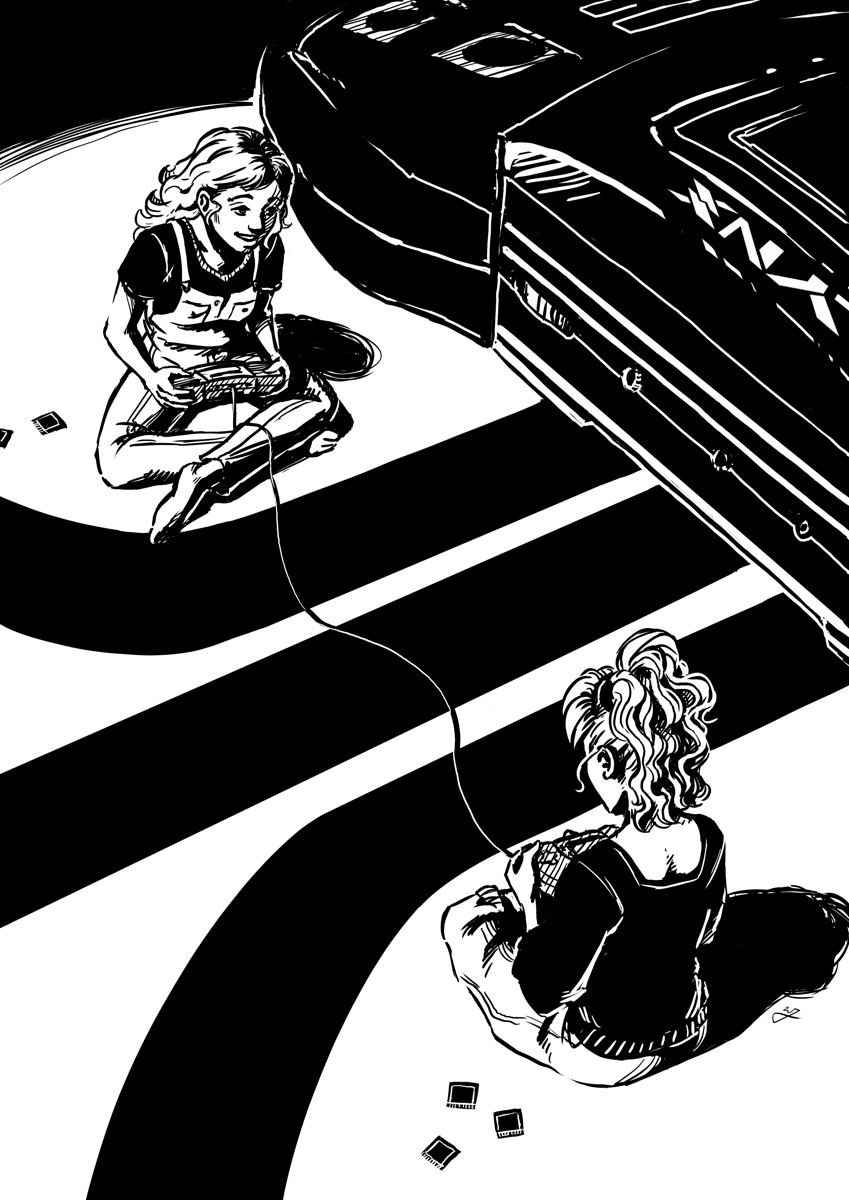
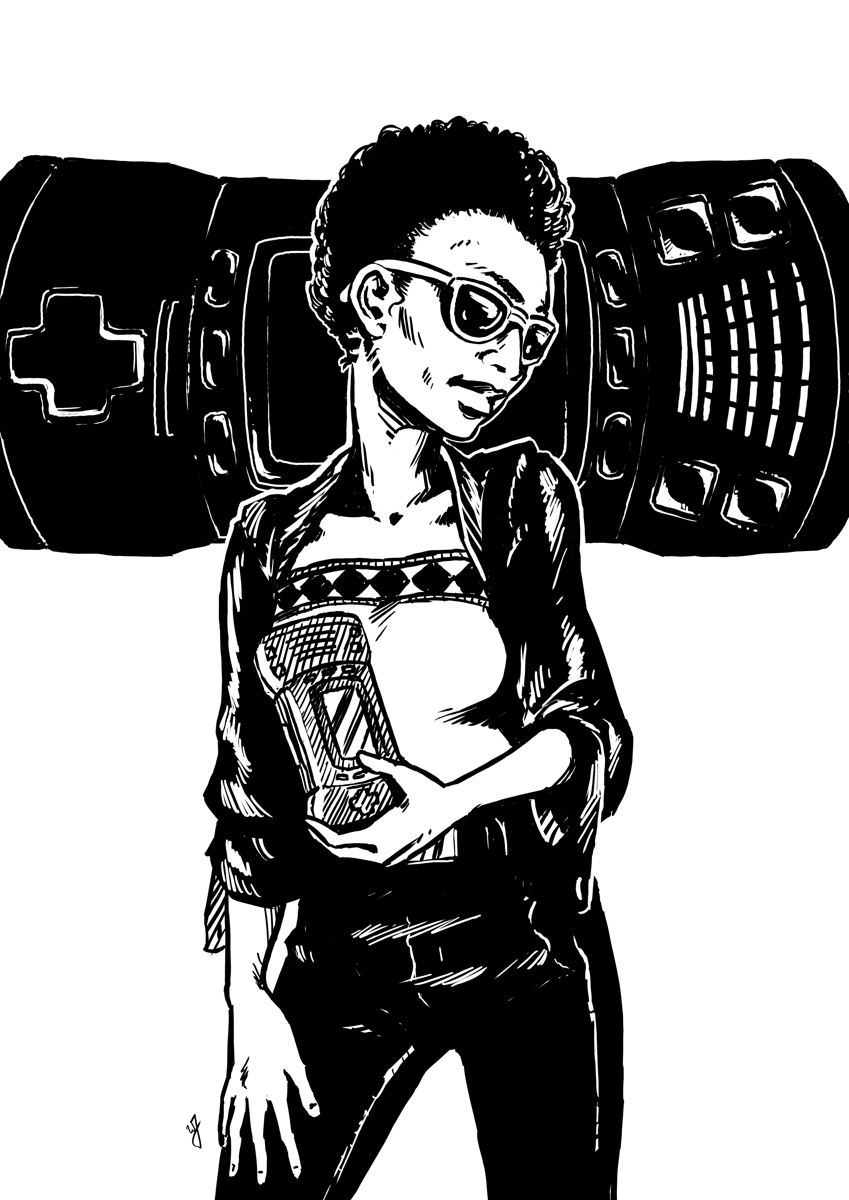
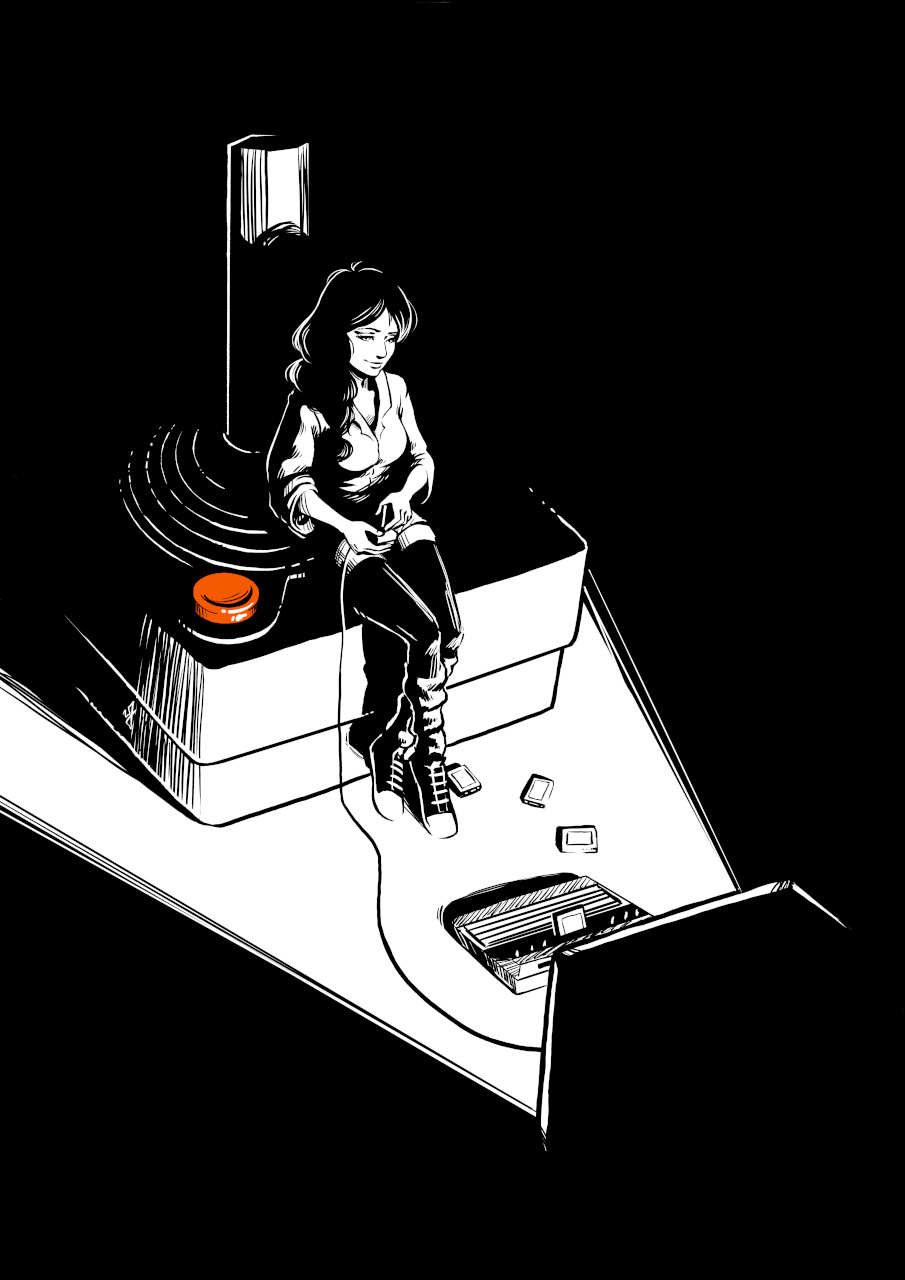
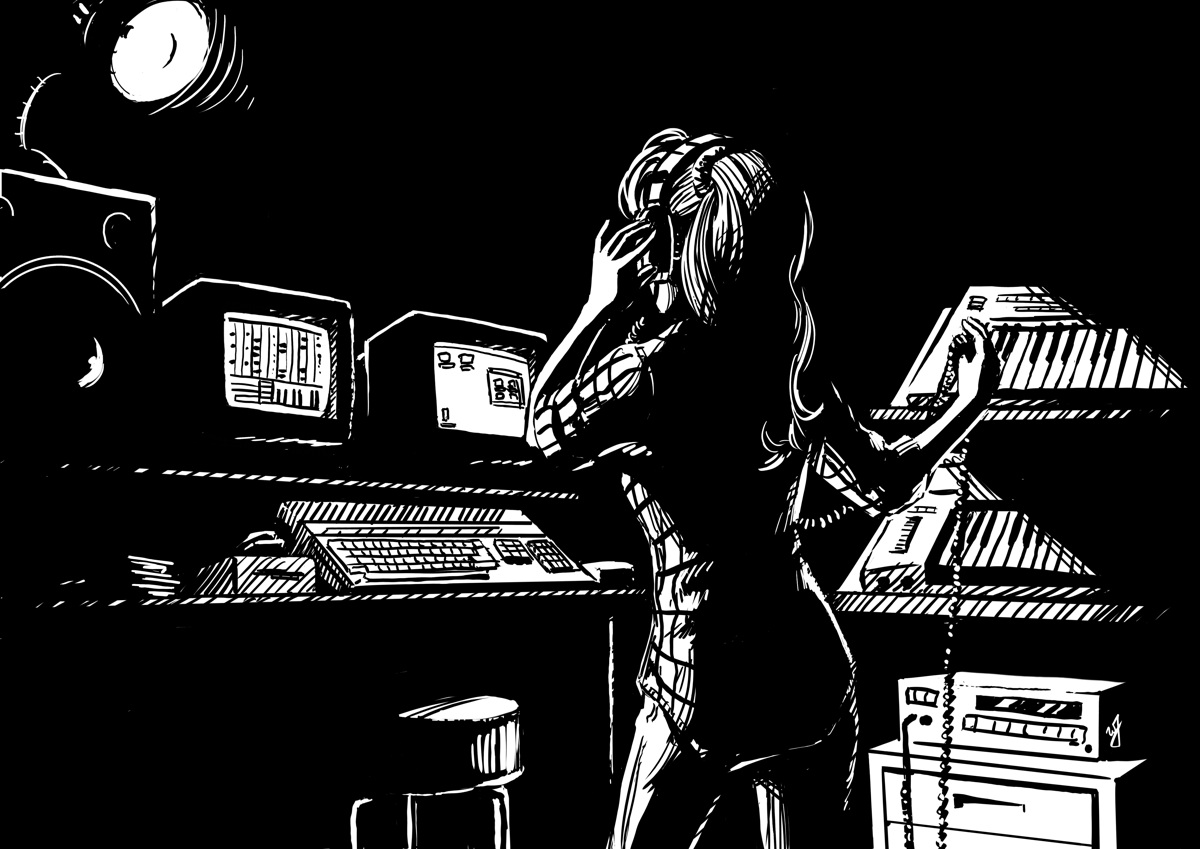
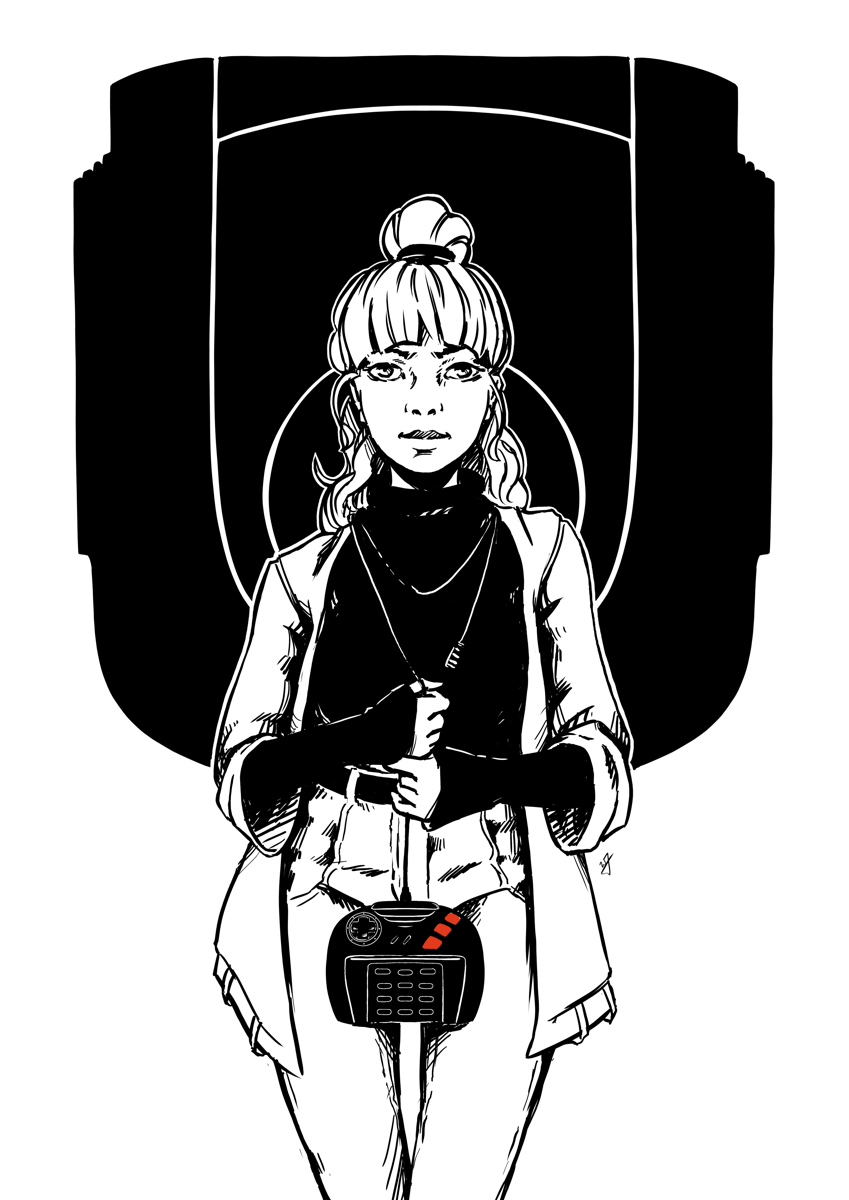
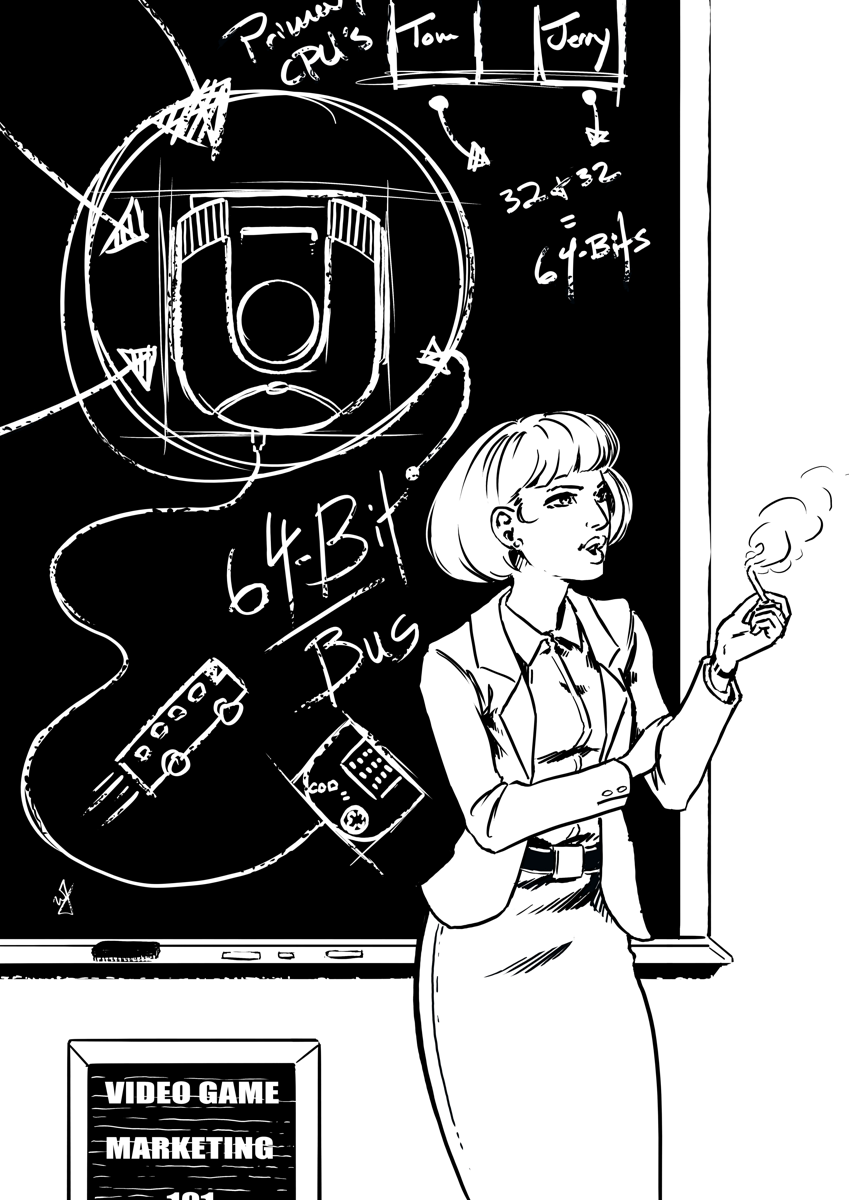
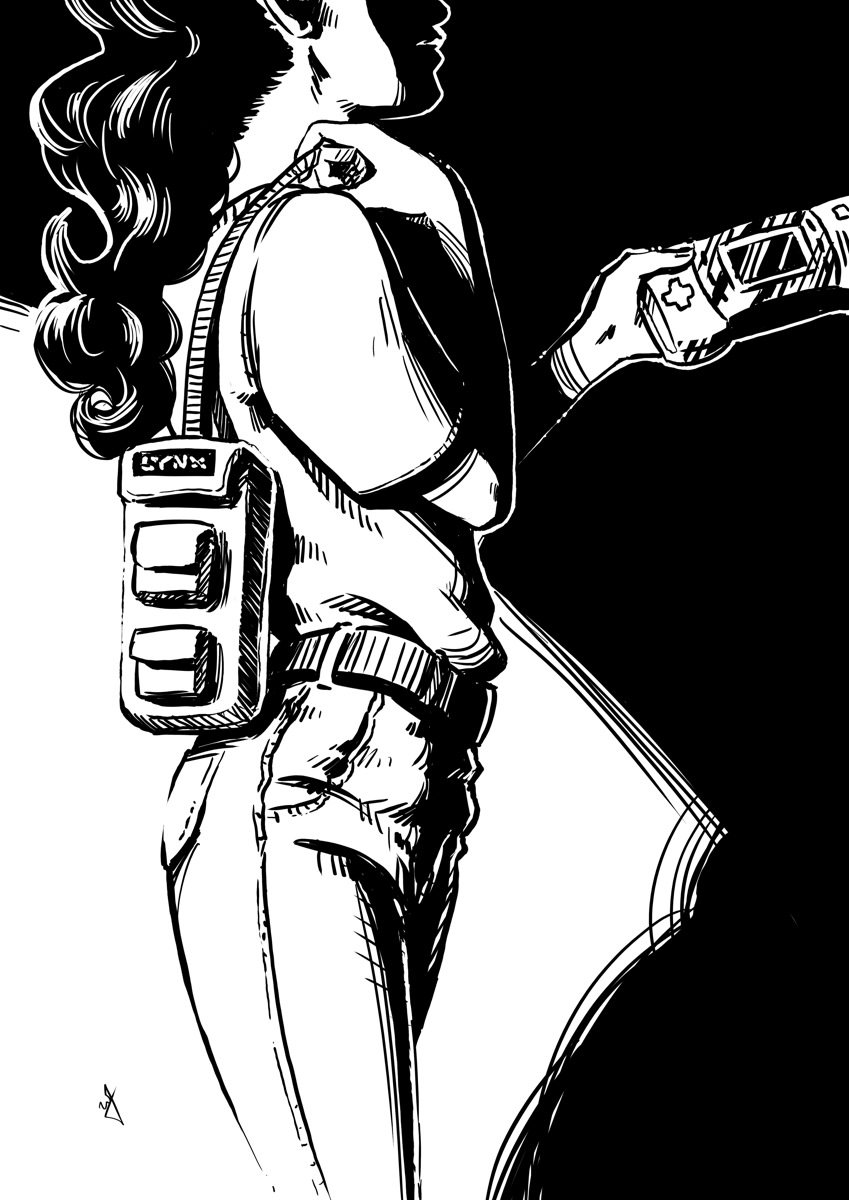
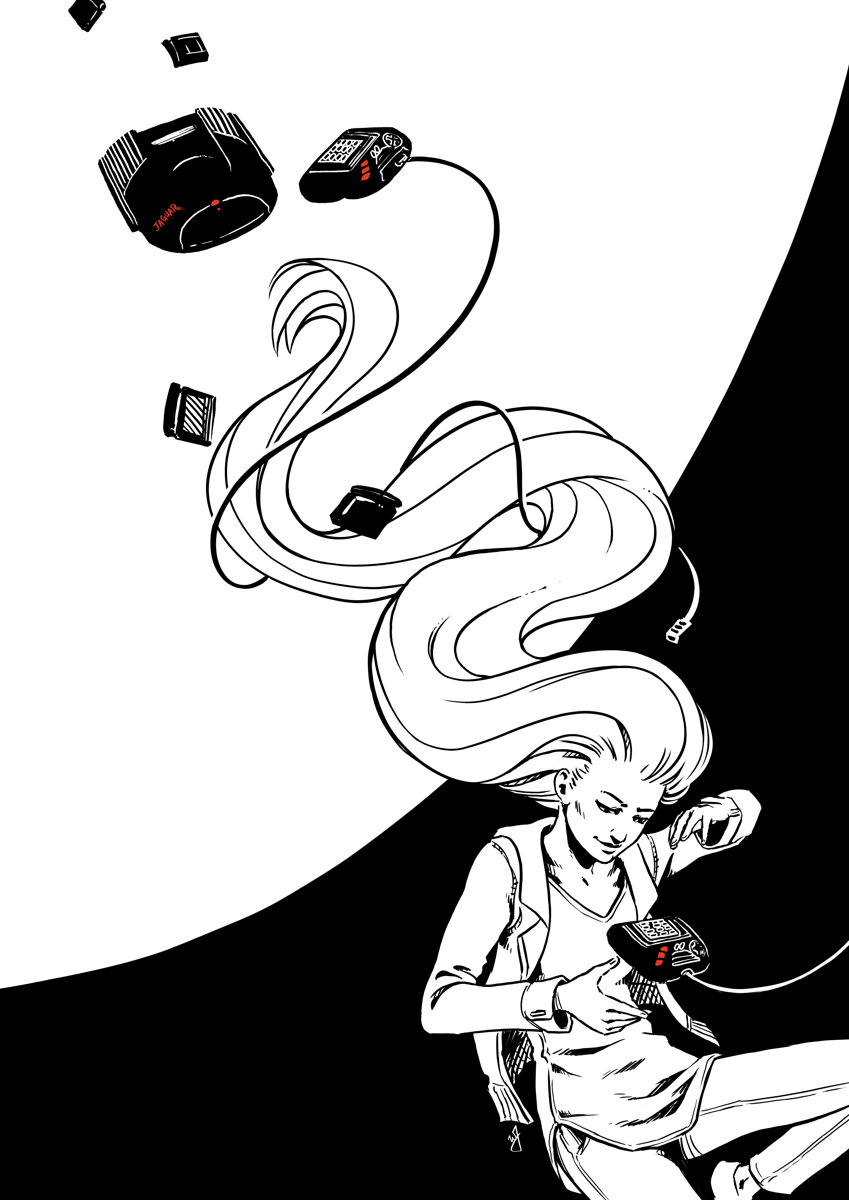
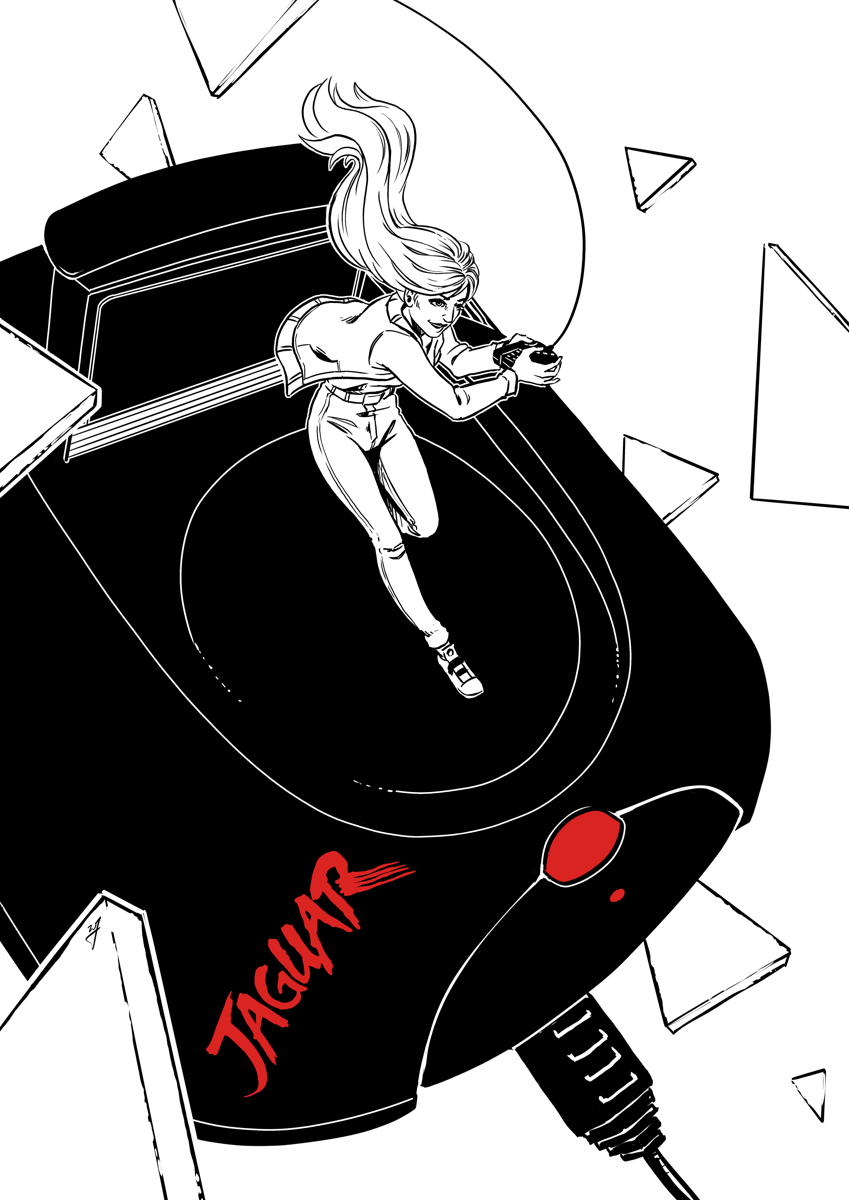
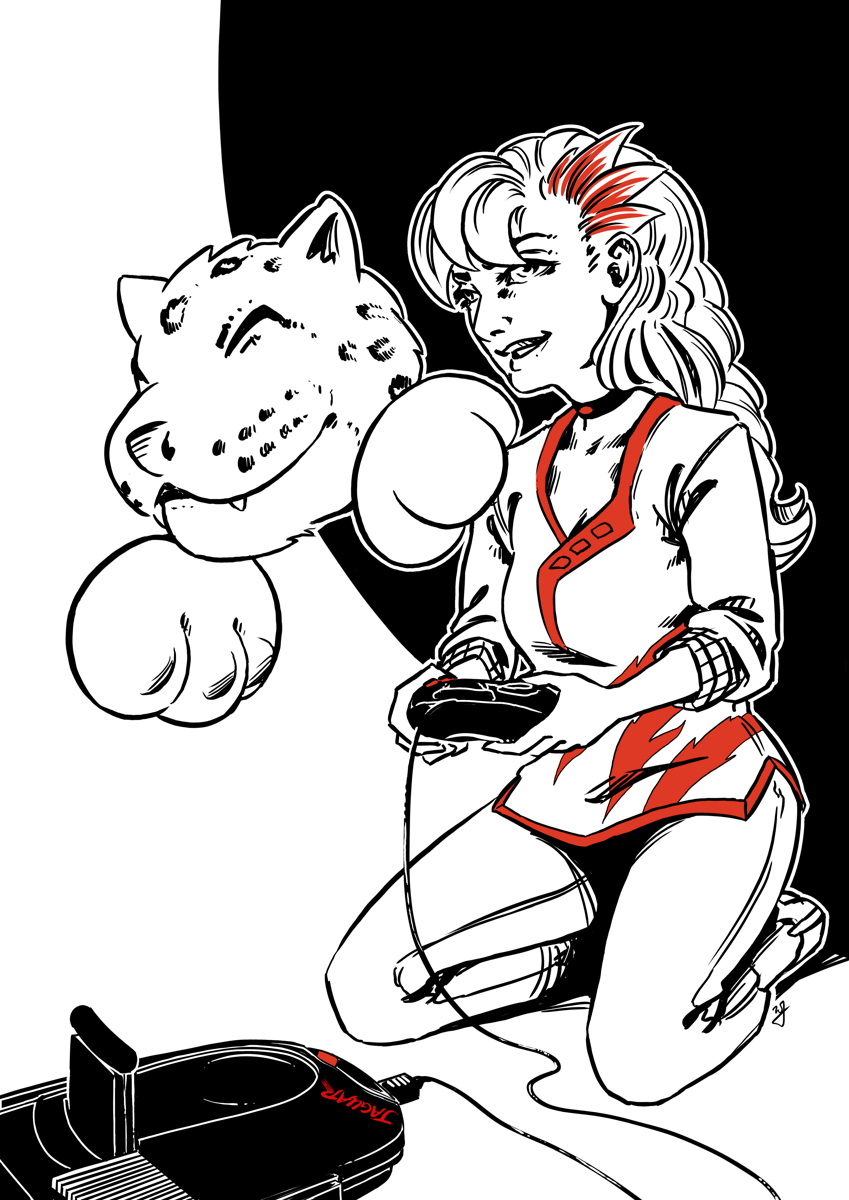
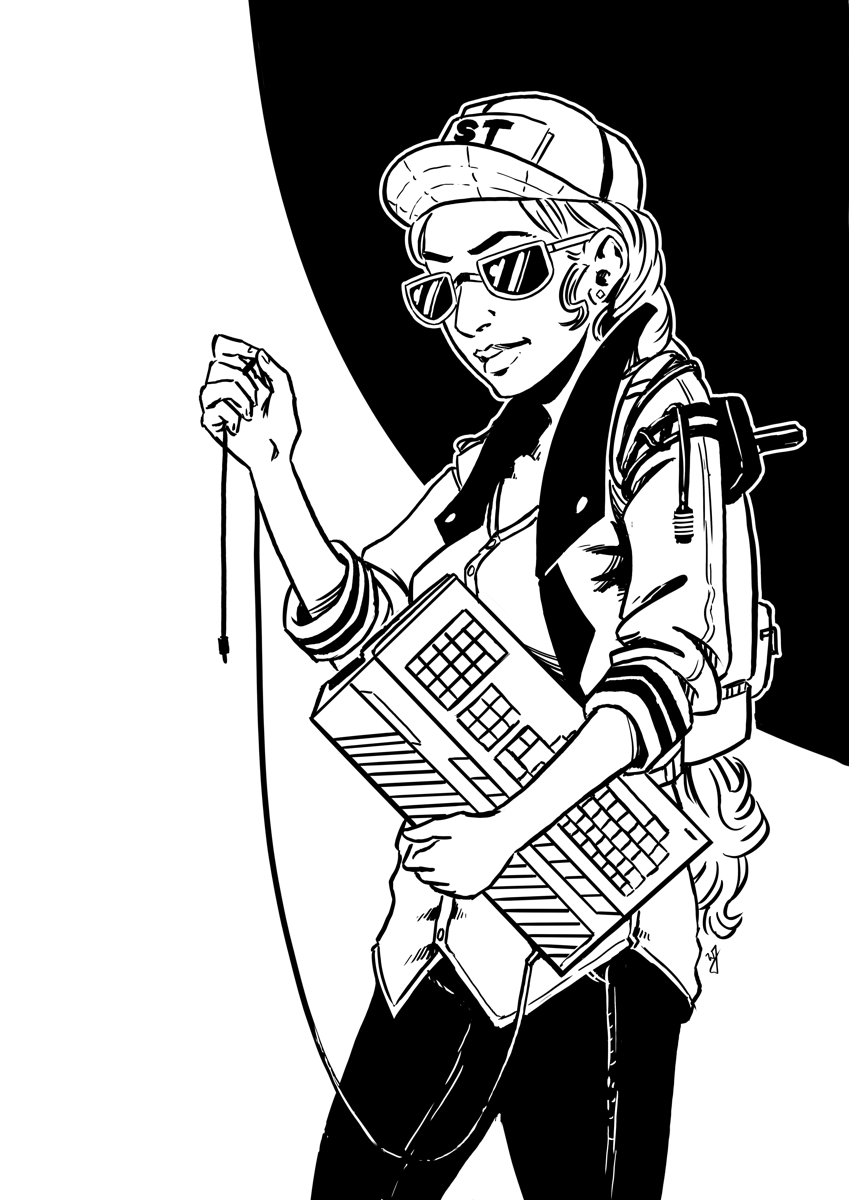
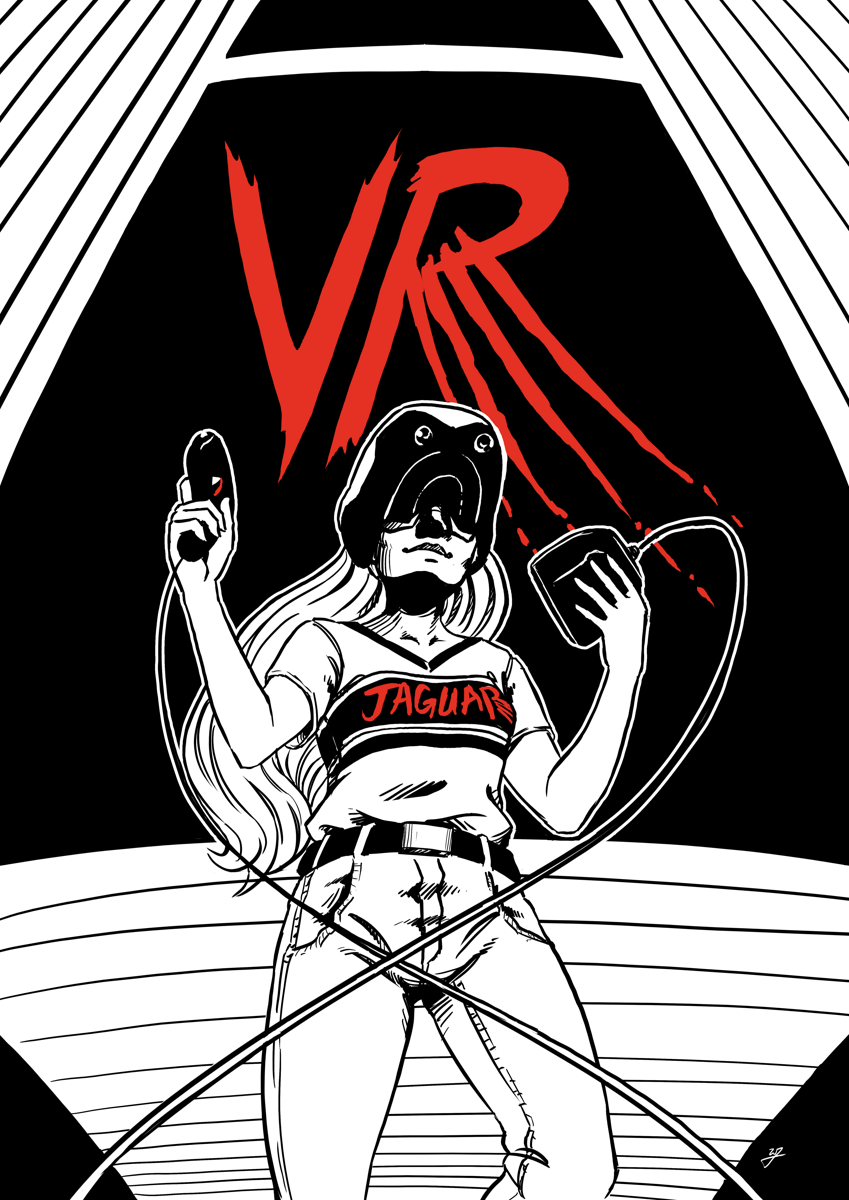
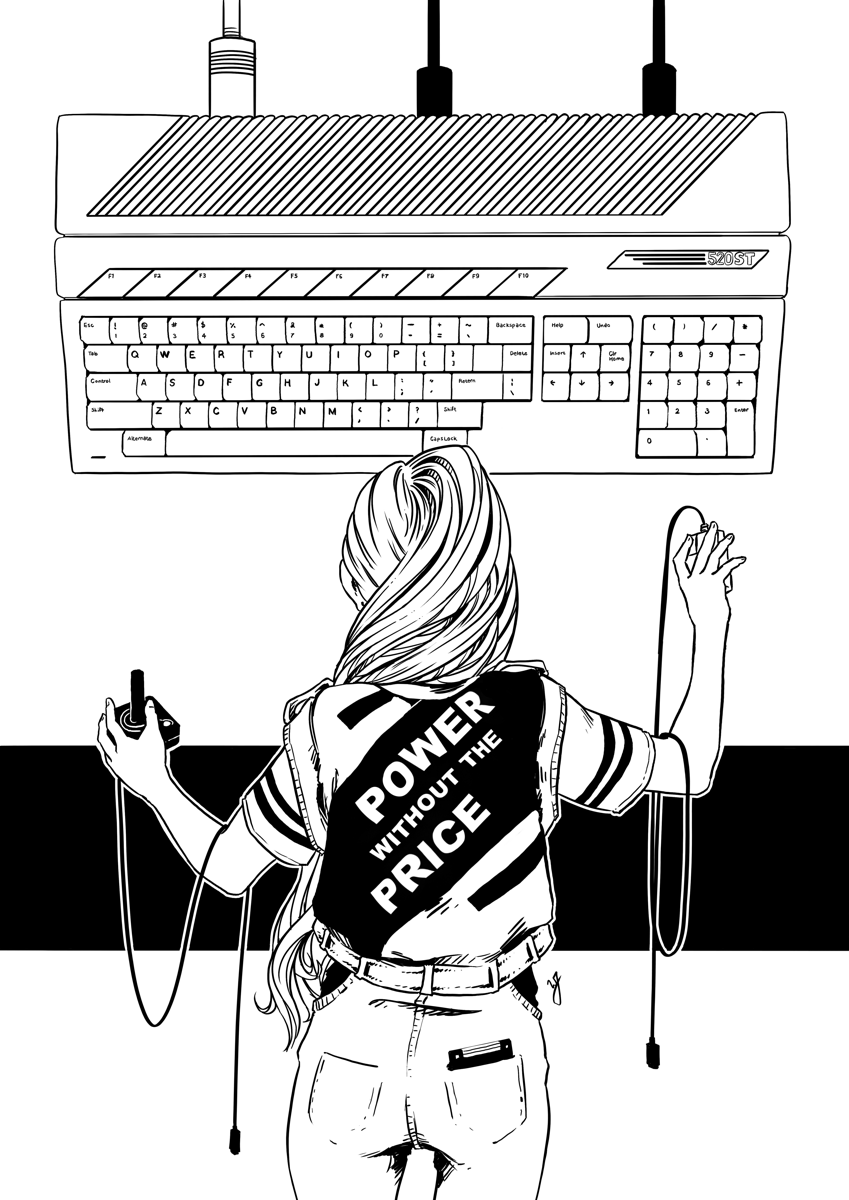
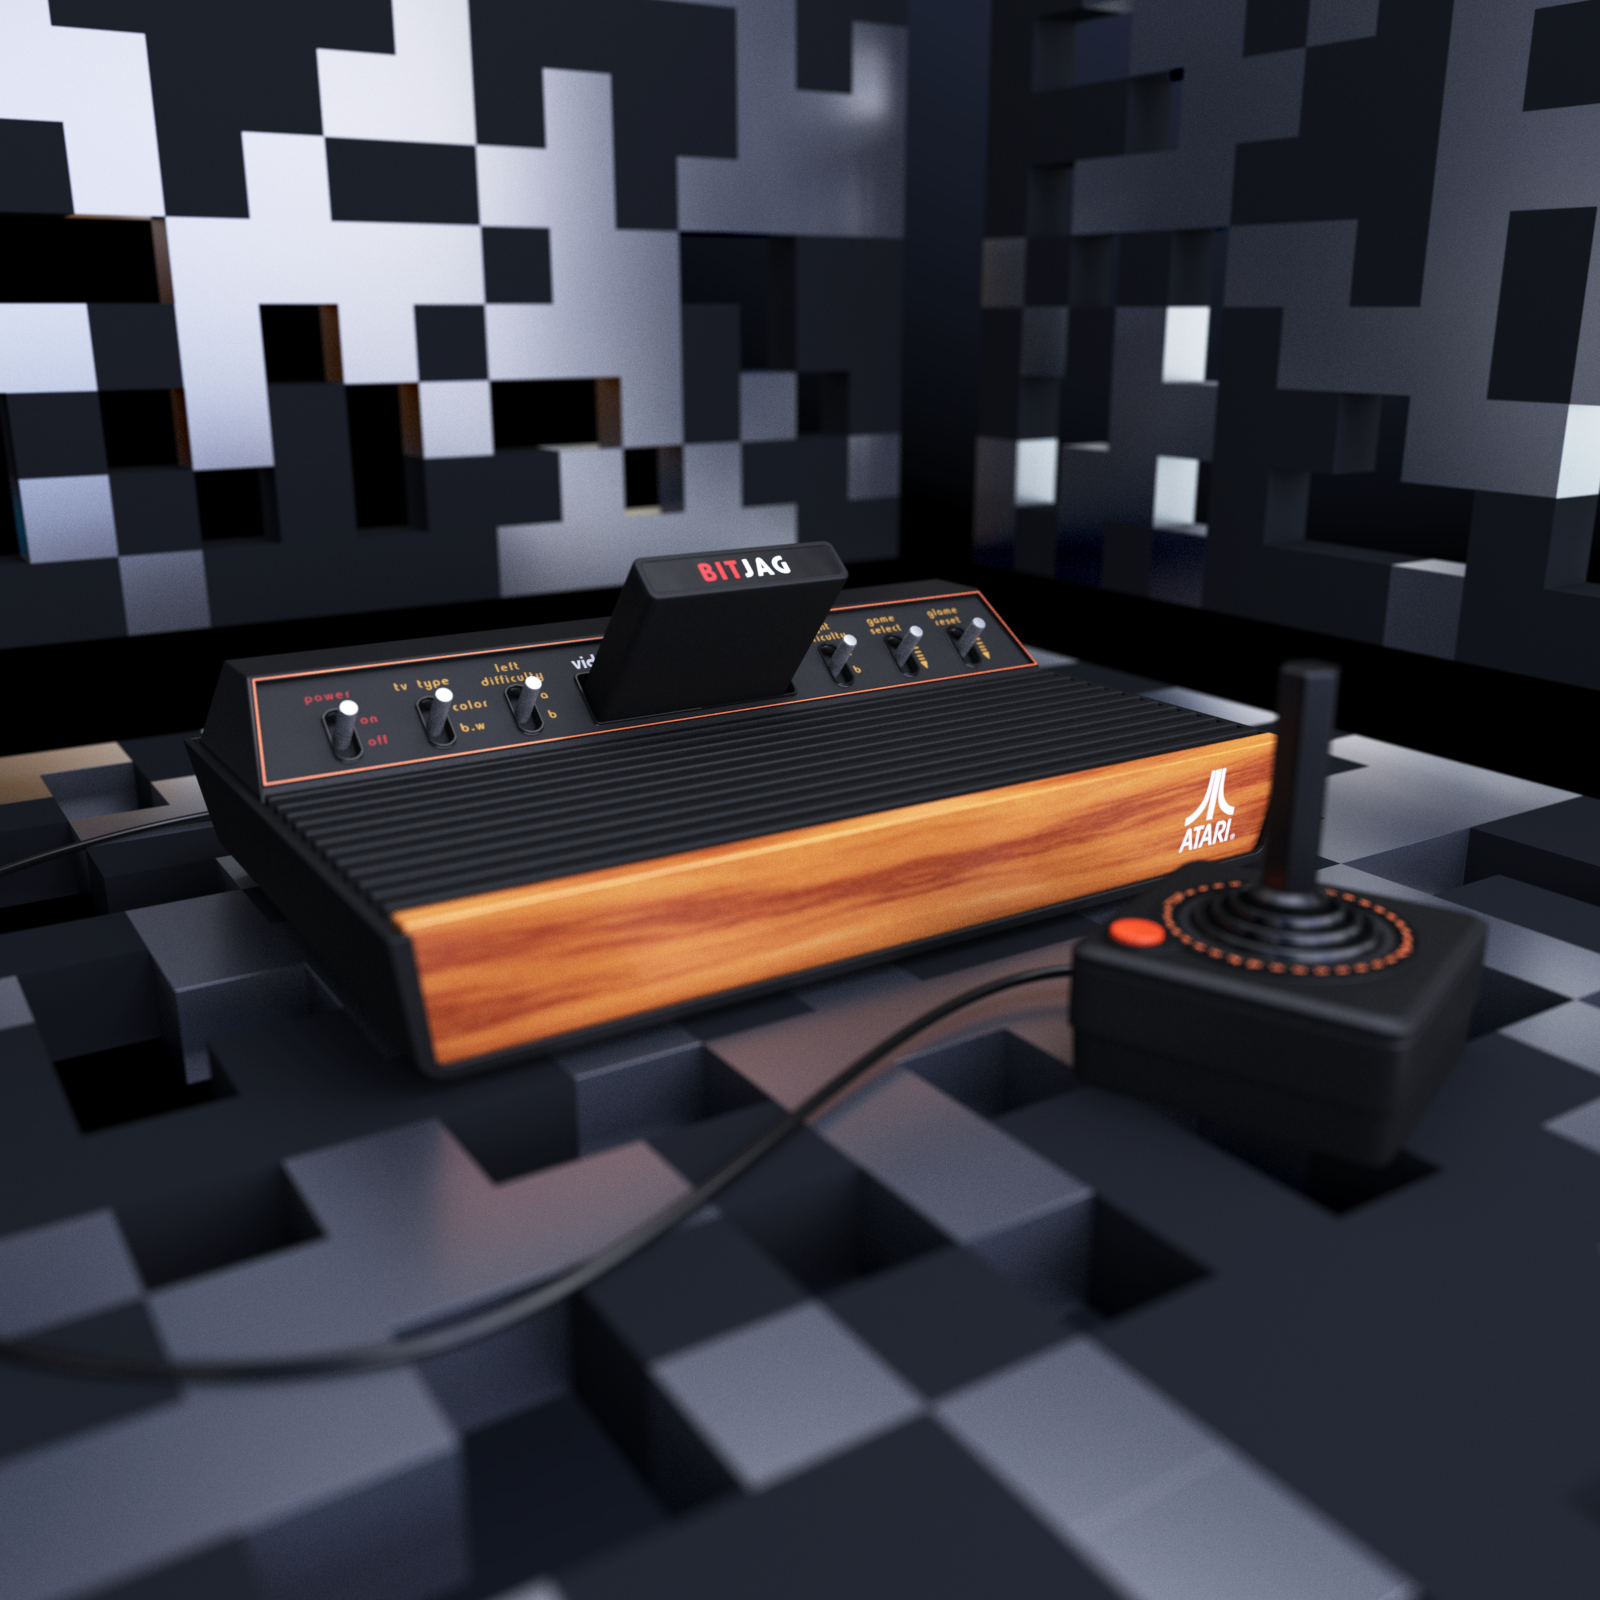
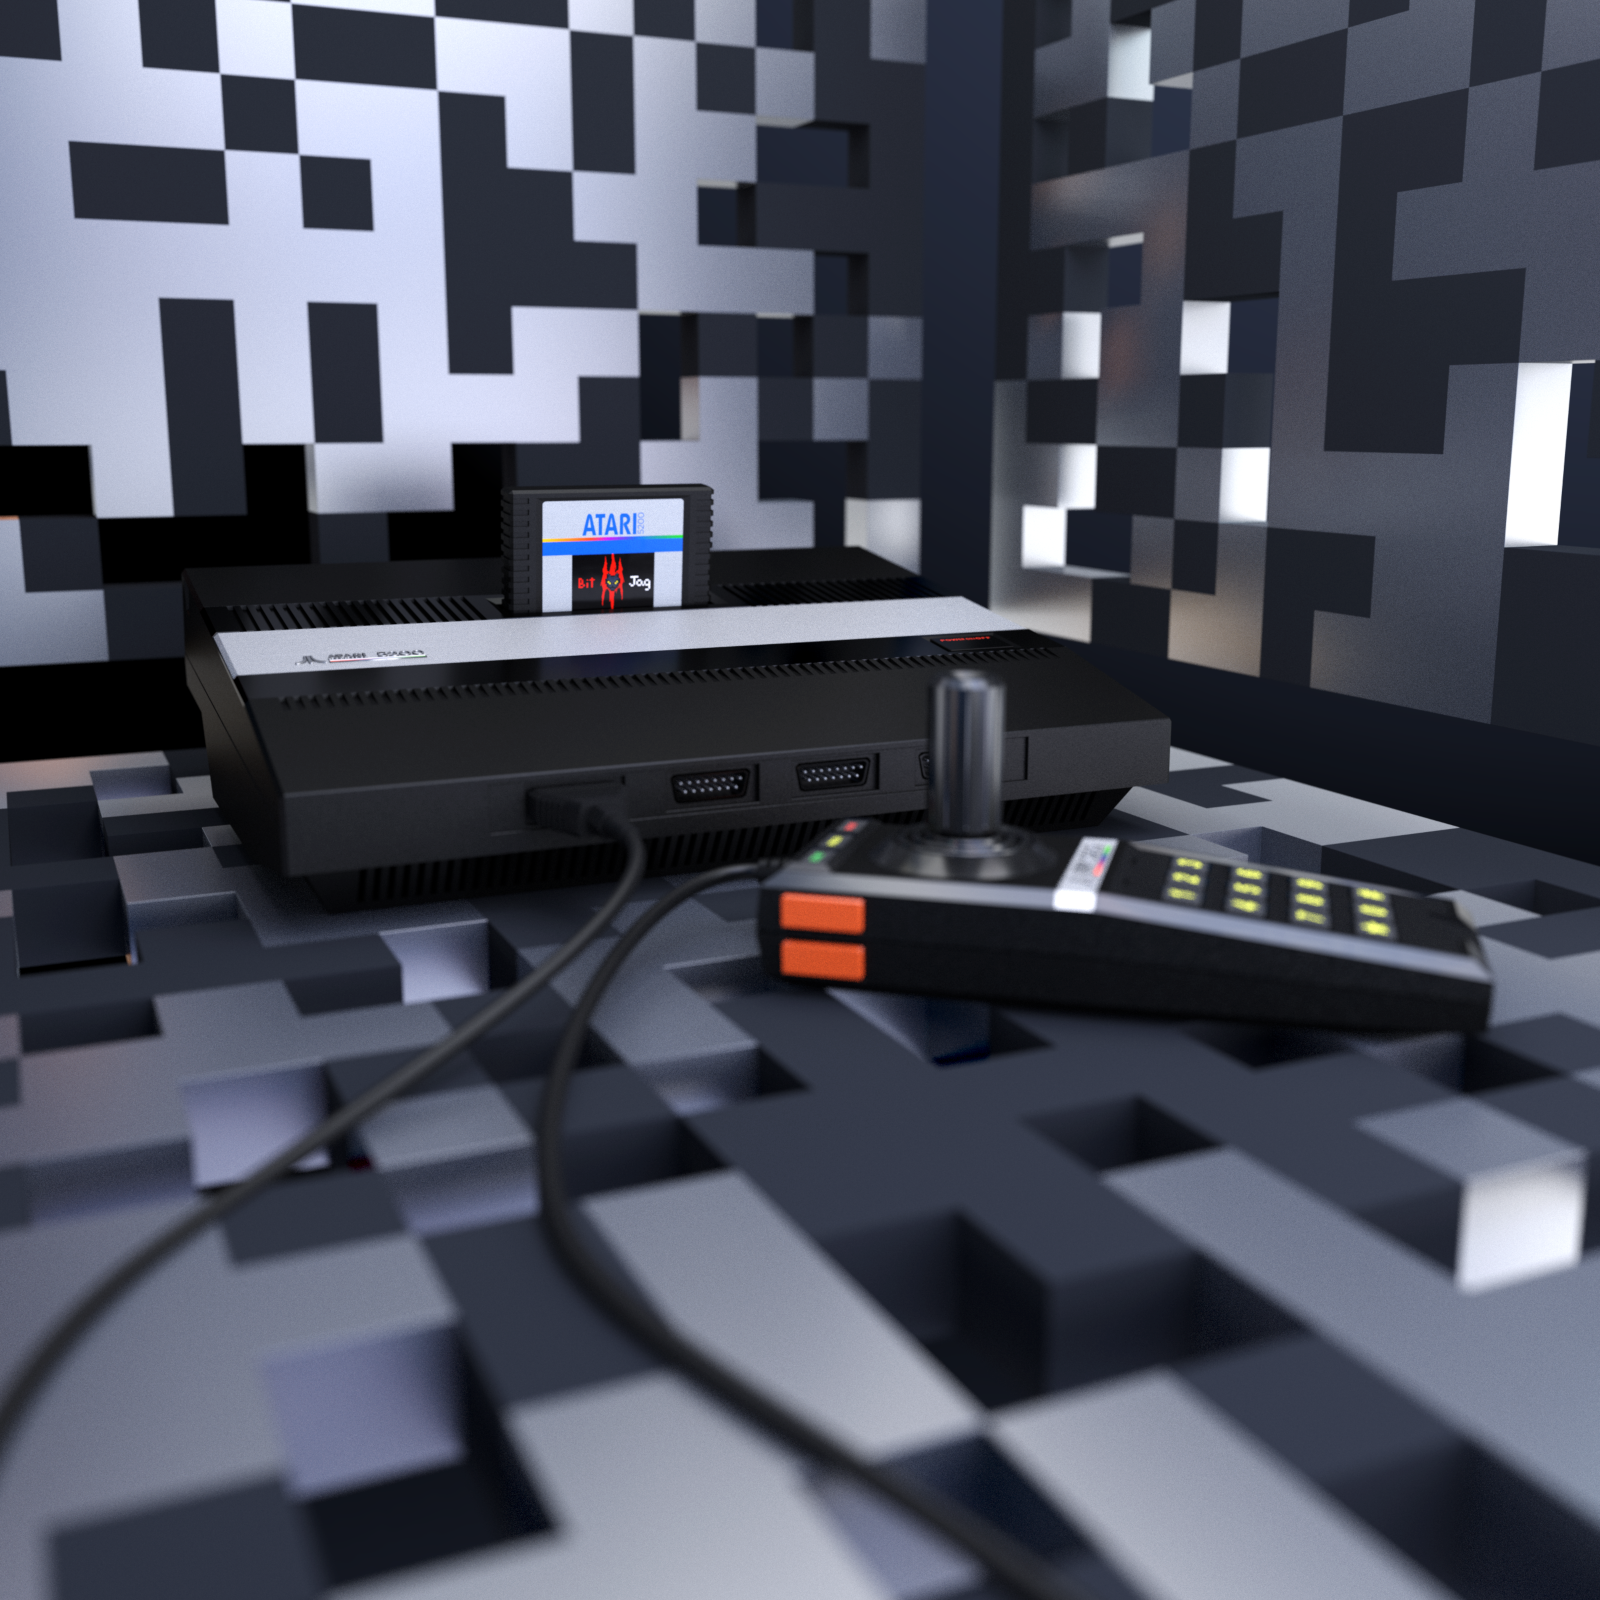
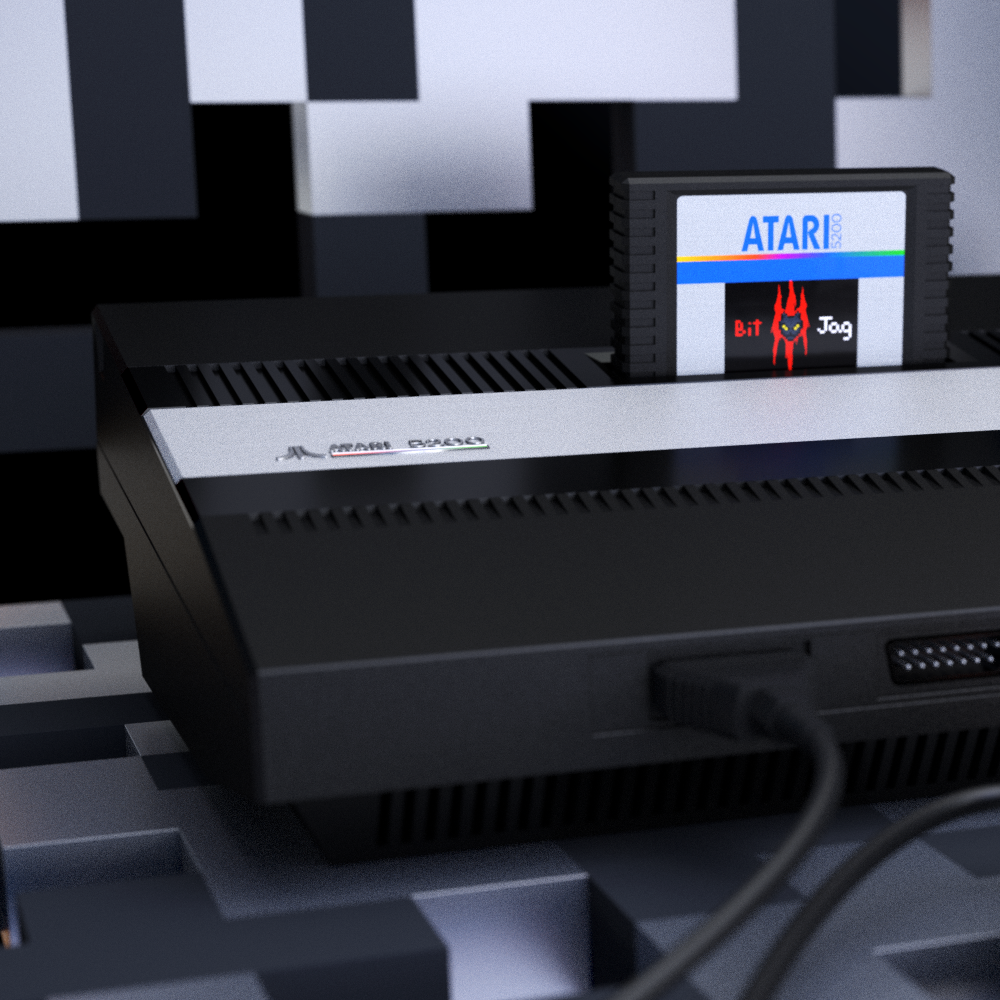
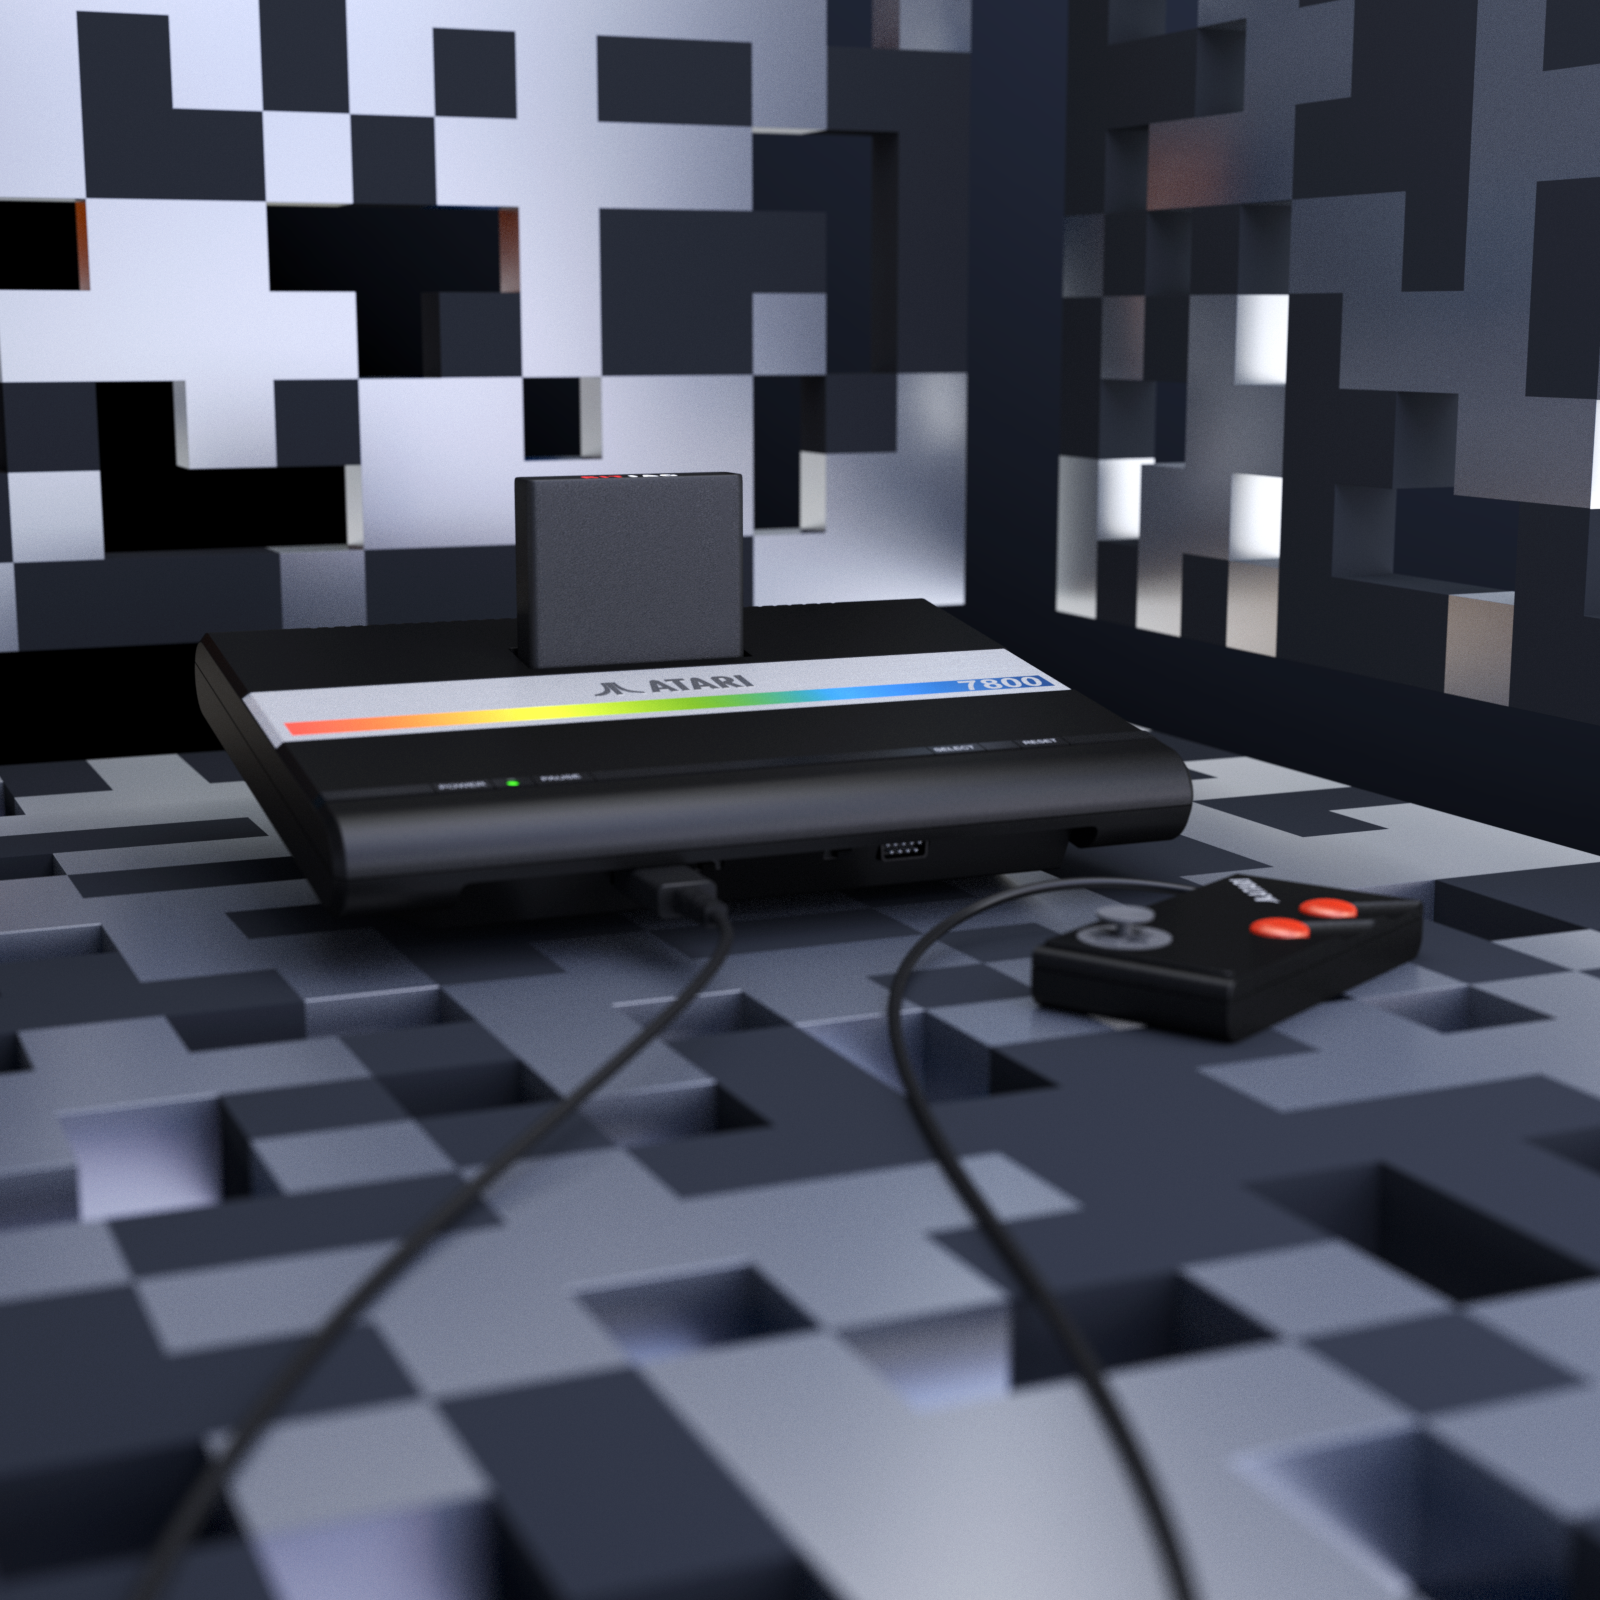
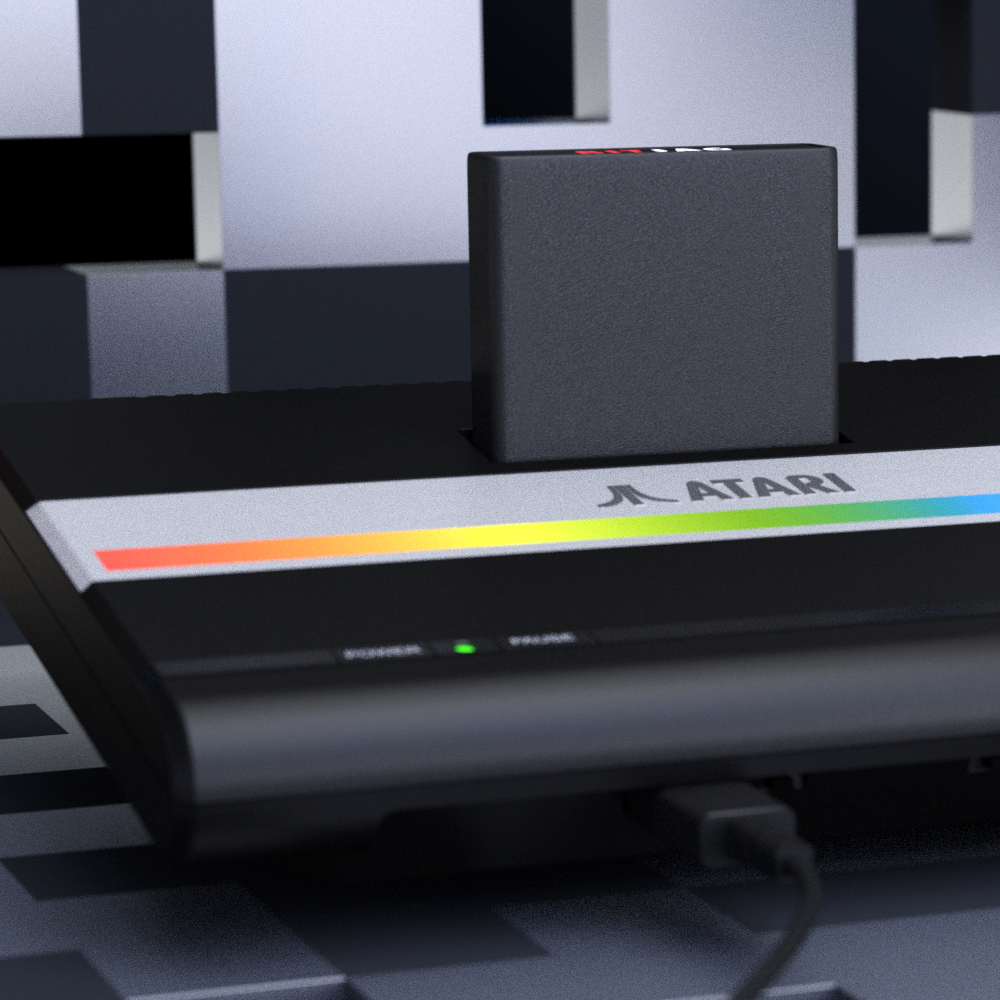
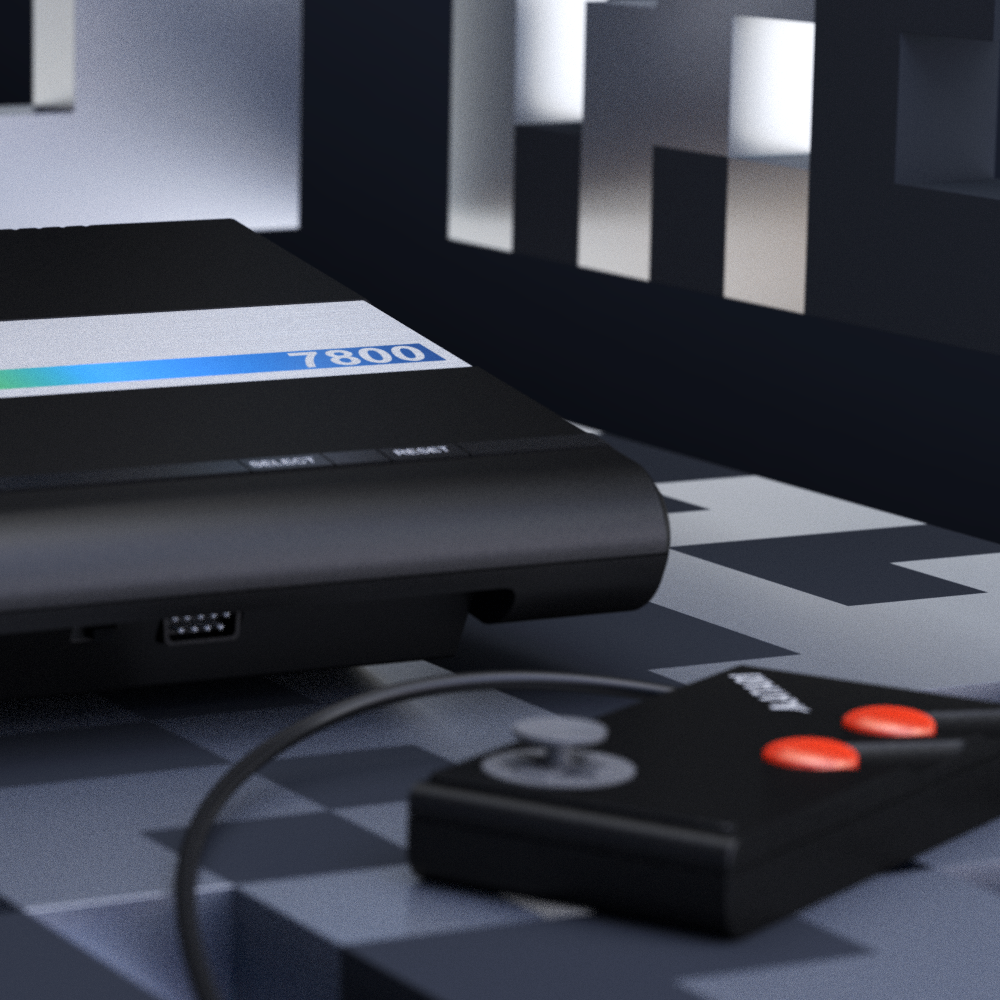
    These have been a long time coming. A set of 3D renders in Blender for (almost) all of Atari’s classic gaming consoles. Atari 2600, 5200, 7800, and Jaguar consoles. I have had an Atari Jaguar model for years now. I have used that for past videos for JagCorner and BitJag, but I have also used it as a tracing aid in some of my illustrations. For example, my 2016 Inktober book | Atari Propaganda.

    Why Model These Old Consoles?

    As mentioned, I have used my Jaguar model for my video work and illustration work. I also want to produce illustrations for everyone of these consoles eventually, and even approach video work for myself and others. I eventually want to get to the Atari Computer line (400, 800, ST), and the Atari Lynx, but that will have to wait for another day.

    Another reason for modeling these consoles is that I don’t get to do this kind of work very often. Pure modelling, from real or photo reference. Most of my work entails some highly simplified character design, to basic symbols, to title motion and visual design.

    Notes About My Approach

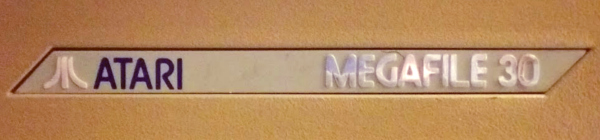
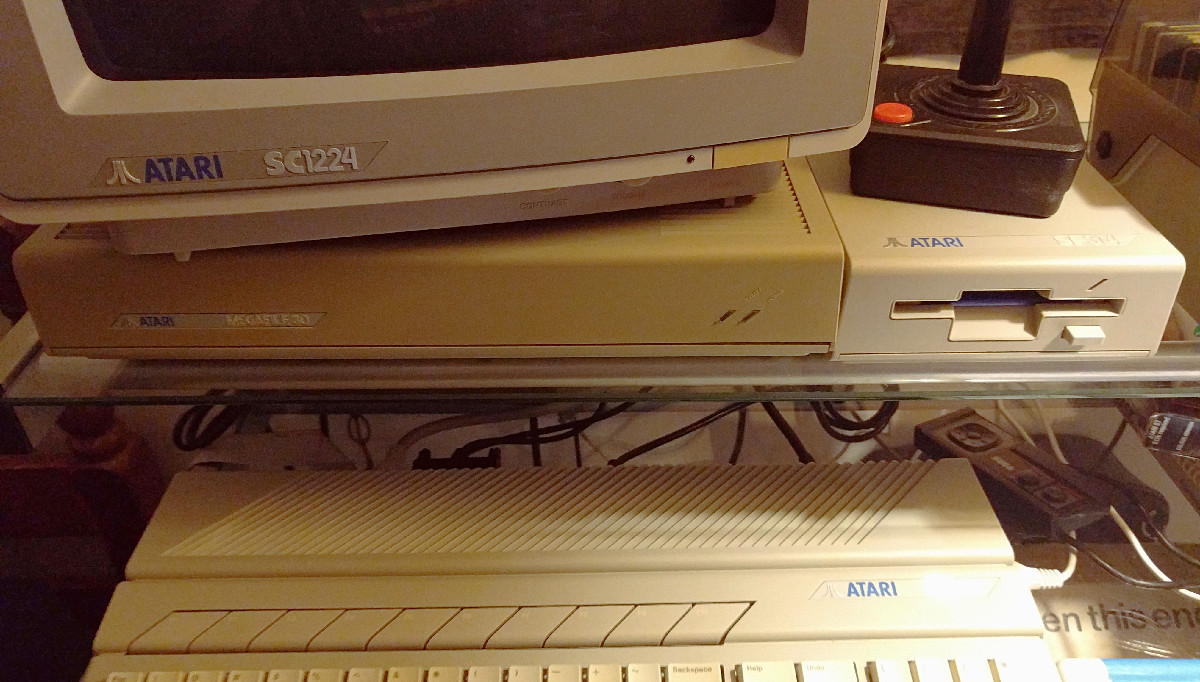
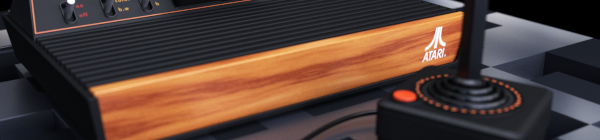
    Since I only own two of these consoles, the Atari 2600 and Atari Jaguar, coupled with the goal of creating a realistic facsimile, this presented a unique problem that I haven’t approached before. Having to model from poor photo reference, and extrapolating form and textures from that bad photo reference.To combat this, I forced myself to keep the geometry as simple as possible. This had advantages, and a few disadvantages.

    The biggest advantage was relatively minimal time spent. Each model from start to final render took about 4 hours a piece. Because I was building all geometry, materials, and textures from scratch, I knew I could spend more time than I would want if I didn’t adjust my approach to avoid spending unnecessary time. The other advantage was that simple geometry forced me to get the overall form of the model as correct as possible. Things like angles of the form, proportions between the console/controller/cartridge, and materials all received special attention. So, even though the poly count is small, the final result would be attractive to those who see these shapes more often than I do, and are generally convincing to newcomers to these consoles.

    “Minimalism is nice when you want to get the big picture things right, but you can quickly paint yourself in a corner if you aren’t planning on moving into more geometry eventually.”

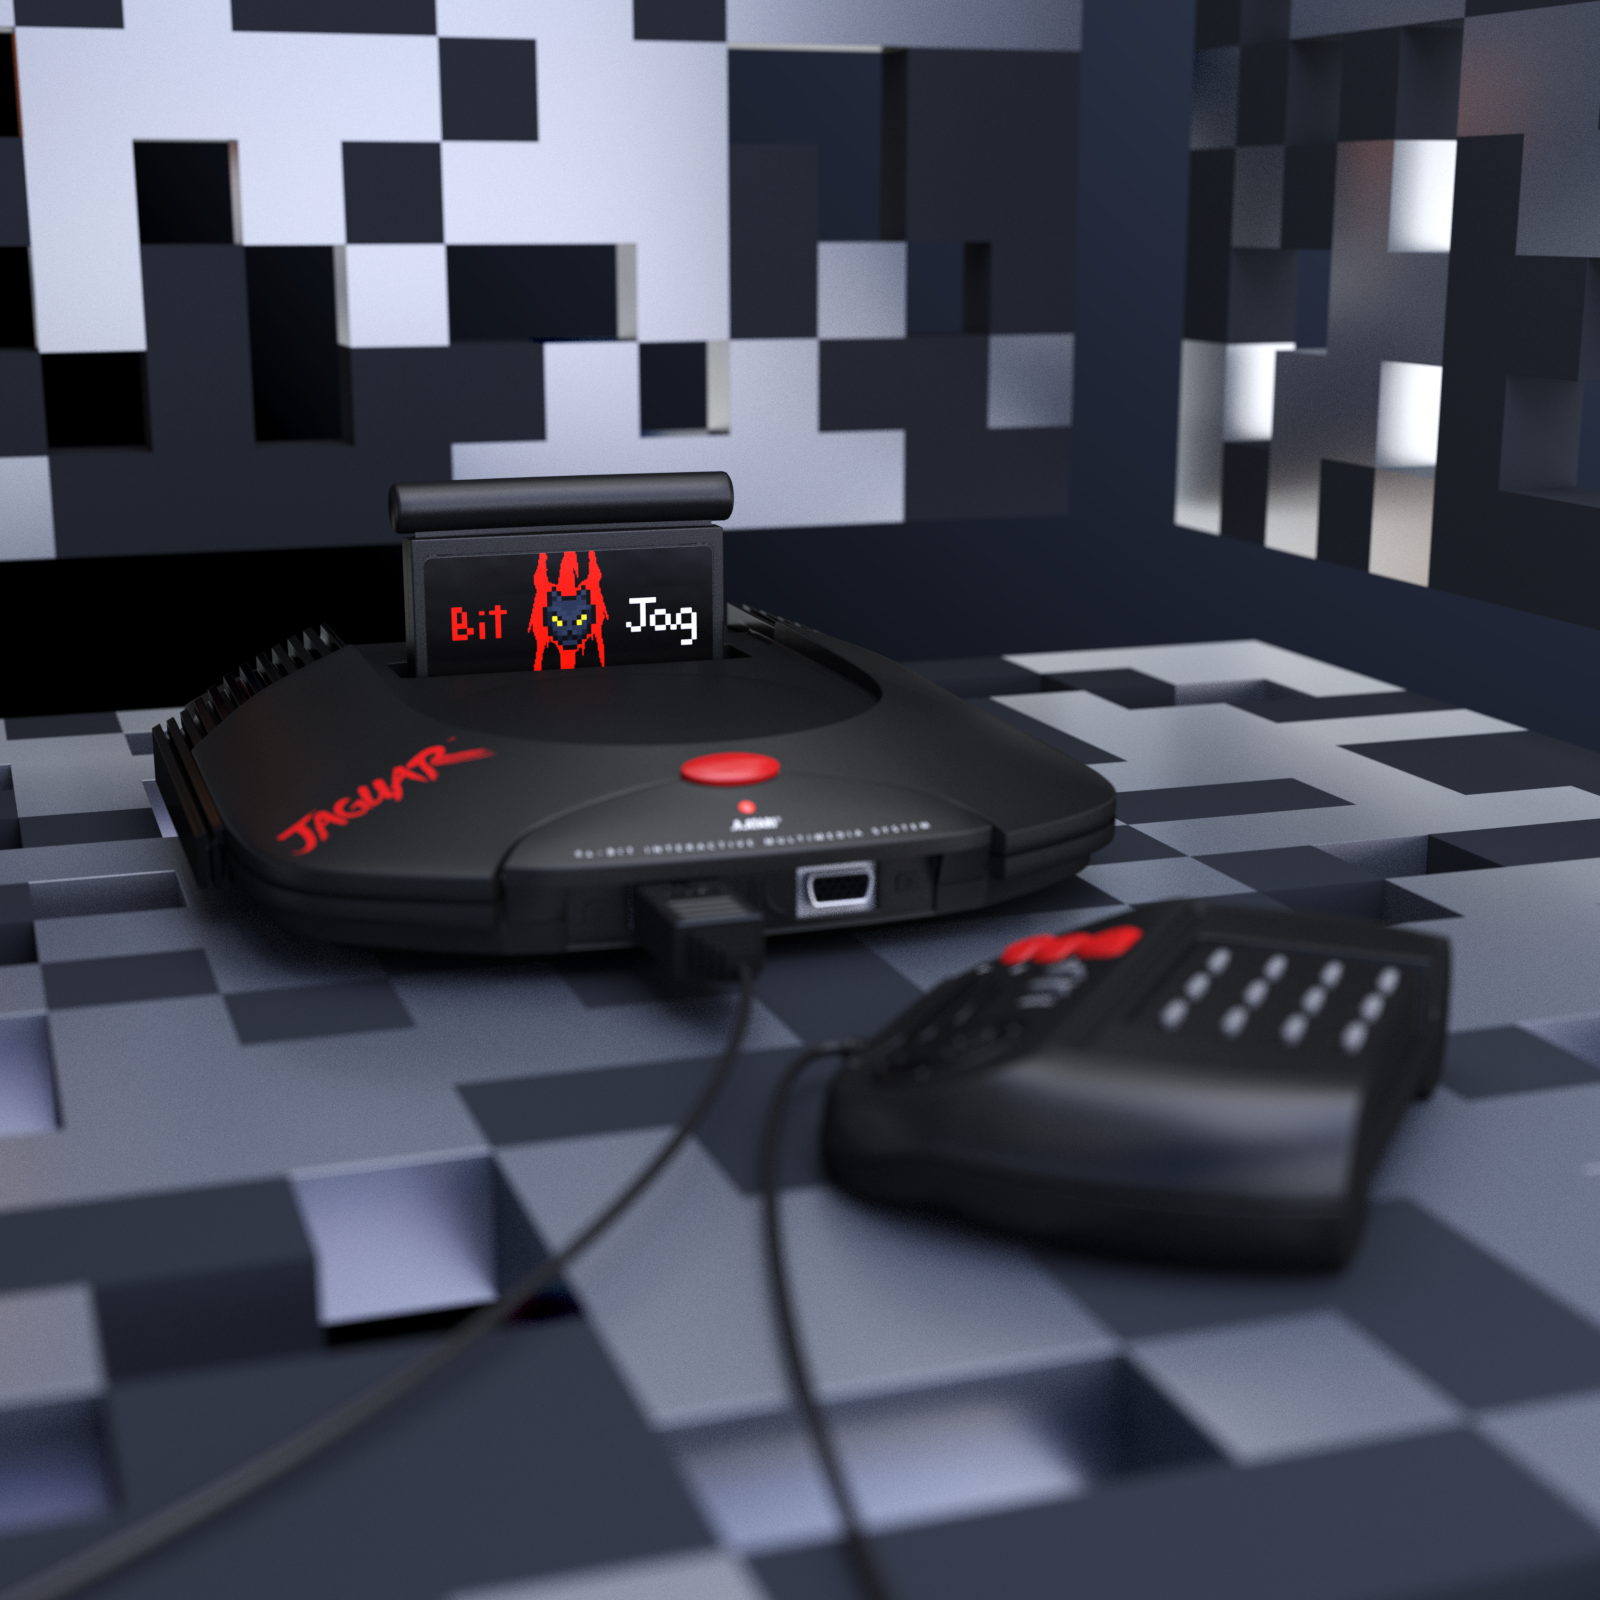
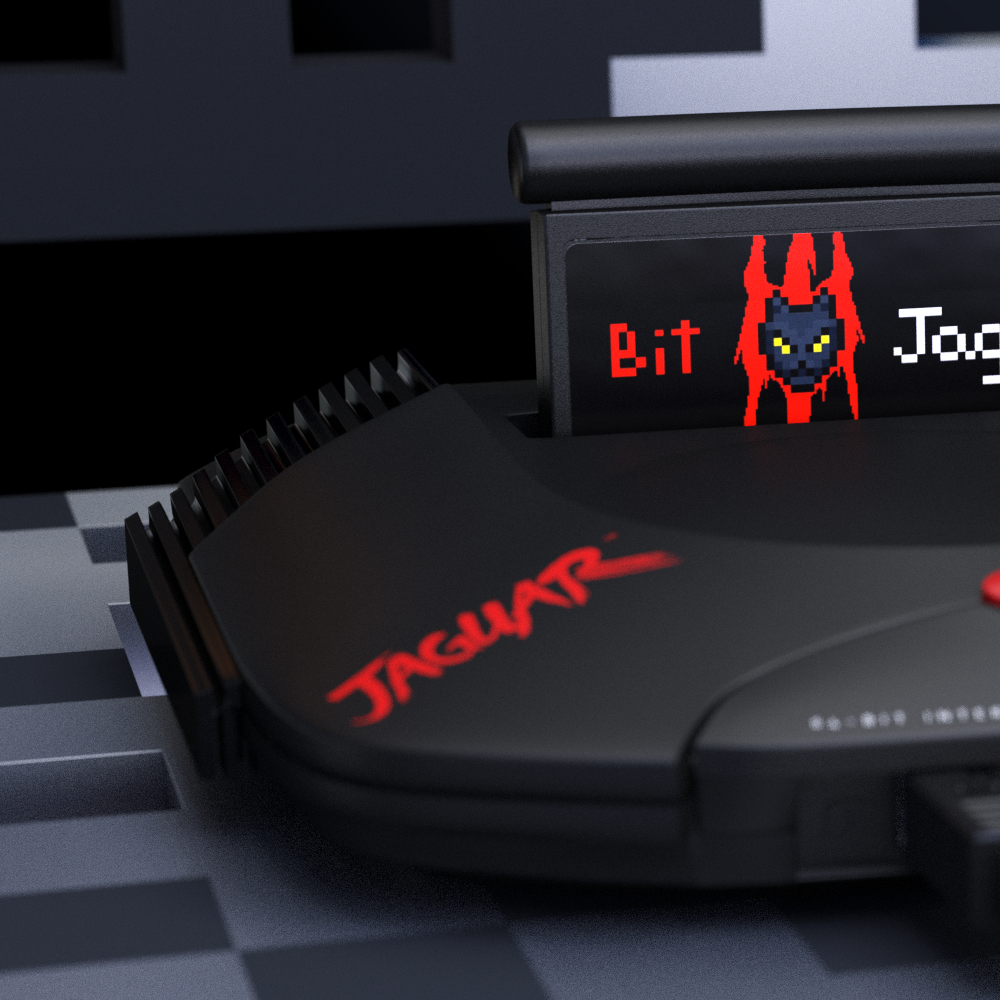
    The disadvantages? Even though most of the consoles are fairly minimalist in design, the Jaguar in particular require extra geometry to accommodate the hybrid of natural curves and angles that occur in its design. Both in the console and the controller. Minimalism is nice when you want to get the big picture things right, but you can quickly paint yourself in a corner if you aren’t planning on moving into more geometry eventually.

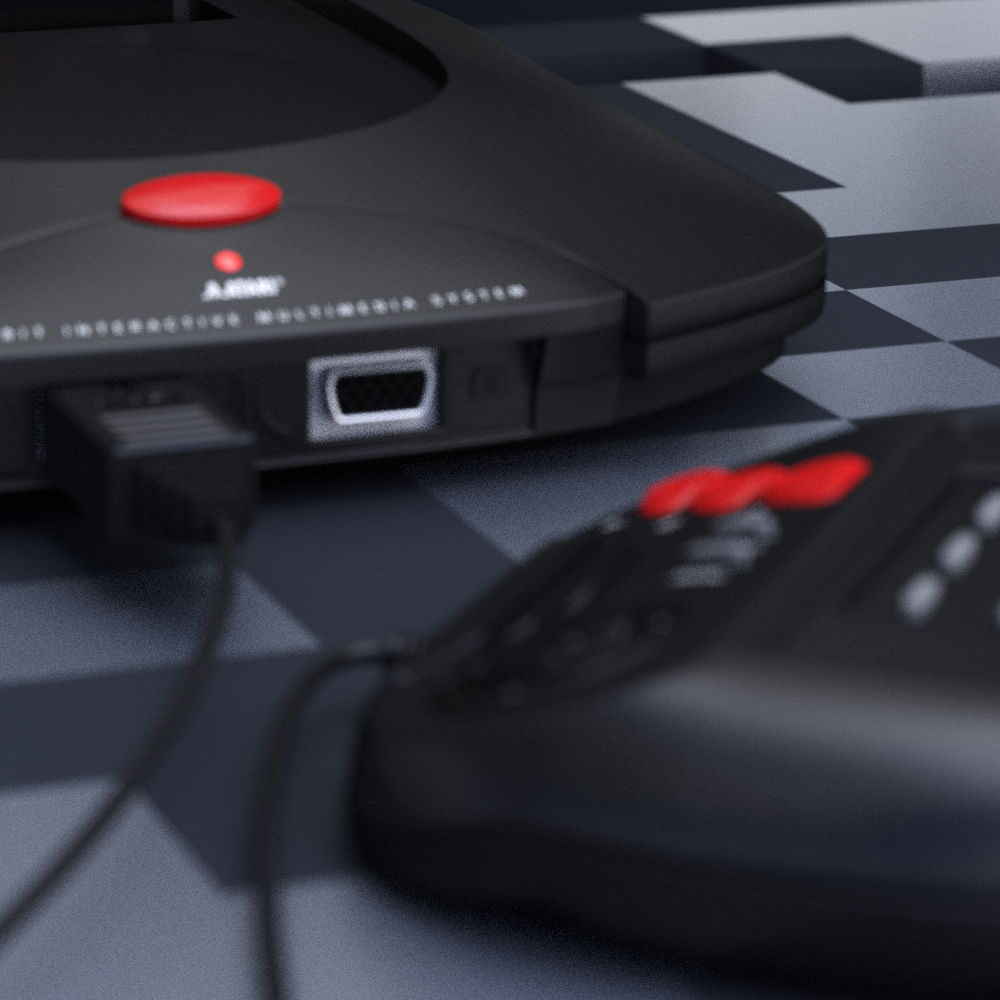
    The most obvious disadvantage is the limited polygon count. This keeps me from getting too close to specific parts of the these consoles for renders.

    Conclusion

    Modelling definitely falls into the same category as sculpting in clay or carving somethings. I enter a sort of trance or meditative state of mind. It is hard for me to justify the time to do this kind of work though. I will eventually get to modelling allot of Atari’s other hardware, but I will need to wait until I have work that justifies the time that will need to be spent to produce those models.

  • Atari Fan Magazine – Silly Venture Edition| Cover Illustration

    Atari Fan Magazine – Silly Venture Edition| Cover Illustration

    It seems that the Atari Propoganda artbook from my 2016 book is still making the rounds in Atari circles. The specific piece was from Day 2 of Inktober 2016 called “Play Late Play Lynx”. Which features a young woman after a long day of work, illuminated by the light of her Atari ST monitor, as she takes a minute to enjoy playing the Atari Lynx. She might take some time to read some of the ST Log magazine she just got in the mail as well.

    Original Artwork Timelapse

    An individual each year puts together a magazine for Silly Venture reached out for permission to use one my illustrations. I did another pass on the artwork to correct a few things that would make the piece more attractive and sent it to the printers. Fortunately, I did all the original pieces near an A4 aspect ratio, so I didn’t need to add or take away from the piece as a whole. This made it a drag and drop effort for the layout artists for this Polish language magazine.

    I didn’t have anything featured inside the magazine, but it’s good to see this artwork still resonating with people in the “classic” Atari community years, after the initial release of the Atari Propoganda Collection in 2016.

  • RETROKOMP |  Cover Art, Inktober 2016 & Flappy McFur Articles

    RETROKOMP | Cover Art, Inktober 2016 & Flappy McFur Articles

    I reached one of my 2016 goals! Get my artwork published in a third party publication of some sort. That publication is RETROKOMP, a quarterly printed retro gaming/computing magazine out of Poland.

    A good fellow named Piotr contacted me and requested to use a piece from my 2016 Inktober Atari Propaganda collection for the cover of their Q2 issue. Eager to make the piece they requested look as good as possible, I made some slight alterations and polishes to the original piece, and then submitted my artwork, along with any other images they need for their articles.

    Their articles featured my Inktober 2016 Atari Propaganda artwork, Flappy McFur, and some of BitJag’s on-going projects. Below are some images of the publication along with the articles. Too bad I can’t read Polish, I hope they aren’t ripping into my work. Either way, I am incredibly thankful for the opportunity, and can’t wait to see where this publication goes.

  • Inktober 2016 | Atari Propaganda

    Inktober 2016 | Atari Propaganda

    Another month of Ink. With the theme of “Atari Propaganda”, I am focusing on creating ads featuring Atari video games, and young people (particularly young women) enjoying those video games. I will post each piece as I finish them here. Further down the page are also links to time lapse videos for each piece.

    Goals

    • First, the nostalgia factor. I want to create work that any Atari fan can relate to. Featuring product from the 80’s and 90’s, with ad design reminiscent of the era as well.
    • Design each illustration with women in mind. Explore the question, “What if video game ads of the late 80’s, early 90’s, focused on both the male and female demographics, as opposed to just the male?”.
    • Produce a piece of artwork for each day of the month of October.
    • Compile Inktober’s work into a published book, available for sale. This book will include the final artwork along with process images, and will be between 60-80 pages.
    • I want to incorporate the artistic principle of negative space into my work.

    Gallery & Time Lapse Videos


    Project Wrap up

    Book Announcement


  • Atari ST | SatanDisk Partition Loss Fix/Modification

    Atari ST | SatanDisk Partition Loss Fix/Modification

    So I have had my SatanDisk for about a year now, and it has been an absolute joy to use. Transfering files to and from my Atari ST to a modern computer is a snap. It allows me to work on my pixel art easily (I need to post some of this some day…), and allows me to back up my programming work easily as well. If you are still and avid Atari ST owner, I highly suggest at least getting this. There are some better options out there now (like UltraSaTan and CosmosEX), but this one is so simple to use, and relatively cheap to get.

    With all that it has going for it though, there is one thorn I haven’t been able to pull out since the day I bought it. Seemingly random partition table loss on the SD card, making data hard to restore without using a hex editor. Sometimes the partition table becomes corrupted when I power everything down, or forget to power off the SatanDisk before pulling the SD card. All I know for sure is that it is happening, and I am not the only one who has had an issue with it.

    When I set out to see if others were having a similar issue as I was, information was sparse. Most people were complaining about a flaky DMA chip (way over my head kind of stuff), but all these users were dealing with STe and Mega ST’s, I am still using my lowly 520ST. Then when poking around Jookie’s site (the creator of the SatanDisk, there was a listing in the Download section about someone else having the same problem as me, and on the 520ST.

    After examining the two pictures included in the fixes ZIP file, I soon realized that the SatanDisk I had bought from this seller on Ebay (seller: darekp324 ) was using a different PCB layout than the original schematics. This is the main reason why I am doing this post, to help those who may have bought the same model of SatanDisk I did. This mod keeps the SatanDisk from ruining the partition table on the SD Card. Lets get started.


    Tools and Supplies

    You will need your trusty soldering iron and some solder. A pare of wire snips, and a 10K ohm resistor (colors: brown, black, orange, gold). A small flat head screw driver and a hammer.

    resistor_10kohm

    10K ohm Resistor

    Opening the Case

    The maker of this particular SatanDisk decided that a permanently sealed 3D printed case was the solution to encasing this wonderful device unfortunately. And if you are worried about damaging it a little bit, then this isn’t the tutorial for you. We will need to take the top and bottom layers of the case off.

    Put the case on it’s side and using the the flat head screw driver, find a point to split the case open about 1/2 cm from the top of the case. A couple taps of the hammer on the screw driver should begin to drive the layers apart. Now just work your way around the edges, separating the top from the rest of the case. Do this for the bottom of the case as well.

    Soldering Points

    This is where you will save a bit of time, about 10 minutes, because I was able to determine where to attach the resistor after following a few traces. Here is a picture. Solder at the points marked. Point 1 is a through-hole, and you will be soldering on the back, while point 2 is on the top surface of the PCB and will require very little solder to attach your resistor to it.

    satandisk_diagram

    Click to Enlarge

    After soldering your resistor, you will be done. I just used some tape to put the case back together, or move it to a different case, and you are good to go.


    Fairly easy, and I hope it saved you a bit of time. I have tested it somewhat thoroughly. Pulling out the SD card while everything is powered on, power cycling the SatanDisk, etc… and the partition table lived through it all. Please let me know if it didn’t work for you, so I can reassess where the resistor needs to be soldered. Time to go play some Rodland.

  • Atari ST | Review | Golden Path

    Atari ST | Review | Golden Path

    Again, another nostalgia moment for me. My early childhood was spent on the Atari ST, and even though I couldn’t truly enjoy the games and other functions of the computer, many things left a deep impression on me.

    golden_path_tos100

    One of those things was Golden Path. A point and click adventure that most people have never heard of, but is one of the games that defines the Atari ST for me.

    This game definitely didn’t win any awards, and it largely flew under the radar in 1986, from what I can find anyways. There are a few reviews I was able to dig up around the net. One for the Amiga version which had slightly better background art. There was one more review for the ST version in an old magazine but I can’t find the actual article.

    The game holds a strong place in my mind, and will continues to do so every time I play it.

    The Review

    It certainly wasn’t a terrible game. In fact, after about 5 minutes, just about anyone will have a good handle on the mechanics. The visuals are appealing to me, and with the music, seem to work really well with the overall presentation.

    The music is great, clean, a bit stereotypical of China, and clear on the ST version. I was watching some game play on the Amiga version, and even though it may sound a bit more “realistic”, it lacks in quality, and at points in the game is more of a distraction that a working piece of the game’s presentation.

    golden_path_boxart

    As for the difficulty, it is a bit steep. There is a book in the bottom left corner of the screen that will open and close from time to time, that will help you understand what is on each screen that you pass through. But this lacks in any helpful clues most of the time, and you will be left doing the trial and error dance until something works. This wasn’t unusual for games at the time, it is something that I personally enjoy about these older games, but is understandably a turnoff for those who are venturing into the older realms of video games for the first time.

    golden_path_box_insides

    I didn’t have the box or manual growing up, and I was pleasantly surprised when I got my own copy recently. The box front has something that is reminiscent of classic Chinese painting that looks like mount Fuji (not Chinese at all), and dragons. With a well designed rear cover, that graces us with some well captured screen shots of the game with a short, and surprisingly deep, back story. The innards include two floppy disks containing the game its

    elf, a registration card, a warranty card, and a surprisingly impressive 39 page manual. Containing basic instructions on how to play the game, but the majority of it taken by a lengthy back story which may or may not have some basis in Chinese history/mythology.

    golden_path_screen_1

    golden_path_screen_2

    Nostalgia aside, this is a must play for any point and click fan. It provides a great look into what developers were experimenting with in terms of game play and themes shortly after the likes of Kings Quest, but before great titles like Full Throttle and the Monkey Island series.

  • Atari ST | Adopted SF314 and Megafile 30

    Atari ST | Adopted SF314 and Megafile 30

    Looking to expand on my Atari ST peripherals, and for the want of some more convenient storage, I began the search for some Hard Drive space and a drive that could read double sided double density floppy disk drives.

    Having these two things will help immensely with programming and graphics. File loading will be a bit easier, and transferring files to my PC for backup would be much easier.


    “They Made Things Tougher Back Then”

    First the SF314 floppy disk drive. Previously I was borrowing and old floppy drive out of my brother’s collection of old PCs in order to read and write to double sided double density floppies. This was only a temporary fix though, as the control board was borrowed from my SF354, and the drive laid exposed to the harsh unforgiving elements next my Atari 520ST CPU. Definitely a temporary solution.

    The primary difference between the two drives is that the SF354 can only read single sided disks (max memory of 360k), compared to the SF314 that can read single and double sided disks (max memory of 720k).

    So the search began, to find a deal on a SF314 drive.

    Because I am sometimes a lazy individual, and this time a bit impatient, I started searching on Ebay. I didn’t have to look long before I stumbled on a listing for a SF314 without cables with no guarantee that the drive worked. With the assurance that “they build stuff tougher back then”, I decided to take the risk and purchased the drive.

    A week later, I plugged in the drive with my already owned power supple and I/O cable, and it worked flawlessly.

    st_harddrive_floppydrive

    Not So Floppy Storage

    Next came some hard drive space to work off of. For those of you who have searched for a deal on hard drives for the Atari ST know that it is nearly impossible to find anything under $100 that works. So, after feeling brave after getting an untested disk drive, I took the plunge on a partially tested Atari Megafile 30.

    By partially, I mean that the person listed that they had no real way of testing the device, except for plugging in a power cable and turning it on. He said that he could hear the drives spin up, good sign, but no guarantee that it worked. I later learned that if the heads inside the drive weren’t software locked, then there could be damage during transport as well.

    On the Best Electronics website, these Megafile 30s are listed at about $160, this comes with the hookups and with a guarantee that it will work. With this in mind I decided to order the one on Ebay, without the DMA cable, for $100 shipped. Then I ordered a cable from Best Electronics (about $15), hoping that I could give a “maybe” working Megafile 30 a new home.

    Again, about a week later, and to my relief, I purchased a working Atari Megafile 30. The drive had existing files on it that dated back to 1989, but most were corrupted. The original owners used it primary for storing documents, and it was fun to dig into those a bit to learn more about them. One user composed some midi music, and also did a bit of programming in Pascal. I took an hour or two going through the files, and recovered any personal files that weren’t corrupted, and then formatted the drive with the Atari HD Utilities disk. I am now a proud owner of 30MB of hard drive space.


    It is surprising to see this old hardware that has been floating around for the last 30 years, still has a bit of life left. I will eventually invest in an Ultrasatan or CosmosEX, which provides a more modern interface for storage (SD Cards), but for now, I will revel in the nostalgia.

  • Atari ST | ROLAND GKC-3 | SC1224 Color Monitor Replacement Cable

    Atari ST | ROLAND GKC-3 | SC1224 Color Monitor Replacement Cable

    I recently purchased a SC1224 color monitor for my ST and realized that it was a model that didn’t have a hard wired 13 pin DIN connector to plug in the back of ST.

    I did some searching around and soon discovered that finding an orginal replacement cable is becoming impossible. As this model of the SC1224 was prone to lose it’s video cable because it wasn’t hardwired.

    roland_gk-3_st_monitor_cable

    Making a custom cable would be out of the question, as my soldering skills are nearly non-existing. And there are some who say they are a nightmare to put together anyways.

    So, looking for some alternative cables I discovered that these 13 PIN cables were also still being used for some musical synthisizer equipment. But when people talked about using these cables as a video cable replacement, sometimes they wouldn’t work. The cables would lack the proper copper shielding, or some of the pins wouldn’t be wired up, making it useless for the ST.

    But, the light shown through with one forum post. With a confirmation that a specific cable has worked for someone else before, I ordered the ROLAND GKC-3, ten footer cable for about $18 US.

    Got here yesterday, and it works great with my monitor. With the exception of the length of the cable, it seems to be a great alternative to an official cable. I assume that because the GKC-3 cable works, the -5 and other models will most likely work as well.

  • Atari ST | Hardware Measurements

    Atari ST | Hardware Measurements

    I was having a hard time finding actual dimensions for Atari ST hardware, so I decided to measure and post for those who may also need the info. Also, check out my sweet art setup at work. (I am owner of the business, I get away with these things sometimes).

    st_setup_1

    Keep in mind that the dimensions for the given pieces of hardware are not consistent throughout, due to various slopes and curves that make up the overall design and look of the hardware. These are box dimensions that would cover the entirety of the form of the hardware.

    SC1224 Color Atari ST Monitor
    12.75 in. Wide X 14 in. Deep X 11.75 in. Tall
    Metric
    32.385 cm Wide X 35.56 cm Deep X 29.845 cm Tall

    SM124 Monochrome Atari ST Monitor
    12.75 in. Wide X 12 in. Deep X 11 in. Tall
    Mertric
    32.385 cm Wide X 30.48 cm Deep X 27.94 cm Tall

    520ST CPU (no internal disk drive)
    18.5 in. Wide X 9.875 in. Deep X 2.875 in. Tall
    Metric
    46.99 cm Wide X 25.083 cm Deep X 7.303 cm Tall

    Atari ST SF354 Disk drive
    5.5 in. Wide X 9.875 in. Deep X 2.875 in. Tall
    Metric
    13.97 cm Wide X 25.083 cm Deep X 7.303 cm Tall

    Standard Atari ST Mouse
    2.937 in. Wide X 3.812 in. Deep X 1.25 in Tall
    Metric
    7.45 cm Wide X 9.682 cm Deep X 3.175 in Tall