William Thorup

Illustrator, Motion Graphics Designer, Animator, and VFX Artist

Tag: gimp

  • Tales of a Jaguar Head | Flappy McFur Atari Jaguar Homebrew

    Tales of a Jaguar Head | Flappy McFur Atari Jaguar Homebrew

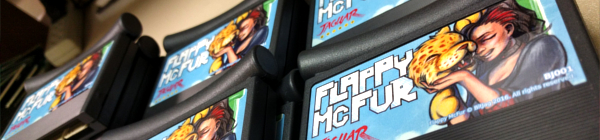
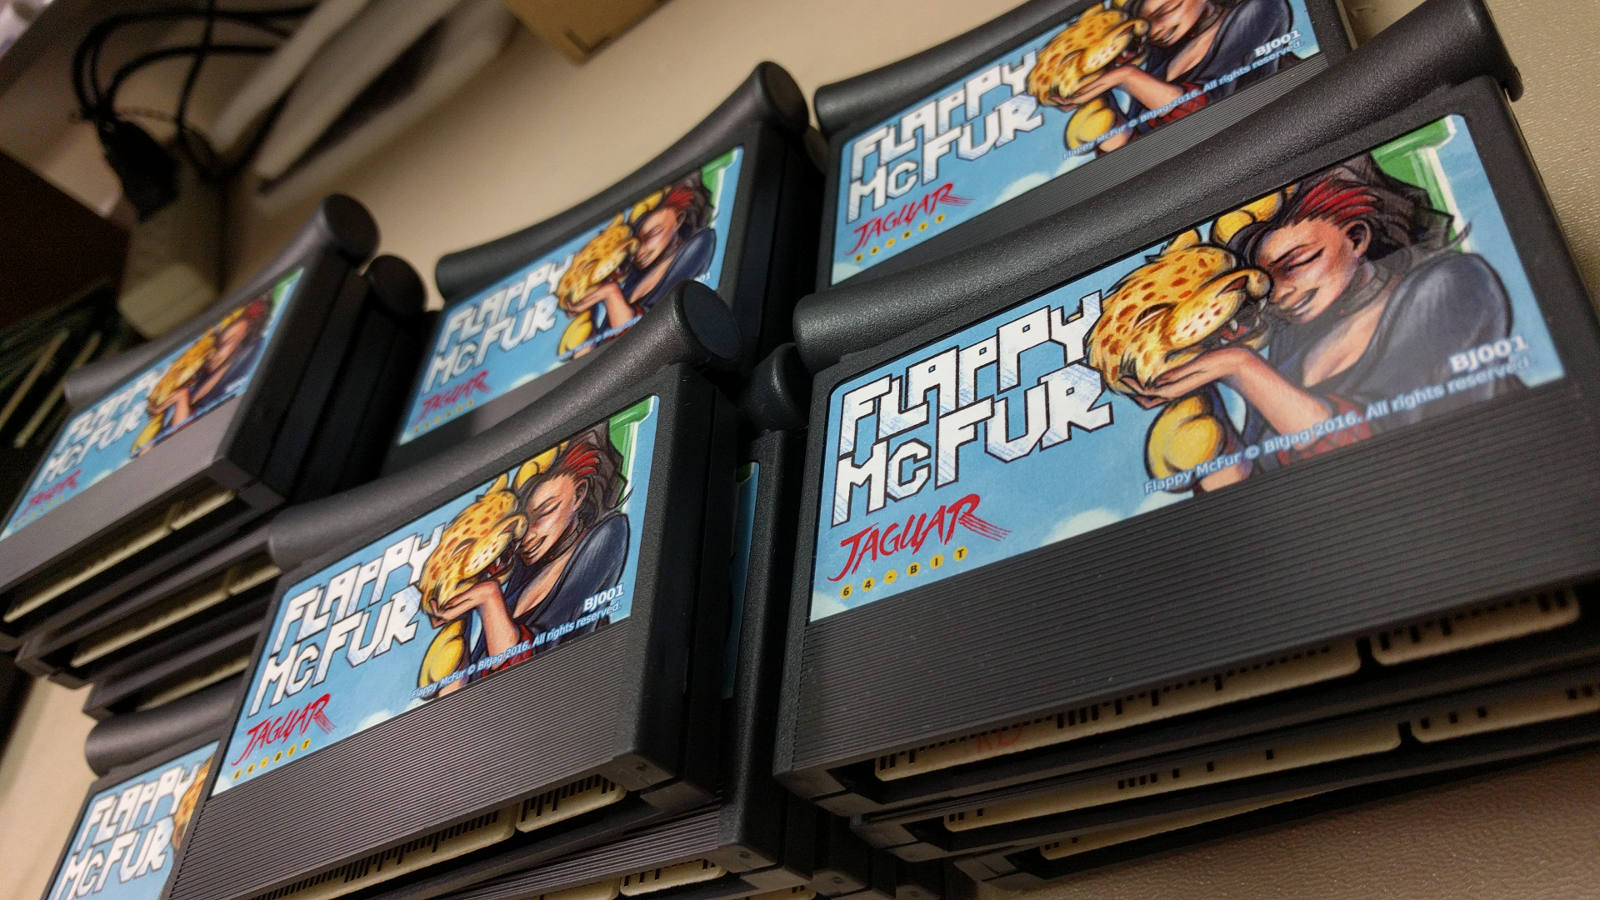
    Three years of learning. Three years of programming. Three years of drawing. And it all should have taken three weeks. Flappy McFur is finally in the hands of the masses, or at least the 80 or so individuals that were actually interested.

    The beginning

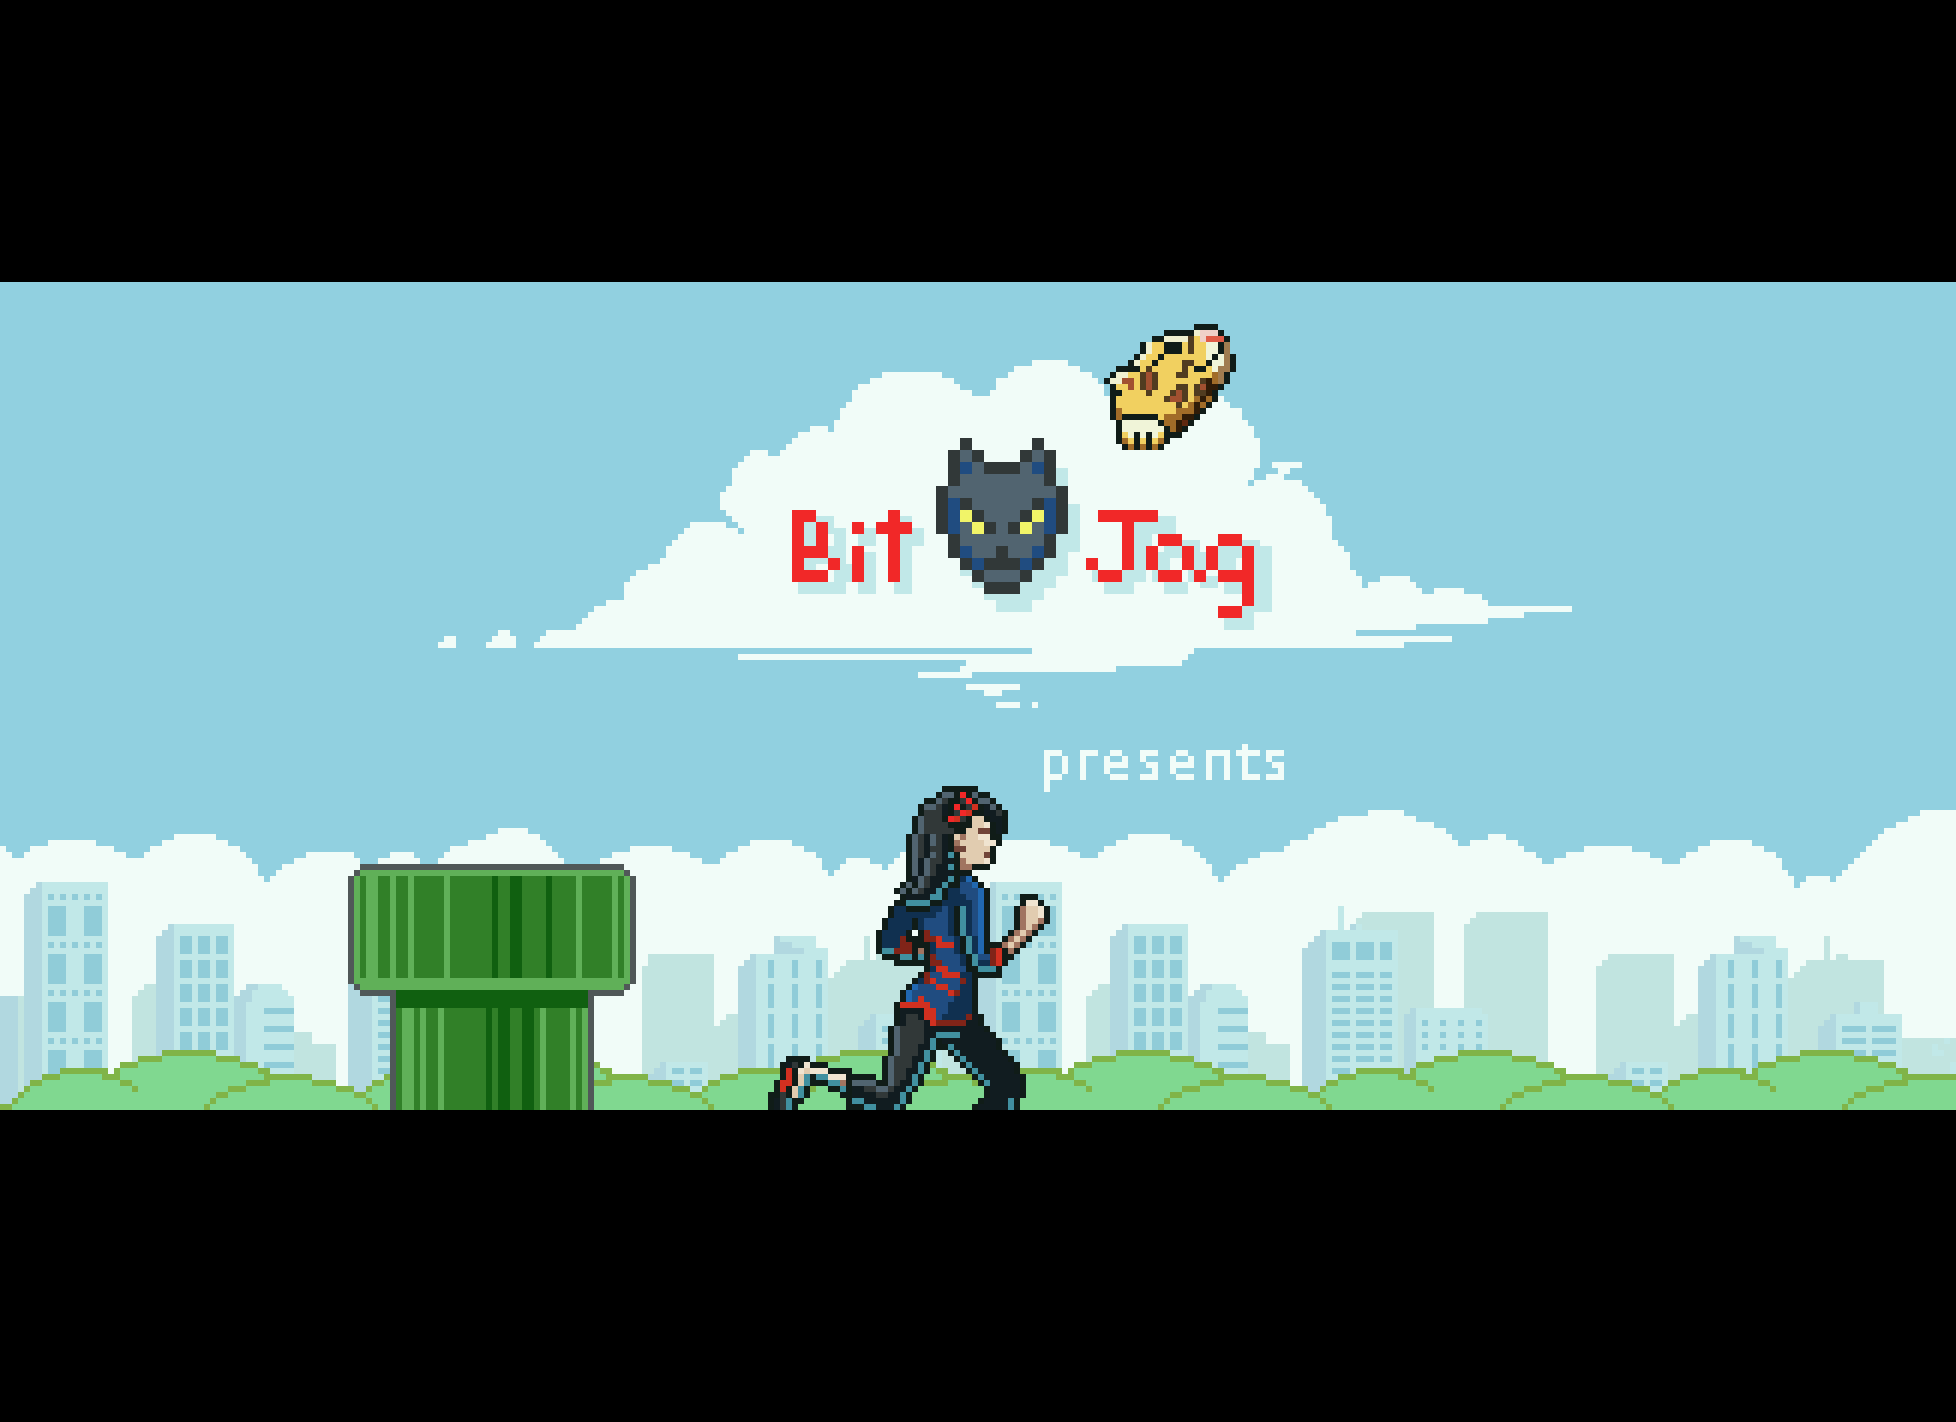
    Atari Jaguar programming has been something that my brother and I have been interested for years, and ever since returning from my church mission from Taiwan, I have made it a primary goal.

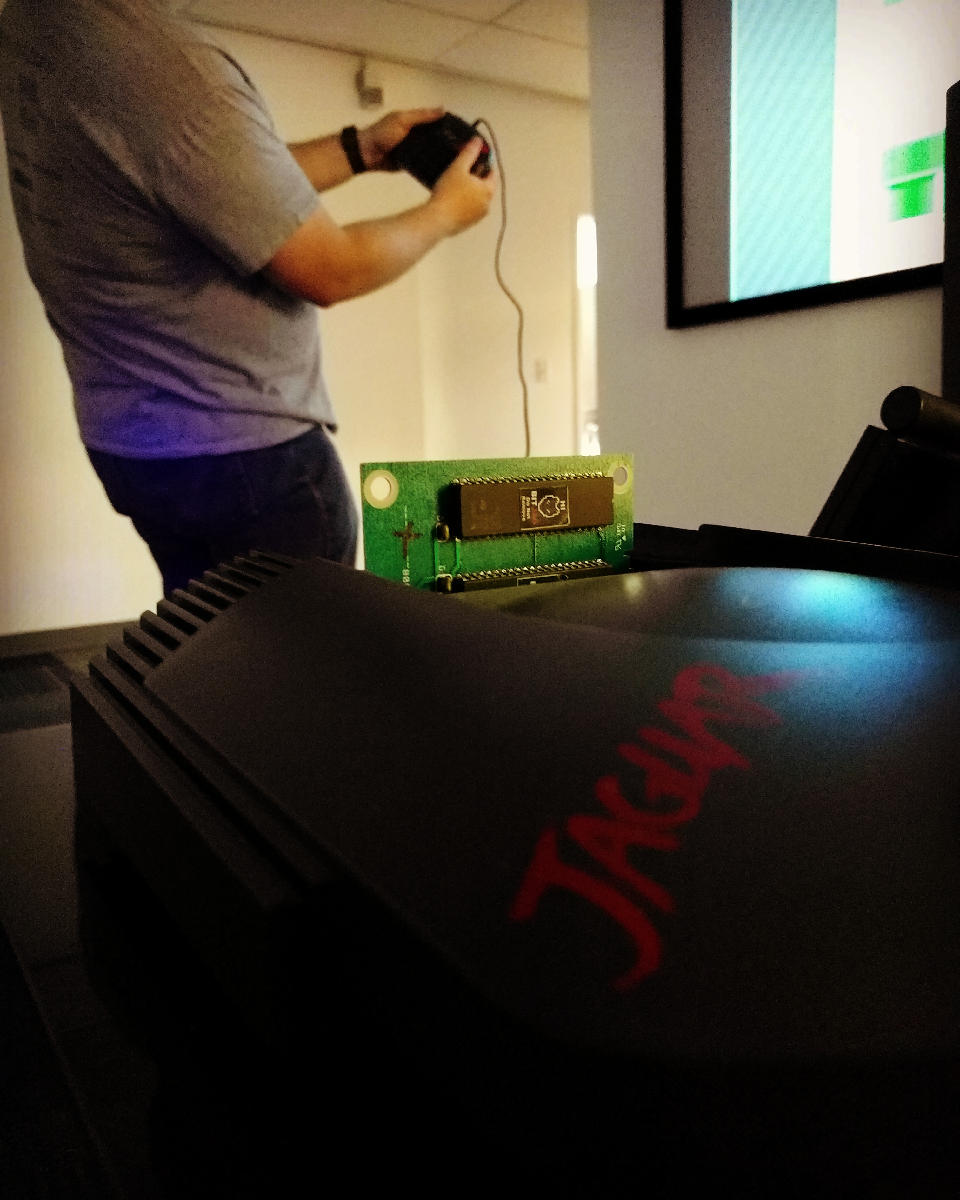
    With the formation, branding, and online presence establishment, all that was left was for me to learn a bit of programming, and start making games. To help facilitate the programming learning curve, we took on a request from Paul Westphal to put together a demo specifically for his booth at the Portland Retro Gaming Convention.

    Programming at this time wasn’t completely foreign to me, but C programming was. So this little demo was a great opportunity to start my C coding adventure, and it led well into Flappy McFur.

    Development

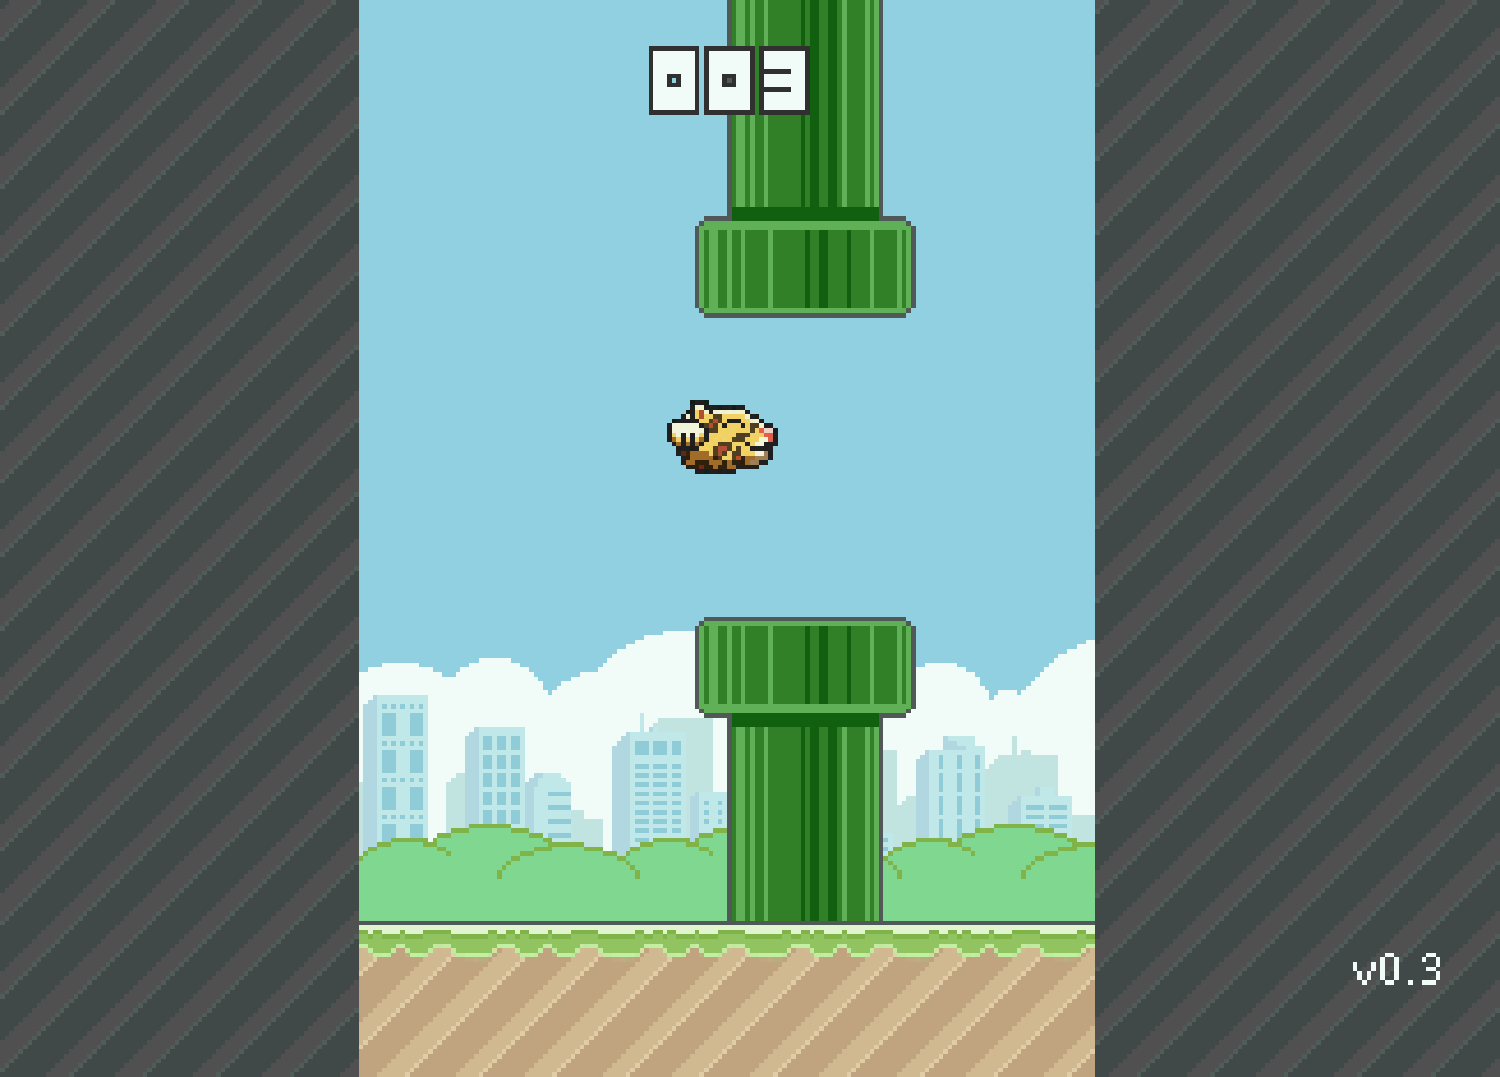
    Version 0.3 was the first fruit of my efforts, and the fruits were bearable. The gameplay was there, but it was far from enjoyable. McFur moved around more like a horizontally locked fly than a disembodied Jaguar head falling in style. But, the core gameplay was there, and this little demo was well received by those out there who look out for anything new for the Jag.

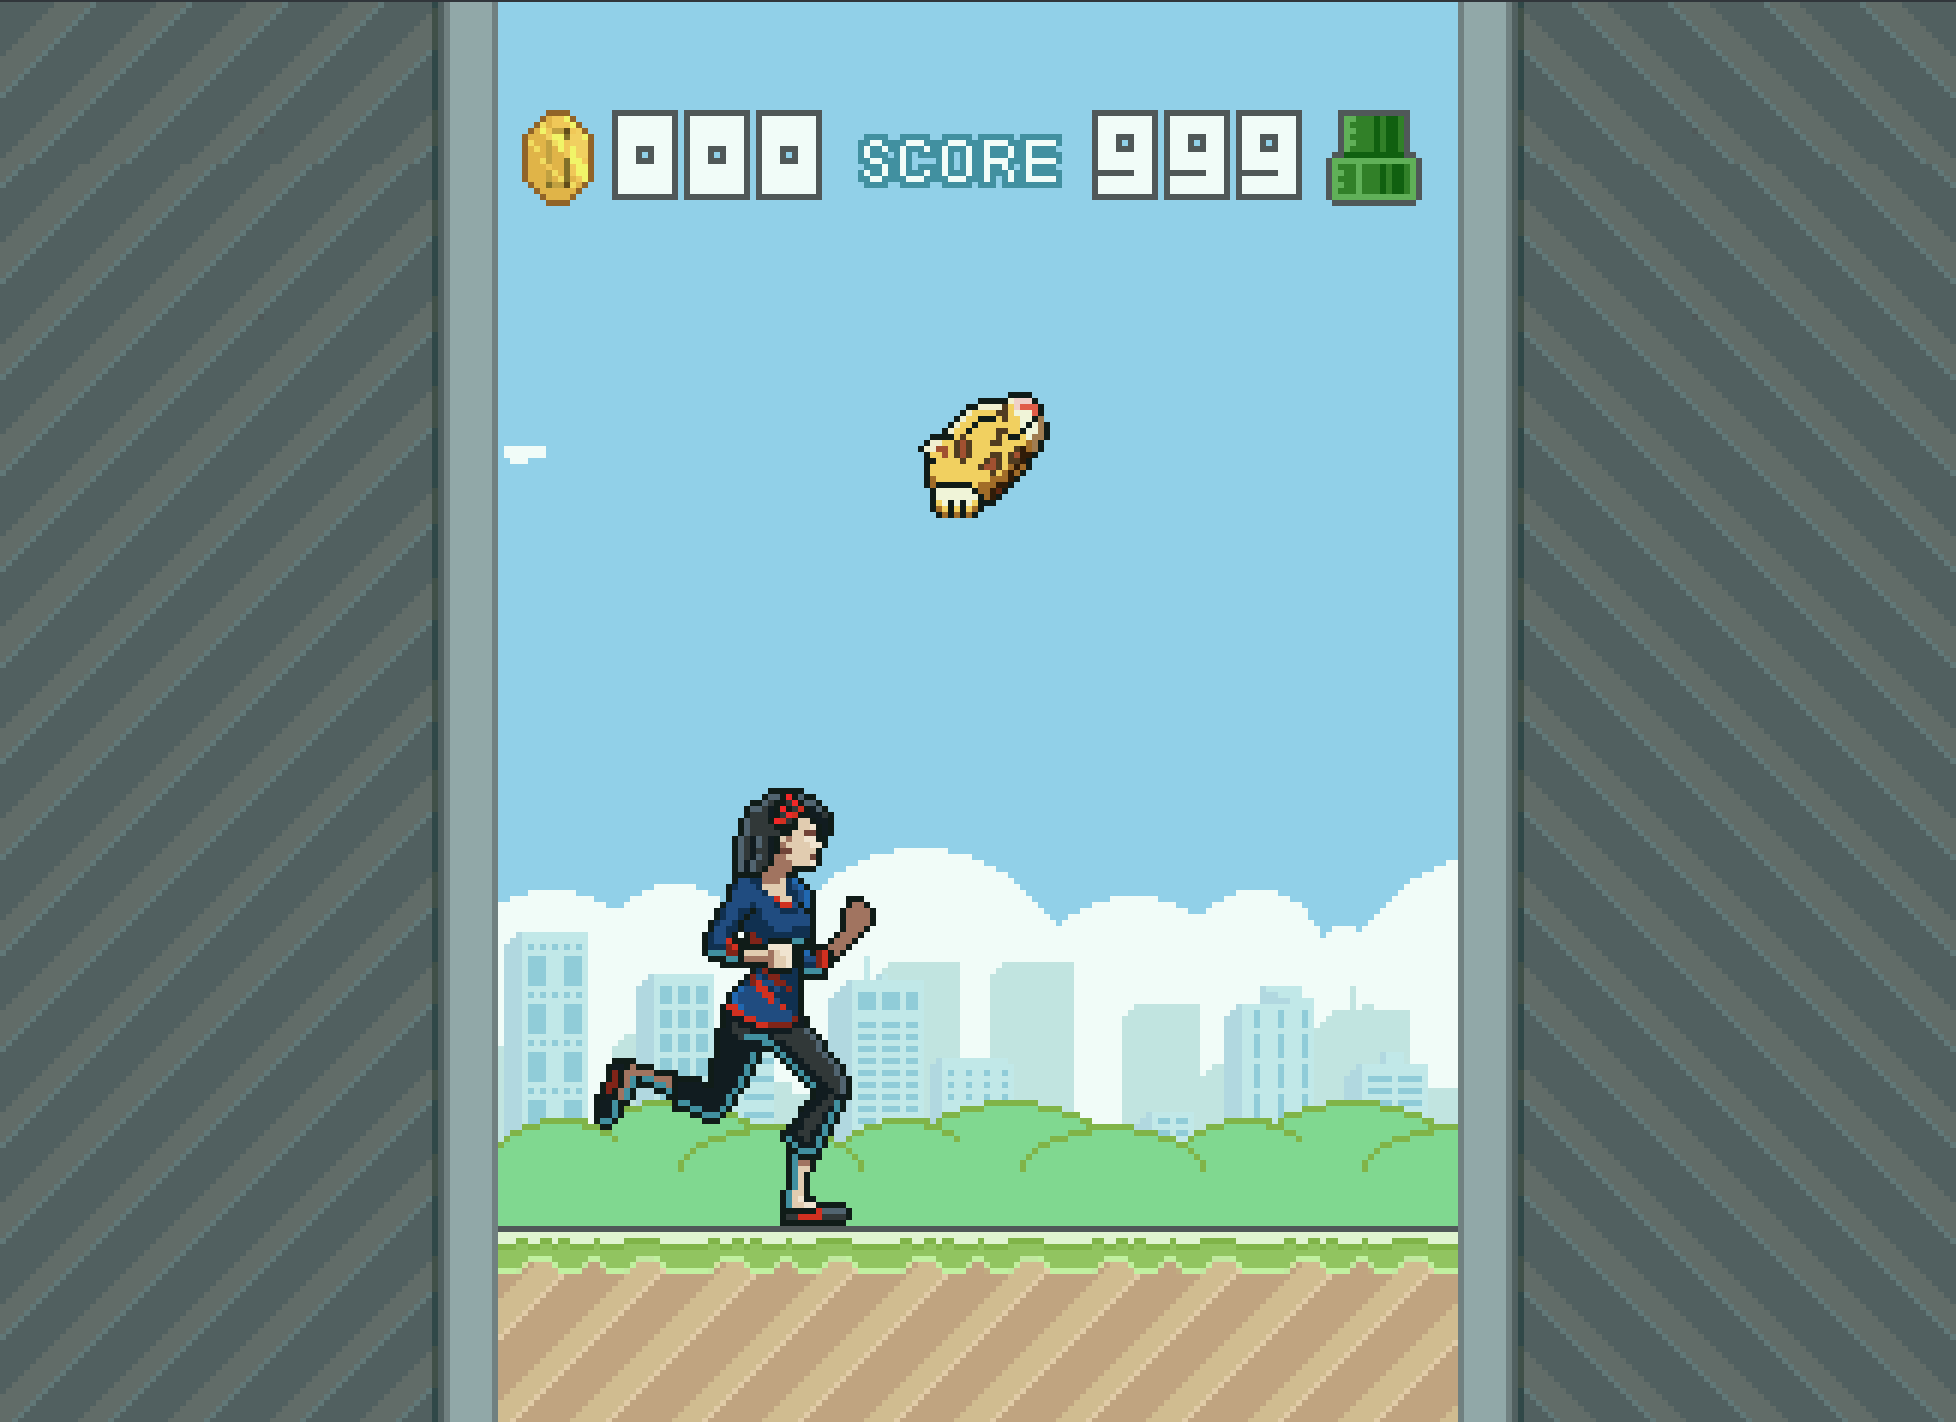
    After the demo though, there was polish. I planned out menu systems, with a simple achievement system. Worked out four different play modes that changed the speed of the game and how the pipes behaved. With Bryce’s help, a simple text engine was implemented to facilitate menus, and he also implemented the save code system. All of this along with an end game made Flappy McFur a much more noticeable product and a more enjoyable experience overall, with a bit of depth to the gameplay.

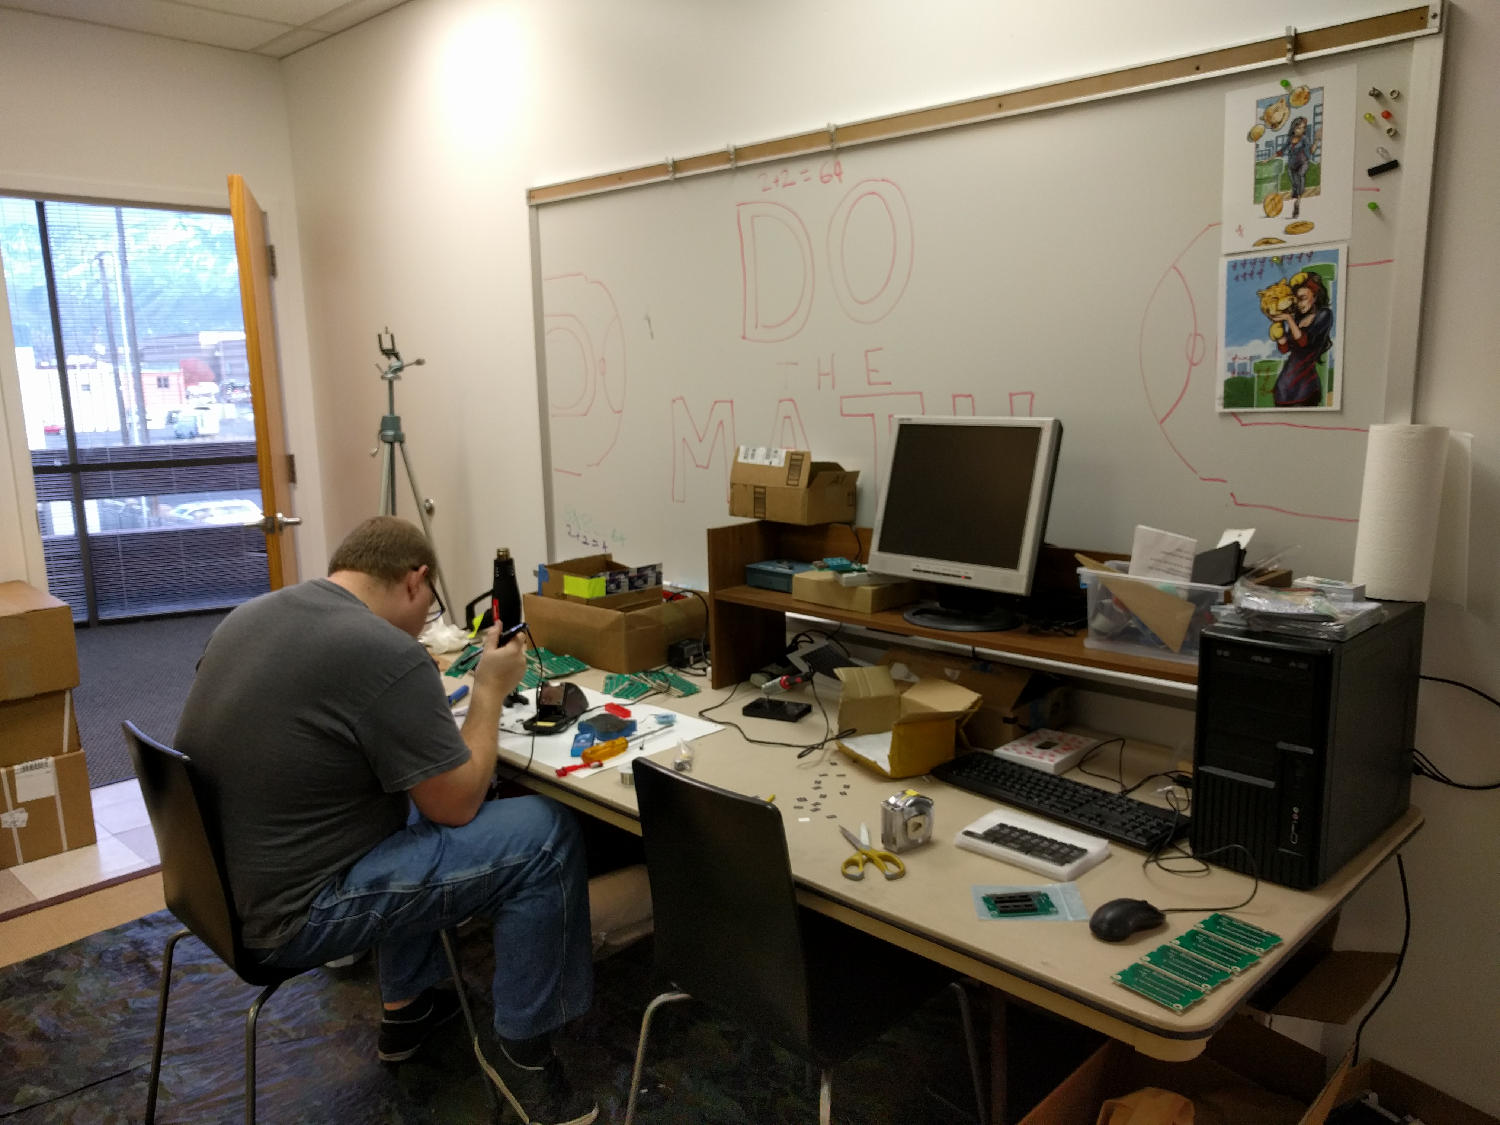
    Development also included some play testing. Usually I would setup our Jag-In-A-Box at family parties, Draw Nights with friends, or just let all the nieces and nephews have a go at it. It was interesting to see how some people caught into the gameplay really well, while others found it impossible. It made balancing the difficulty a bit of a challenge, this is one reason why the additional play modes were added. To try and accommodate a wide spectrum if players.

    Even though the game overall is fairly simple, there was a massive learning curve for me to overcome. Overcoming that learning curve has had its payoff though, and I feel much more prepared to takle our next project.

    Art

    Sprites and Palettes

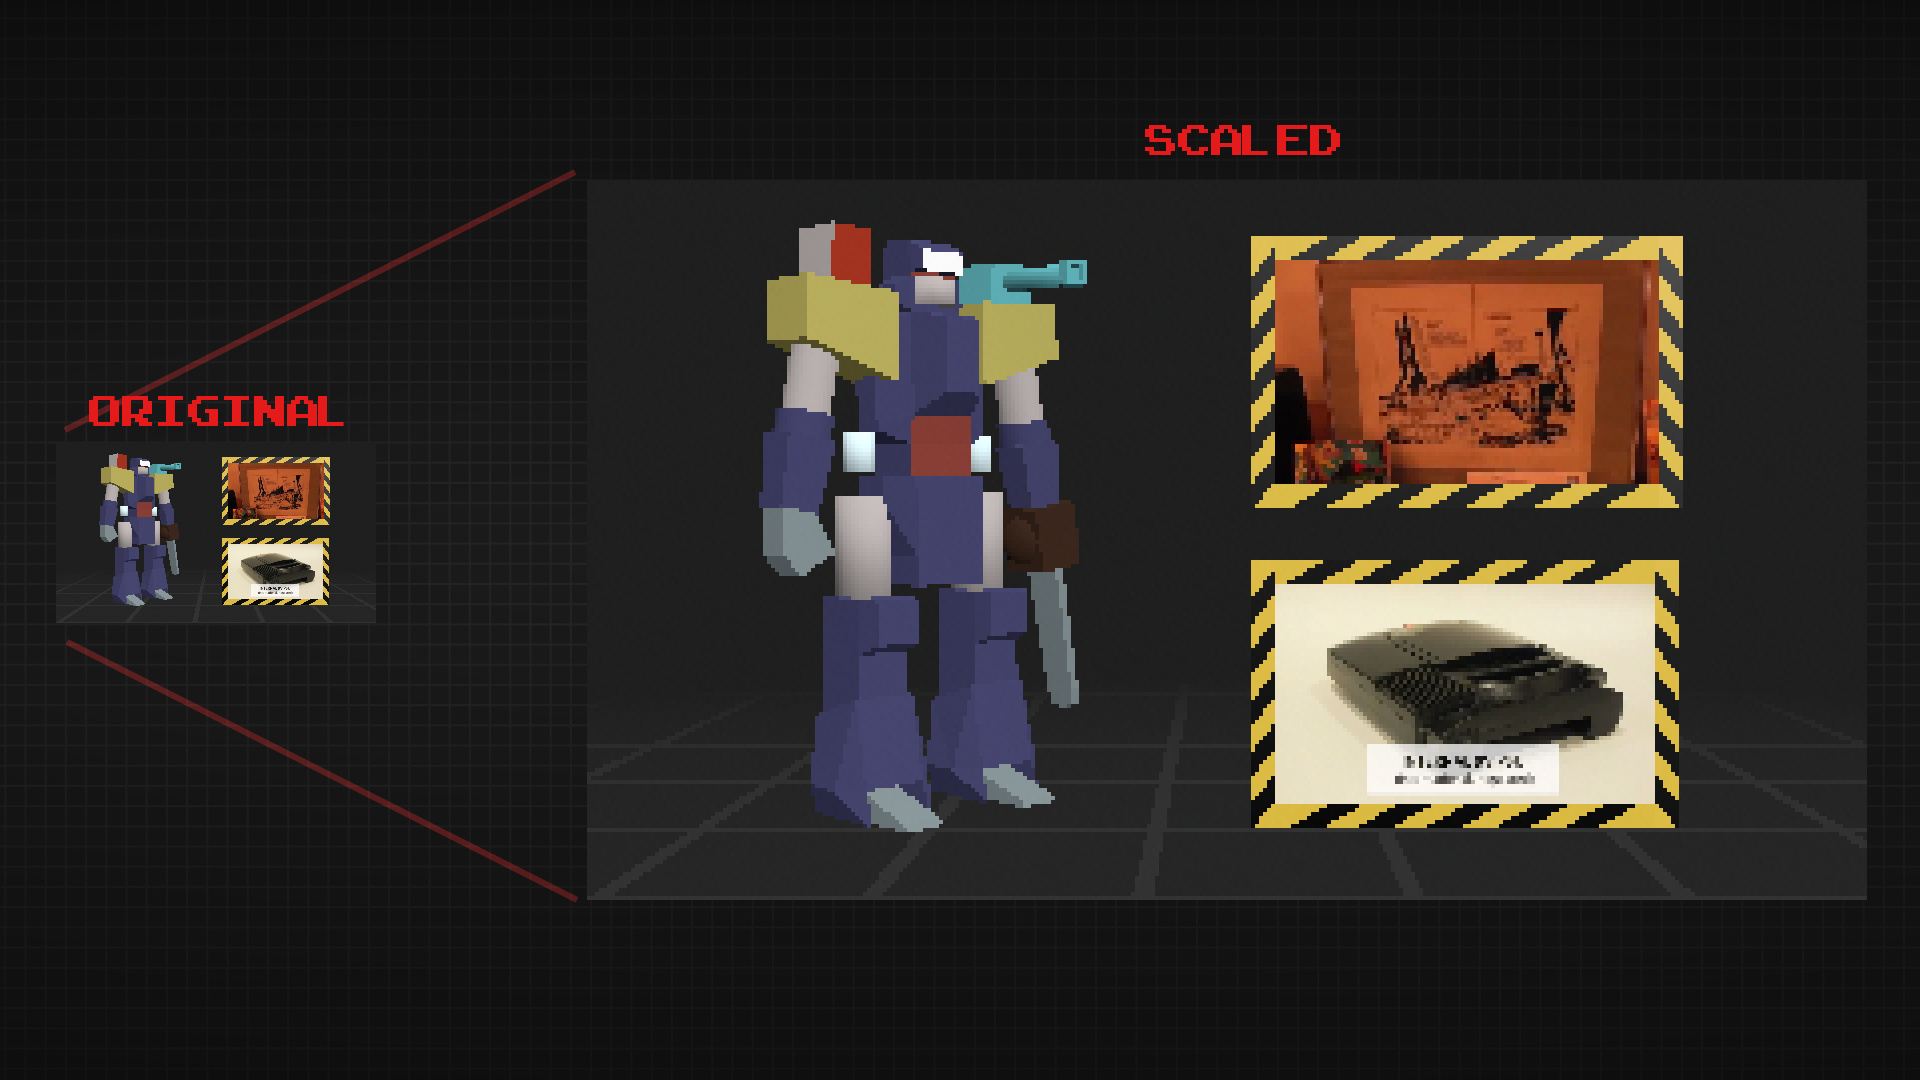
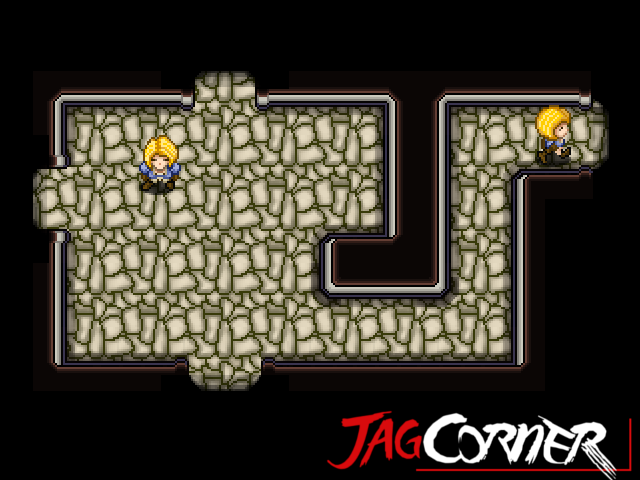
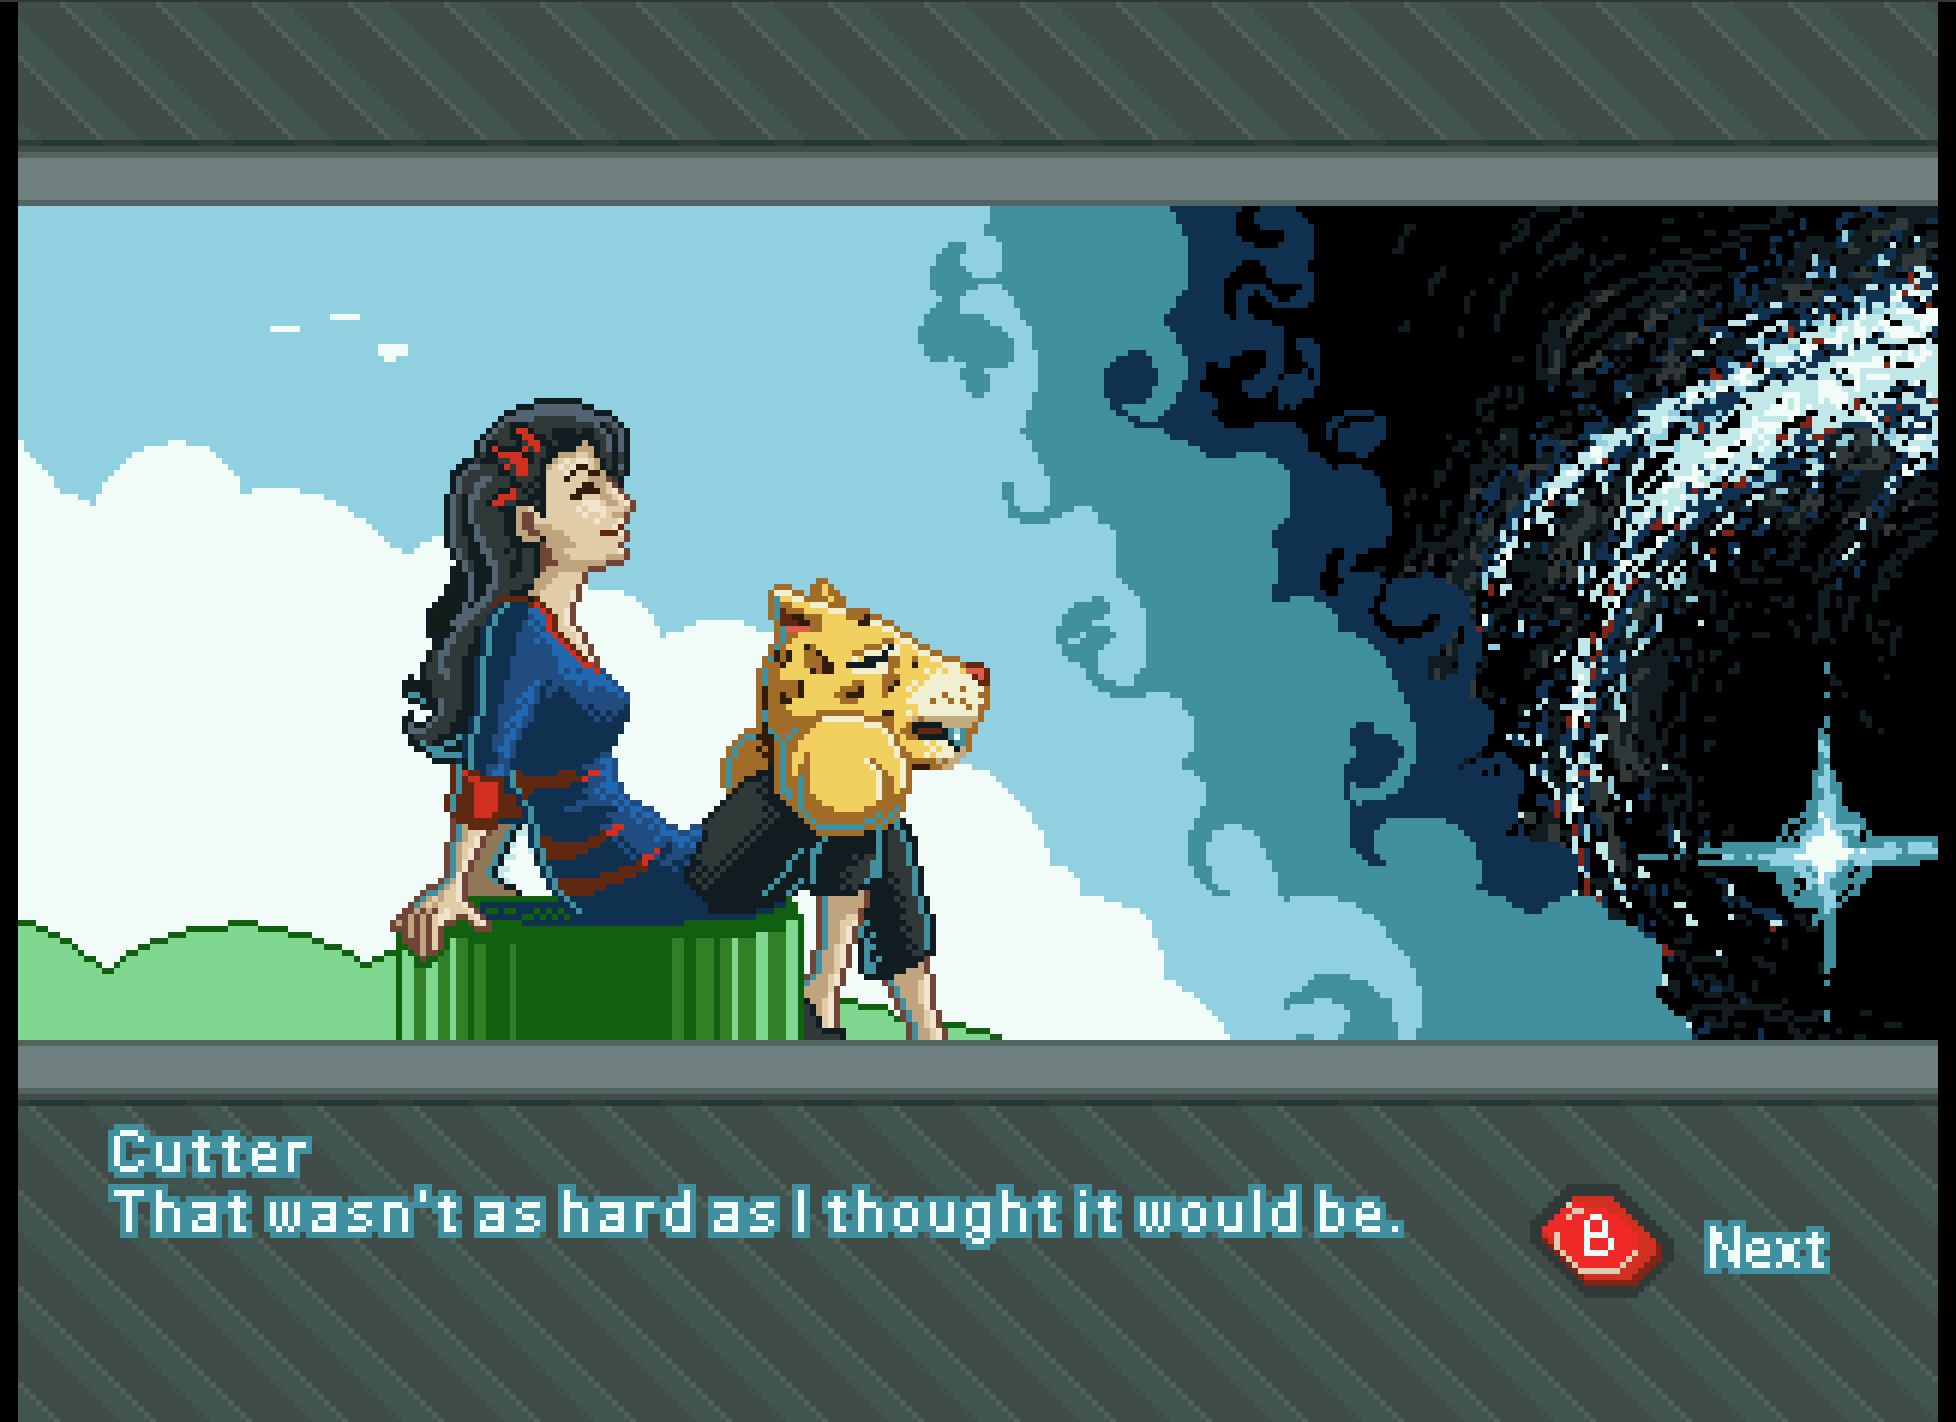
    Though few, painting sprites for this game was a highlight if the whole experience. Working with reduced color palettes and putting together simple animations like rotations of objects and the achievements, to more complicated animations like Cutter’s run cycle, all were a joy and remind me how much I love animation in general.

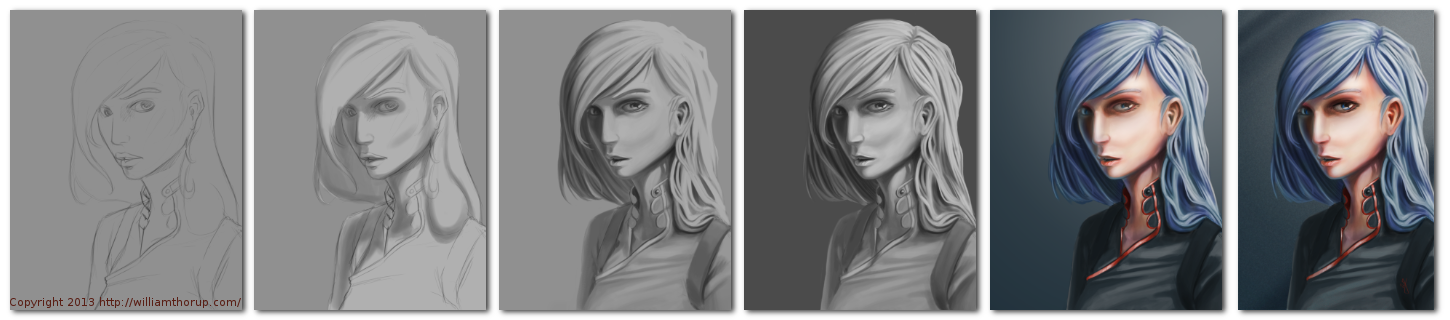
    We used the Gimp primarily for sprite work. I have been using the Gimp for nearly two decades now, and it is great support for paletted graphics with a more than adequate tool set. I did use Krita for Cutter’s run cycle animation because they had recently implemented a basic 2D animation tool set in Krita, but with the lack of palettes graphics support, I still needed ti pump those graphics through Gimp to prep them for Jag. Krita is supposed to have palettes graphics support in the near future, and I am looking forward to using Krita exclusively in my pipeline.

    With all that in mind, when I actually started putting together Flappy McFur, I was a bit lazy in figuring out how to do 8-bit paletted graphics. So, for a long time, I was dealing with performance issues, especially when music was implemented. It wasn’t until late in development that most of the graphics were converted to 8-bit paletted sprites for 16-bit sprites. This was a good switch though as it allowed us to do fade transitions easily.
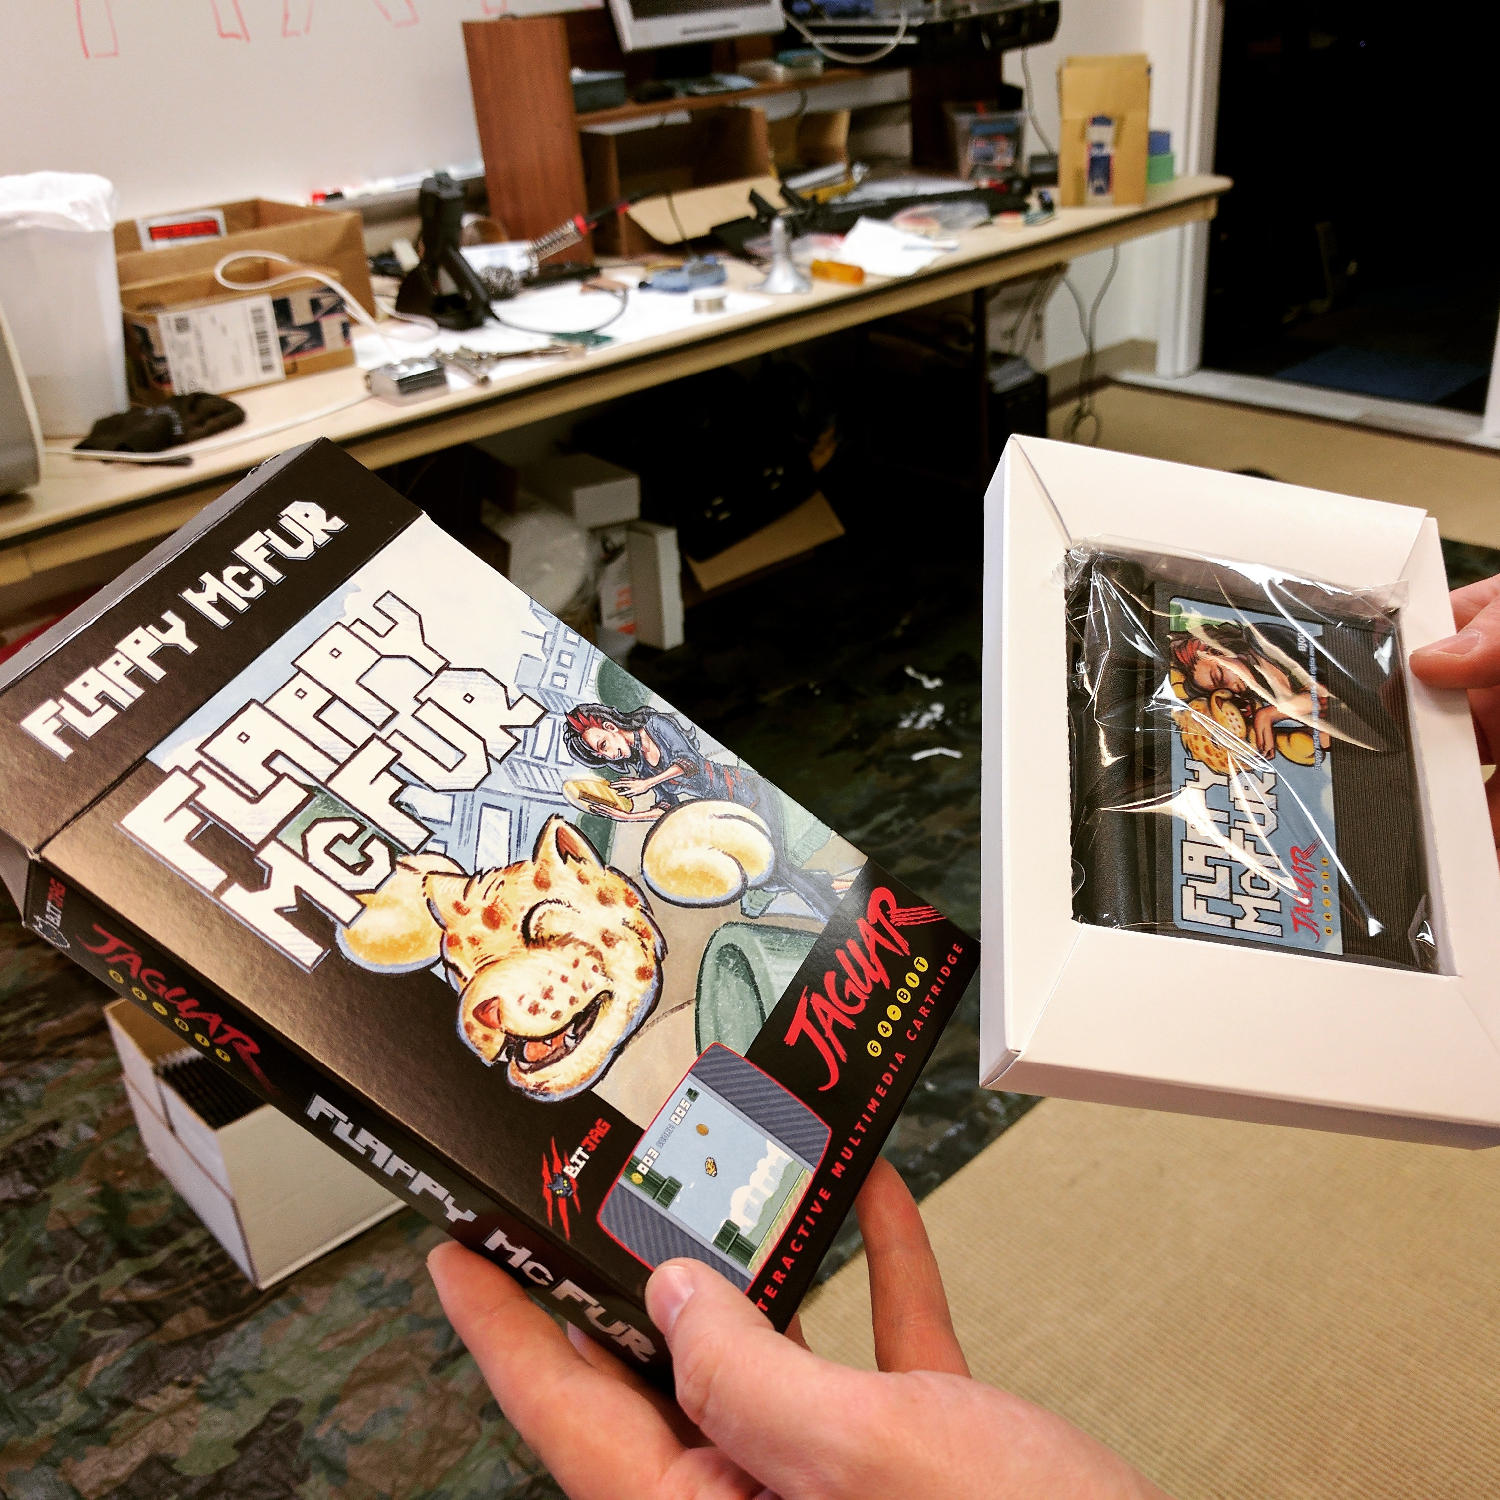
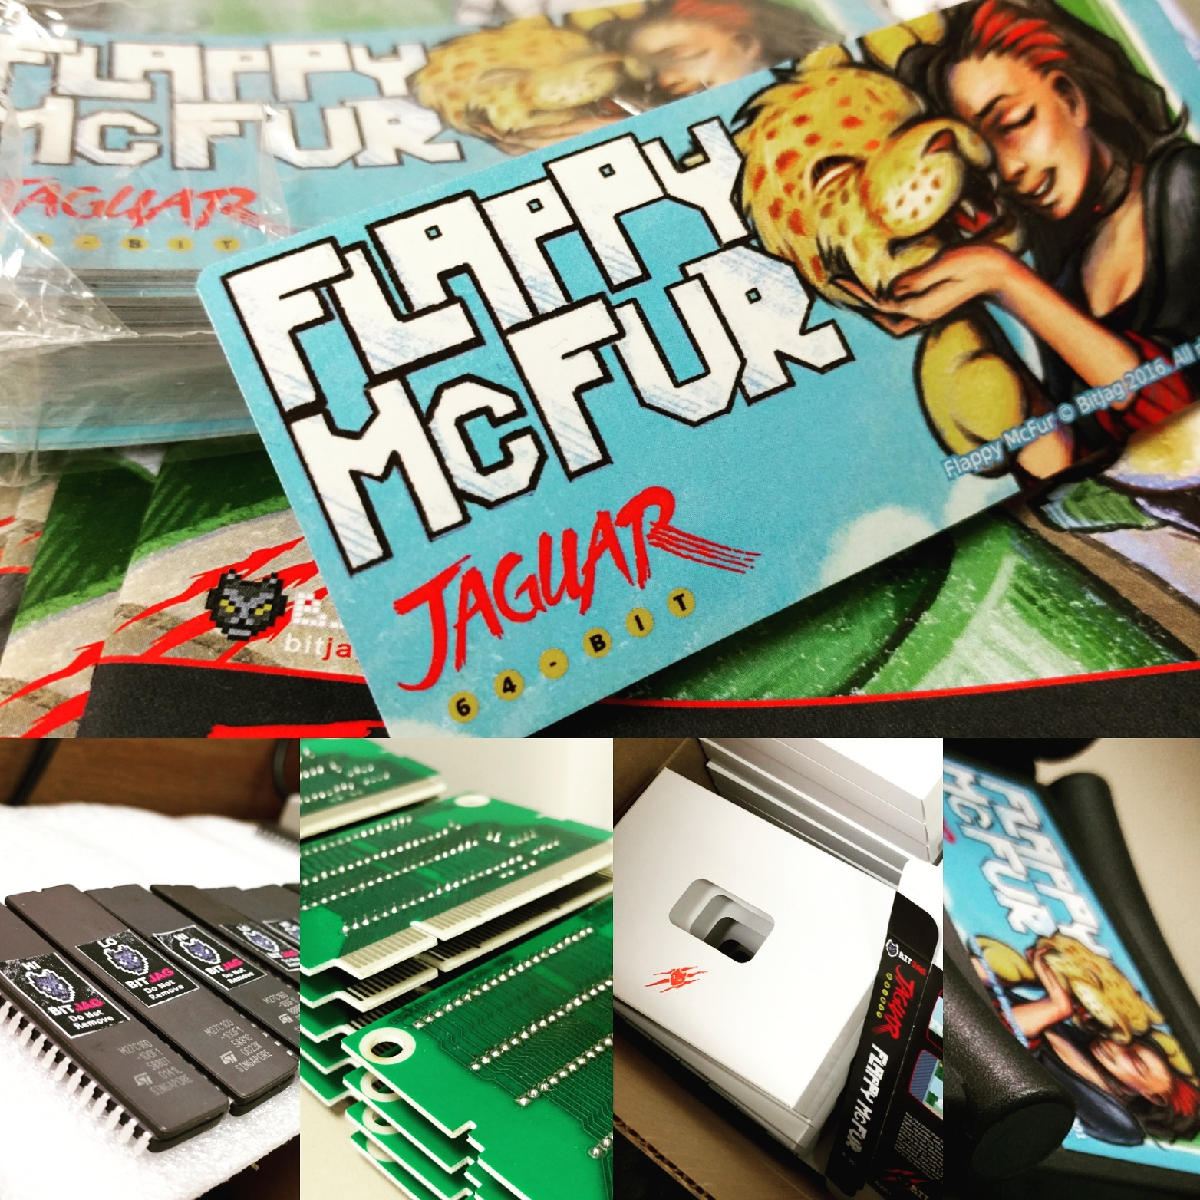
    Box and Manual Art

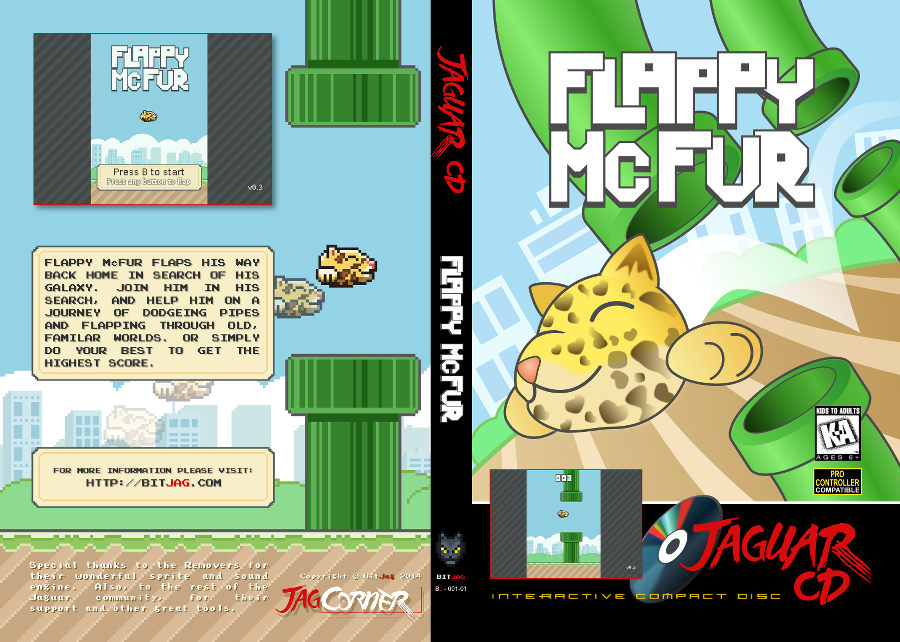
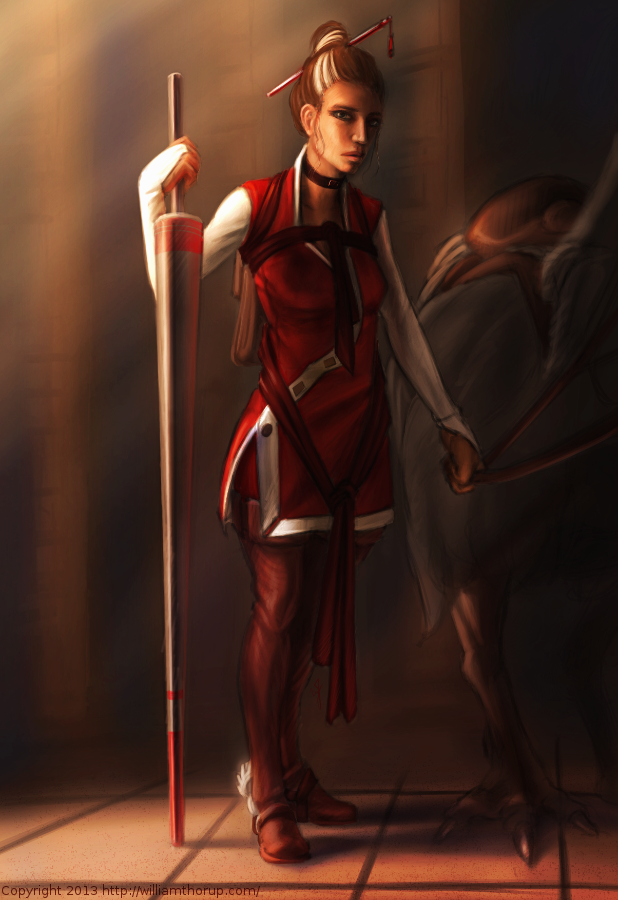
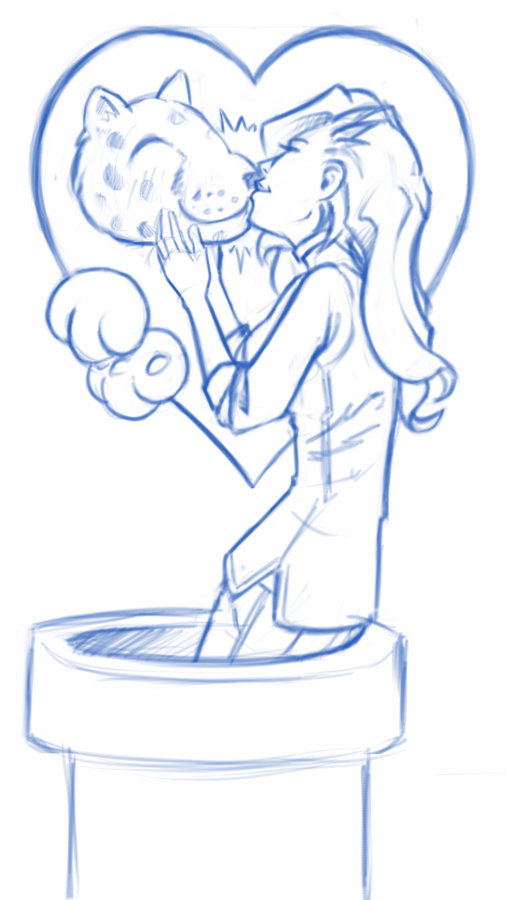
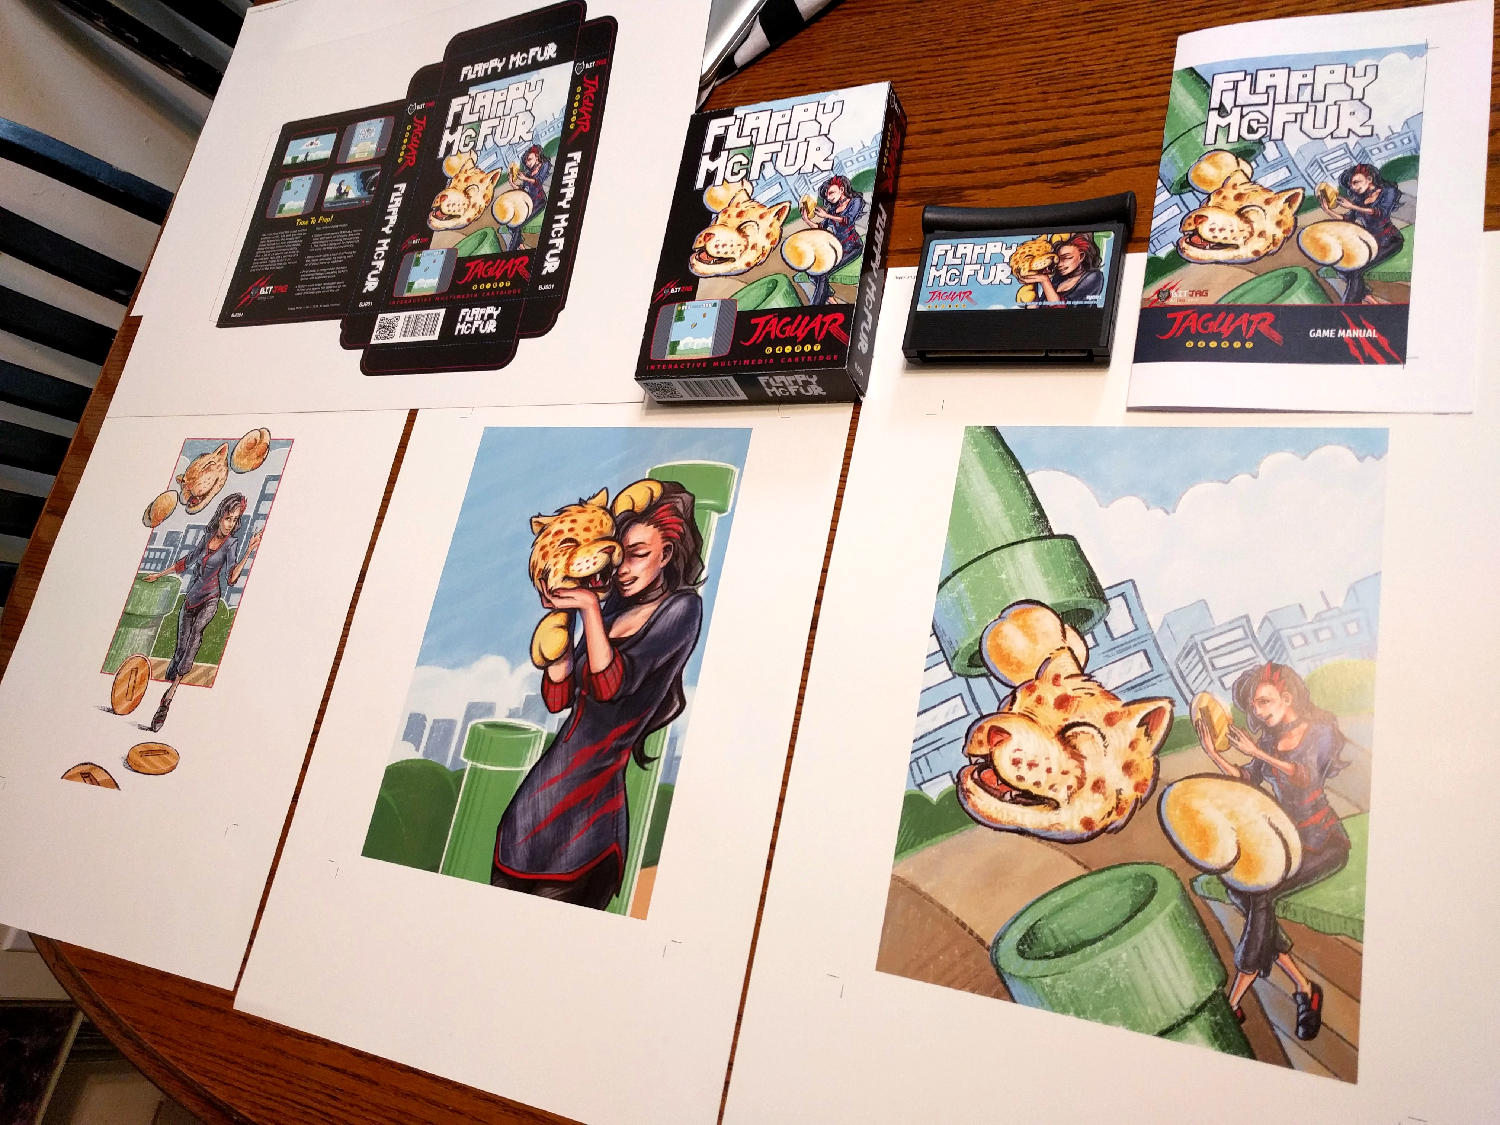
    I initially wanted to do more artwork for the game, but the 3 primary illustrations ended up working really well for our needs.

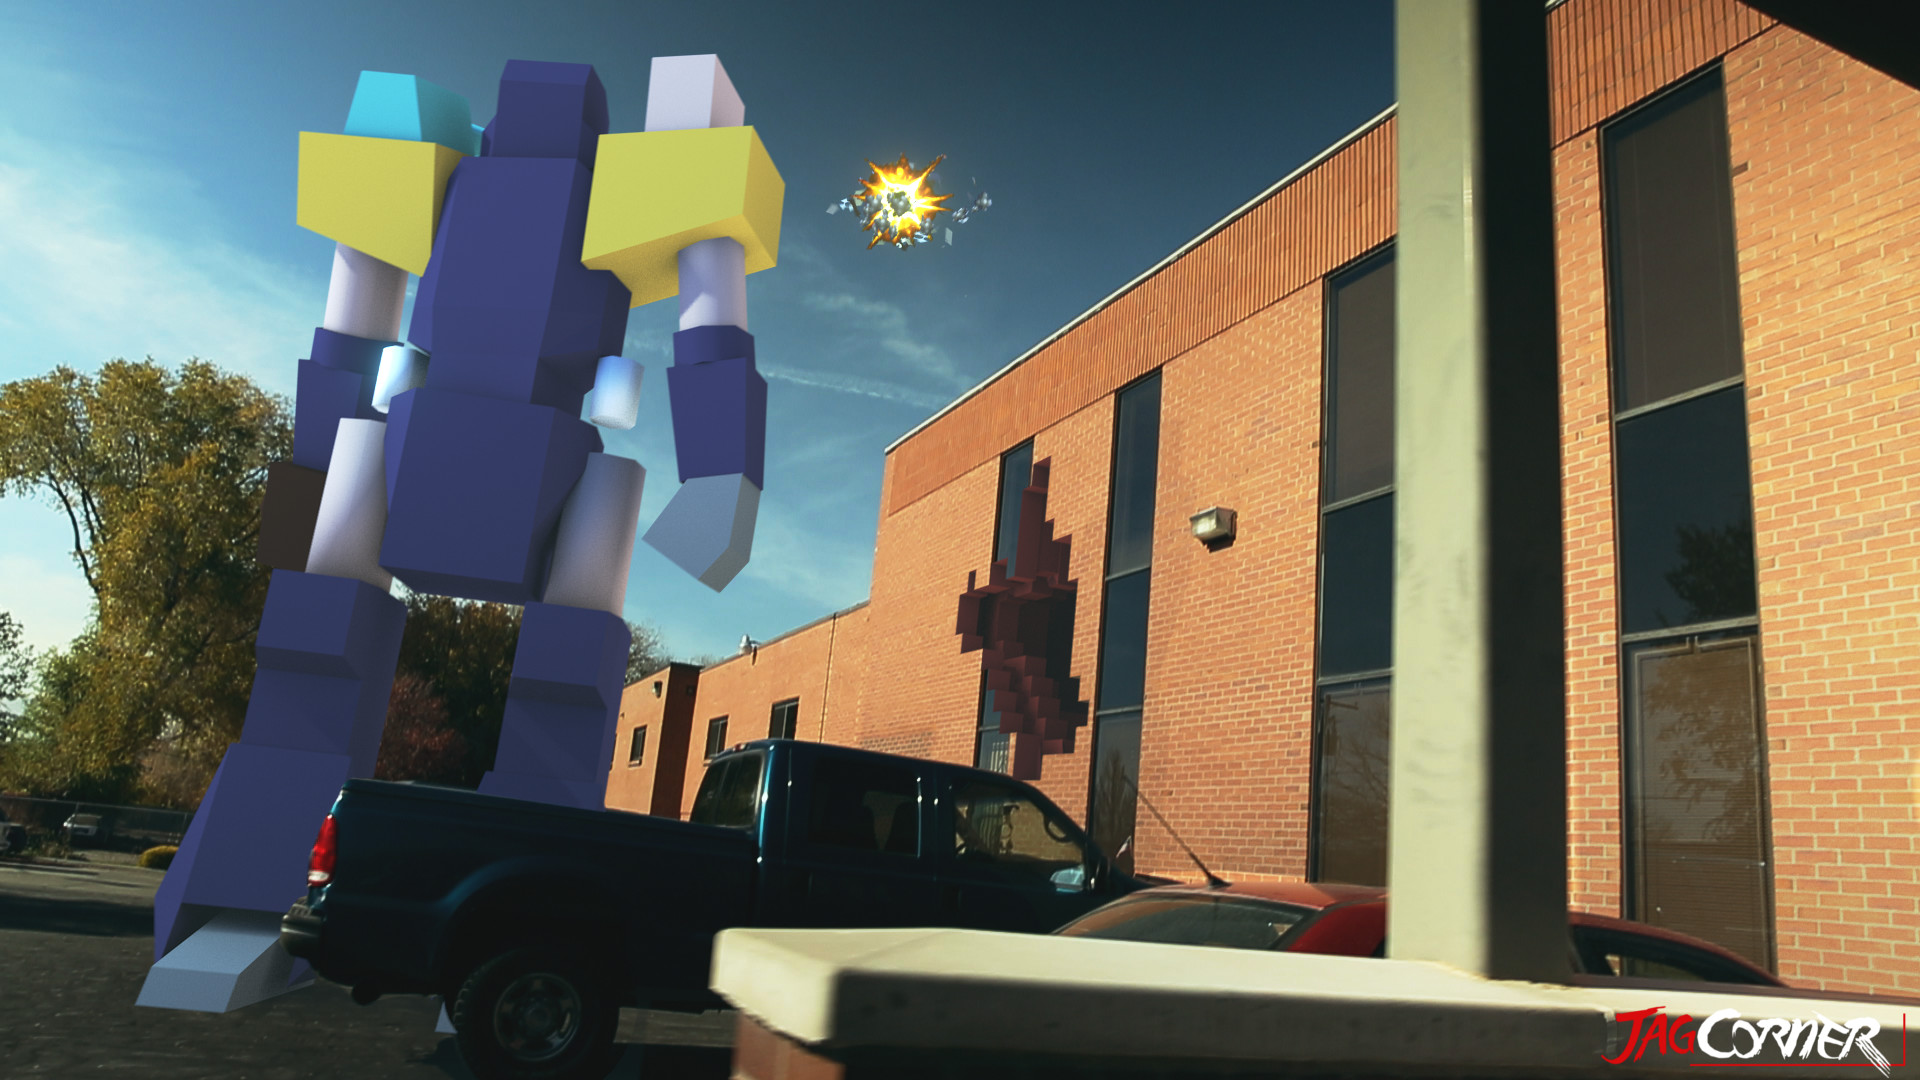
    The first illustration was used to establish the character relationship and heavily influenced the game in both tone and narrative. The colored pencil and crayon look of the artwork was intentional as well. It gave it an elementary, non serious feeling throughout, inviting everyone to come and pick up the controller and play.

    Video Content

    I tried to keep any video advertisement minimal since the beginning. Primarily because if how time consume it is, but also because of the uncertainty of actually releasing the game.

    When we decided to actually finish up the game and release, effort was spent to get a good video for advertising the game, and a good gameplay video. At the end of the day, I am not too sure how much these videos helped at the end if the day, but they were nice to have, and will be good to have for history’s sake.

    The release and marketing

    Newsletter

    In and effort to reward our mailing list subscribers, we made sure that everyone that had signed up knew about the game first, we also provided a small discount for them as well. The discount was taken advantage of by a handful of our subscribers, and is something that we will definitely do in the future.

    Press Release

    It was fun to actually learn how to put a press release together for news websites. I distributed to a handful of people, with little response. Again, this was good to get familiar with, and it serves a good historical purpose. You can read the press release here.
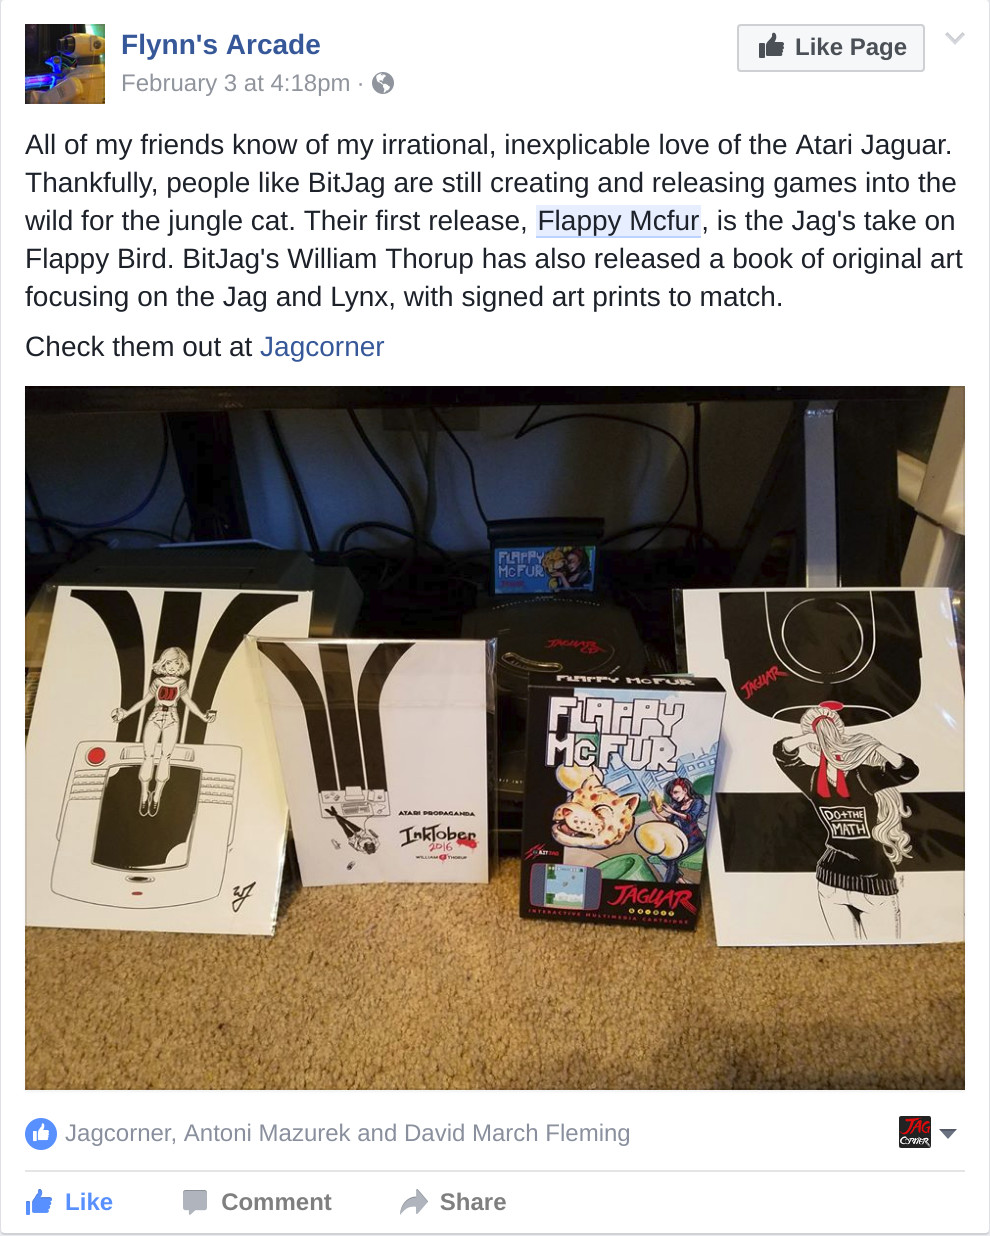
    AtariAge post

    We had a great response from the AtariAge community. With part of the press release and other details about the project, including videos, we began selling the moment the announcement hit the forum. AtariAge Forum Thread – http://atariage.com/forums/topic/258180-flappy-mcfur-homebrew-now-available-to-order/

    Before people actually had the game in their hands, many of the comments were about the pixel art, and general support for the release. Responses to gameplay have been… mixed, maybe. Its hard to tell if people don’t want to say anything bad about it, or they are just a bit frustrated about its’ difficulty. Either way, below are a few reactions for the AtariAge forum thread.

    Hyper_Eye

    My wife and I enjoyed spending the evening playing Flappy McFur a couple nights ago. It’s certainly addictive. I found myself getting the controller back less and less. My wife and I probably haven’t played Jaguar together in 10+ years. She buys me Jaguar games as gifts and watches me open them. Maybe she’ll watch me play a bit. It was nice to actually play together. Thanks for the effort you put in to it!

    Swansea_Mariner

    Wow this game is hard, I just can’t get past pipe no. 9! I really like the dogger mode.

    Saturn

    Thank you (all) for this wonderful addition to the Jaguar library. Hope to see more.

    Reviews

    By way of reviews, we did have one website review and one YouTube review. Both favored the game. Thank you for the reviews! Links below.

    A small mention on the Retro New Roundup – https://youtu.be/FfeYMKsktFM?t=3m22s

    A more full written review on a more official news website – http://thegg.net/retro/atari-jaguar-gets-a-brand-new-homebrew-game-called-flappy-mcfur/

    A fairly thorough video review done by crusherbad64 – https://www.youtube.com/watch?v=5lo5AHXrhCU

    A nice little mention of Flappy McFur on a French Jaguar fan blog – http://jagfan.canalblog.com/archives/2016/11/03/34517203.html

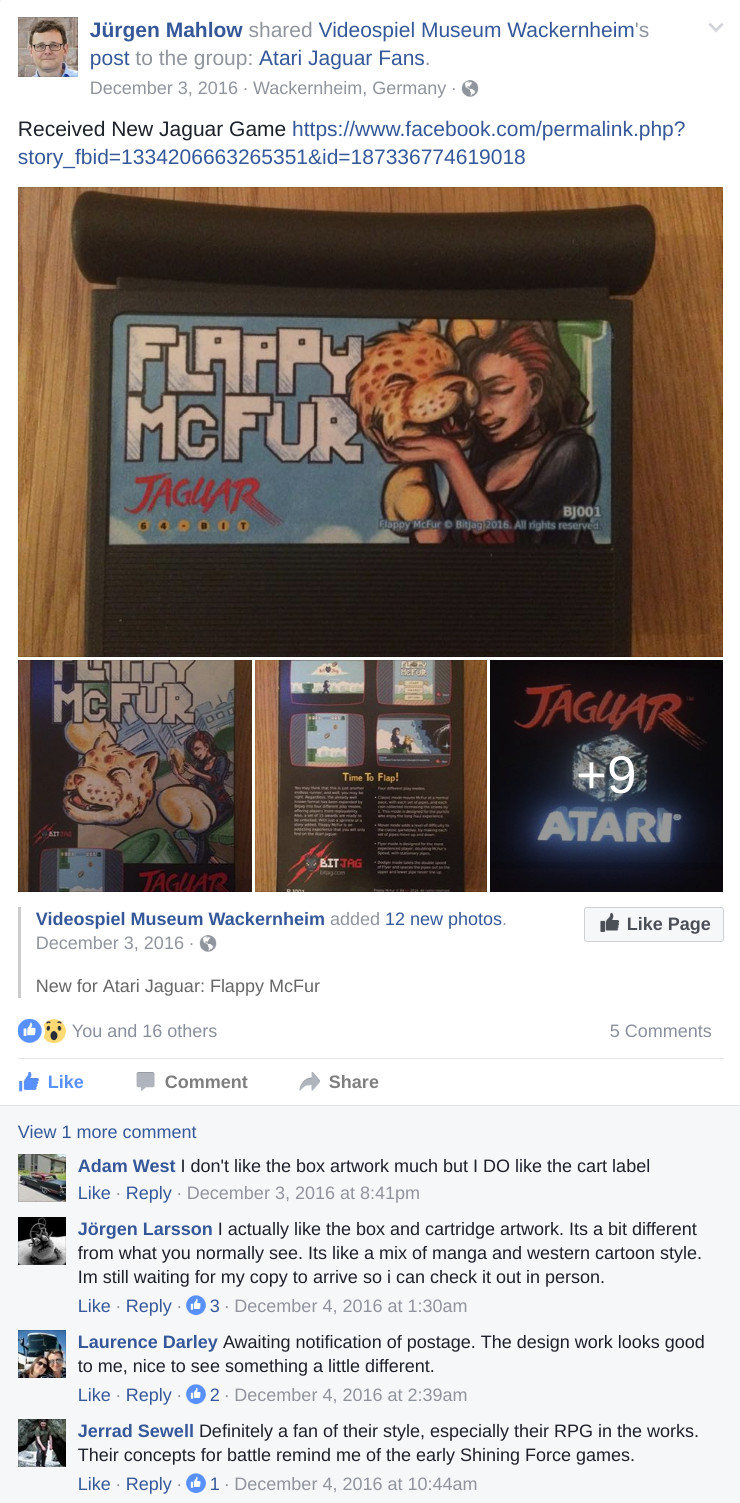
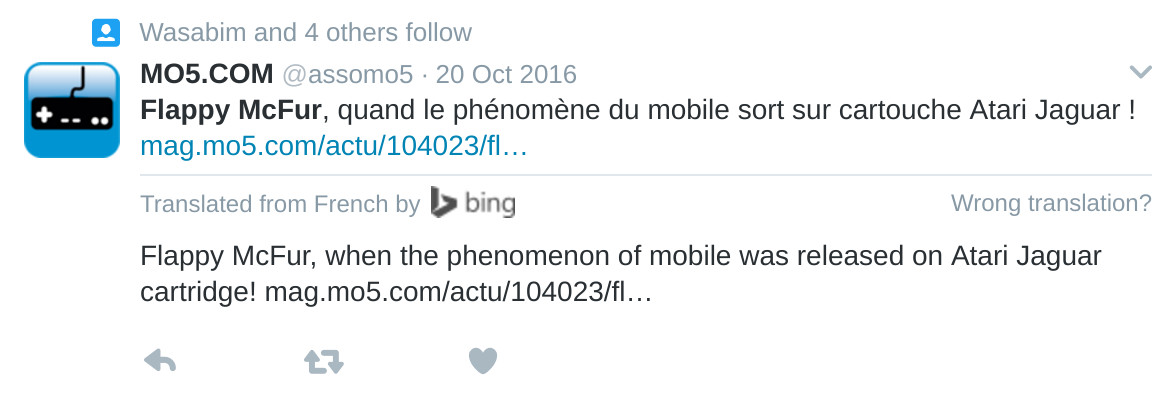
    Other Social Media Posts

    Links

    Flappy McFur BitJag Project Page – http://bitjag.com/project_5.html

  • Play Books & Times Square with Overstock.com

    Play Books & Times Square with Overstock.com

    Over the last few months Overstock.com has given me the opportunity to work on a few 15 second broadcast motion graphic spots/commercials for Overstock.com. These covered three separate sales that aired on national television between March and July of 2015.

    I first want to thank the branding team at Overstock.com for their help in putting this together with me. They usually have me come into their office to work, in order to speed things up. These spots are as good as they are because of their input and critique. Thanks guys!

    Mega March Markdown | 15sec broadcast commercial – Based heavily on the in-house design teams playbook, with addtional consulting from Trevor Rimmasch. Thanks Trev!

    Most of the work done on these was in After Effects, due to time constraints (all of these were put together withing 2-3 days!). I would have rather had done these in Blender, as I would have had more options available to me. Overall the experience was good working on these commercials, and the highlight was to see some of the designers faces light up when they first say their work animated in a final commercial.

    Generic Summer Sale Spot | 15sec broadcast commercial – Again, based on an in-house Play Book. The title card is one of the first photo maps I have done. Cutting out pieces of a photo and placing them within 3D space to give the illusion of parallax and depth.

    Something that made these so different from previous work I have done, is the inclusion of a “Play Book” or “Style Guide” put together by their in-house designers and artists, for their web departments. These guides are awesome in that they reduce the amount of questions needed to be answered when approaching the commercial, and debate is brought to a minimum as well. If there is a question about what something should look like, color to use, typeface, etc… no guess work, just look at the Play Book. A huge help when working as a team on something.

    Once in a Blue June Sale | 15sec broadcast commercial – There wasn’t much of a Play Book for this one, but it was still based on the designs of an in-house designer, with additional input by Aaron Syrett and Trevor Rimmasch.

    jewelry_sale_gtron_1jewelry_sale_gtron_3jewelry_sale_gtron_2blue_june_gtron_2blue_june_gtron_1

    And to top it all off, I also had to edit down the Once in a Blue June spot, and an additional Jewelry Sale Spot, for the Geoffrey Tron at Time’s Square in New York City. It is an awesome feeling knowing that some of my work is getting exposure in Time’s Square.

  • Atari Jaguar | Flappy Mcfur Pre-Release Box & CD Art

    Atari Jaguar | Flappy Mcfur Pre-Release Box & CD Art

    My brother and I have been working hard on the Atari Jaguar stuff, and new ideas, art, writting, and code, trickles into each and every project everyday. Flappy Mcfur is the first fruits of our efforts.


    flappy_mcfur_cd_lable_web

    Obviously a Flappy Bird clone for the Atari Jaguar, this program really was just a training ground for me in C programming. It was fun getting the basic assets together, and code the various aspects of game. From menus, to score keeping, and movement of Flappy McFur. Speaking of movement, it is very rudementary, and the next version will have movement more akin to Flappy Bird.

    flappy_mcfur_dvdcase_insert_front_web
    flappy_mcfur_dvdcase_insert_back_web

    The box art and CD art were both put together in Inkscape, with screenshots from the actual game. Currently we are not sure if we will actually be making and selling physical versions of the game, but I though it might be nice to give people who download it, the opportunity to put together something nice for it if they wish.

    The Pre-Release trailer was a blast to put together. I wanted something that would build up, and then let the viewer drop, realizing it isn’t anything too amazing. I really like the way the fly around with the console came out. I haven’t used lattices in 3D animation for a long time, and they poved really effective for bending the flowing text around the various contours of the Jaguar console and controller. The footage of gameplay was captured using the Virtual Jagauar emulator, and it plays almost exactly how it does on the actual Jaguar hardware. It’s such a simple game, why wouldn’t it? Also, this video, and the next one, were both completely done in Blender, with 2D assets in the Gimp.


    On another small note, Bryce noticed that out YouTube subscription counter, on the JagCorner channel, was almost to 64, and he came up with the idea for a little video to celebrate the 64th subscriber and the 64-bit glory of the Atari Jaguar. Check it out, and subscribe to our channel to keep up with other video content we will be producing in the future.


  • Atari Jaguar | JagCorner Review | Iron Soldier

    Atari Jaguar | JagCorner Review | Iron Soldier

    Another JagCorner video to talk about. We have kind of been all over the place with the kind of YouTube videos we would like to do. We know we will continue to do the BitJag Development Journals, and we are pretty sure we are going to keep doing the JagVirgin episodes as well.


    I guess the reason why we are jumping all over the place is because we are trying to counteract all the negative coverage of the Atari Jaguar. Lets just say, this console doesn’t get the highest score on most gamer’s Hi-Score lists, but it’s unfortunate that there is so much negative for a system that has so much positive. I guess one of my personal goals with doing these JagCorner videos is to promote the great things about the system.

    Moving on, what I really wanted to talk about was the opening skit for this review video. I am taking these videos as an opportunity to build a portfolio and push my visual effects skills, and I was glad to see that this shows well in this video.

    iron_soldier_fx_shot_final_0653

    iron_soldier_fx_shot_final_0805

    Jacob and Bryce helped me come up with and execute the concept and it came together almost flawlessly. Everything was done in Blender. Modeling, Texturing, Rigging, Animation, Camera Tracking, Compositing, Editing, and Rendering of the entire video included. I love the Blender tool set, and it never seems to fail me.

    The hardest part about this video was the camera tracking. There were no purposely place tracking points in the shot, and the one section I had trouble with was when I stepped out of TV Specialists back door and then the camera swings to the left, revealing the Iron Soldier. I had to manually track 20 or so frames to get the camera swing, simply because all the information in the show was too blurred to track. Other than that, the track was fairly easy, with just a few minor slides and jitters in the final result, almost noticeable. At the end of the day, the entire production was 30 man hours. I wanted to spend more time, but we set a goal to have it released by Thanksgiving.

    iron_soldier_end_card_scale_example

    The end card is a bit special. To achieve a more nastalgic feel, I rendered it out at 320×180 (a 16:9 resolution) and then scaled it up to 1920×1080 with no filter. This maintains the jagged edges on the polygons making it still feel like a low resolution, up-scaled to a high resolution.

    Overall, the result was almost exactly how we imagined it, and I love it when that happens.

  • Krita Time-Lapse Painting | Another Portrait

    Krita Time-Lapse Painting | Another Portrait

    There are different kinds of goals in relation to art. One of those goals could be study goals, like, I am going to focus on drawing hands, or learning to render light and shadow correctly. I would talk about a goal that can have a much deeper effect on the viewer, than say the anatomically perfect hands you drew last week.


    skin study portrait_web


    The kind of goal that should apply to just about every painting, drawing or sketch that you produce. This kind of goal can be established with one question, what do you want the viewer to think, feel or do when they see your work.

    Of course, sometimes an artist throws all care to the wind and just creates, and there is nothing wrong with that, but even approaching your art with that attitude is going to come across to your viewer in the final work. How powerful could your art be if you took charge of what your work is conveying to the viewer on an emotional level?

    When I started this painting, it was just going to be a study on rendering light a certain way, this is why the very beginning of this painting isn’t in the video. I wasn’t planning on doing a time-lapse at all. Out of this one goal spawned an important question, what is this imaginary person like, and how can I bring that personality into the painting, and make it recognizable to the viewer?


    A portrait not only contains the physical appearance of a person, but can also portray what kind of person they might be. So, about 20 or 30 minutes into the painting I realized that I had a greater goal in this painting, that was to evoke specific feelings in the viewer. The goal also included really focusing, through the entire process of the painting, to make sure the former goal was reached.

    Ask yourself this, what do I want people to think or feel when they see my work? See what happens when you really focus on the answer to that question while you are painting or drawing.

    Because of the subjective nature of art, I won’t say what I want you to feel when you look at this piece, but, as an artist, my hope is, is that you feel something similar to what I felt while working on this painting, and when it was finished.

    Look forward to some more time lapse videos in the future, and Thanks for watching.

    Krita was primarily used, with Gimp for some post color correction.

  • Weekly Sketch Review | Faces and Characters

    Weekly Sketch Review | Faces and Characters

    I should probably start calling these bi-monthly sketch reviews, considering how much time that has elapsed since the last sketch review. I am drawing quite a bit, it’s just getting around to putting these posts together. It’s more time consuming than I expect.

    flirtting


    faces_1

    I have been working in both Krita and Gimp lately, and I definitely lean towards using Krita for my study. Smoother workflow and all. I mainly use gimp for its more intended purpose of post processing now. Adjusting color curves, sharpening, etc.

    The first few poses that are drawn in the video are actually from an illustration, I did over a year ago, here. I liked the original and I wanted to draw poses, so, I tried fleshing out the character a bit with some different poses.

    The faces in the middle of the video are purely study. Then the last set of drawings are a character concept for one of our Jaguar games.


  • Krita | Character Illustration | Jouster

    Krita | Character Illustration | Jouster

    Some more stuff for our Atari Jaguar project. I have been working on story ideas and concept drawings for our jousting game, and this design came to mind.


    Jouster_web


    If you haven’t already, head over to http://bitjag.com/ and check out the three projects that we have in the works. Not a whole lot of visual concepts yet, but stories are being put together and their general concepts are listed on that site.

    What I enjoyed most a about this painting was the lighting. The composition and the pose could be better, but I think the good lighting helps make up for that. It really brings the viewer’s eyes to key and attractive points in the painting, and overall, it is very comfortable to look at.


    On another note, if you haven’t noticed already, most of my most recent paintings have all been done in Krita. I am in love with the program, the interface and default shortcuts work great with my Cintiq 13 HD, and overall it seems like a much smoother experience than Gimp lately. Gimp has been having some serious issues with my hybrid ATI graphics setup, and so, I mainly use gimp for my graphic design work.

    Don’t get me wrong though. Gimp is a great program, and it has been especially useful lately because of all the web graphics that I have been doing. Krita just provides a workflow that feels smoother and faster to me, and I think that I will be using it for many of my paintings in the future.

  • BitJag and JagCorner

    BitJag and JagCorner

    Please excuse my silence over the last few weeks, but I have been involved in some fun projects, and one of those is my brother and I have officially started our Atari Jaguar development.


    JagCorner_logo with bg

    character_battle_sprites_1project_1_level_layout_test_1


    bitjag

    Our dev name is BitJag, and we are using the JagCorner name for our YouTube videos and other media. I have mentioned in previous posts about the project that we have been working on for the Jag, but we have expanded, to three separate projects.

    We often find ourselves way over our heads, when it comes to the scale of projects that we do. So the other two projects, which are nameless right now, are much smaller, but will be used to stretch our abilities considerably. Check out the Projects page at http://BitJag.com/ to see some of the details for those projects.


    We also have our first development journal posted. It isn’t much, but there is some cool footage of an animated sprite character test on the Jaguar console. There is definately more to come. I have been working on some visual design concepts for the battle system, and working on story as well. We will be talking a bit about this stuff in the next dev journal entry, along with some more details about our other two projects.


  • Krita Time Lapse Painting | The Waker

    Krita Time Lapse Painting | The Waker

    I have been trying to get this painting posted for over a week. Ran into issues with my computer and work has become really busy. But, the excuses can be annoying, so, here it is.

    This painting was very much spontaneous. During a digital sketching session, this face came out, and I decided to push it to a finished rendering.


    the waker_web


    This painting got me a bit worried, since it had been a while since I tried to tackle realistic lighting. Rendering correct lighting has always been a bit intimidating for me, but I seem to have handled it well. I first broke down the steps. So, instead of trying to take on both color and light at the same time, I decided to do a grey scale painting first. Simplifying the process overall, and allowing myself to focus specifically on how light is interacting with the form.

    Digital art really makes coloring an image easy. I pick a color, slap it on a with a different layer in “Overlay” blending mode, and if I ever need to change it, no problem. Just use a Hue/Saturation/Value filter to adjust the color. As you can see in the video (3:40 and 3:52), I did this for her hair and her clothing.


    I love painting skin. The key to making skin look alive, are the areas where light transitions into shadow. Because skin isn’t completely opaque, light will enter the upper layers of the skin, hitting blood underneath, and will bounce back oranges and reds. The is particularly prevalent in the transitional areas between light and dark.

    A good example of this in this painting, is her chin, starting at 4:17 in the video. A few other things to keep in mind when painting skin is to play with other colors on top of the skin with a layer set to an “Overlay” blending mode. Colors like green and yellow can add healthy variety to lighter areas of the skin, while violets and blues can saturate your shadows making them appear more realistic. At 3:39 in the video, you can see I added a light layer of blue to under the jaw line.

    One thing that was unexpected in this painting was her hair. The hair that falls down her neck turned out to be much more complicated than I originally planned at the sketching phase. I had fun spending the time rendering it, and I feel it adds a certain level of detail that the painting wouldn’t have otherwise.


    the Waker_Six step process


    I feel a bit silly mentioning this, but her ear is something that I am proud of. I didn’t spend as much time rendering it than I did other portions of the painting. The structure is very much convincing, but still has the brush strokes that I like to see in my work. One other thing I enjoy about this painting are the facial proportions. I am still far from being a master when it comes to proportions, and that can be clearly seen in my work. But the scale of her mouth compared to her eyes and nose are pleasant, and seem to go well with the piece as a whole.

    These paintings that I do without reference always surprise me ounce they are done. I find it fascinating to think pack on my processes and ask myself why I did something a certain way. It helps me to see what I do well, and what I still need work on.

  • Armored Empire | Teaser Trailer & Website

    Armored Empire | Teaser Trailer & Website

    The last week I have been working on some initial marketing stuff for Armored Empire, our next app project at Thor media. If you want to learn more about the game, and take a look at the wordpress site I put together for it, check out the official website.


    This is another Blender and Gimp project, with audio done in Audacity. The one thing of any real note it the imitation of an old CRT monitor. This was the challenging part of this little project. I wanted to simulate a zoomed in shot, so using things like the scan-lines and dust on the glass seemed to pull off the effect well. The flickering of the text and the diagonal line that passes by make it feel old and worn a bit.

    Overall I think that everything about this small teaser fits well with each other, thanks to some initial story boarding. The visuals and audio fit really well and help make the view curious. The doors closing are a good surprise, and just about everyone that has viewed the teaser liked the feeling that it makes.