William Thorup

Illustrator, Motion Graphics Designer, Animator, and VFX Artist

Author: William

  • Inktober 2015 Book | First Published Collection

    Inktober 2015 Book | First Published Collection

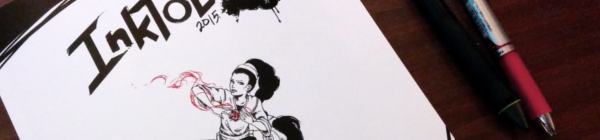
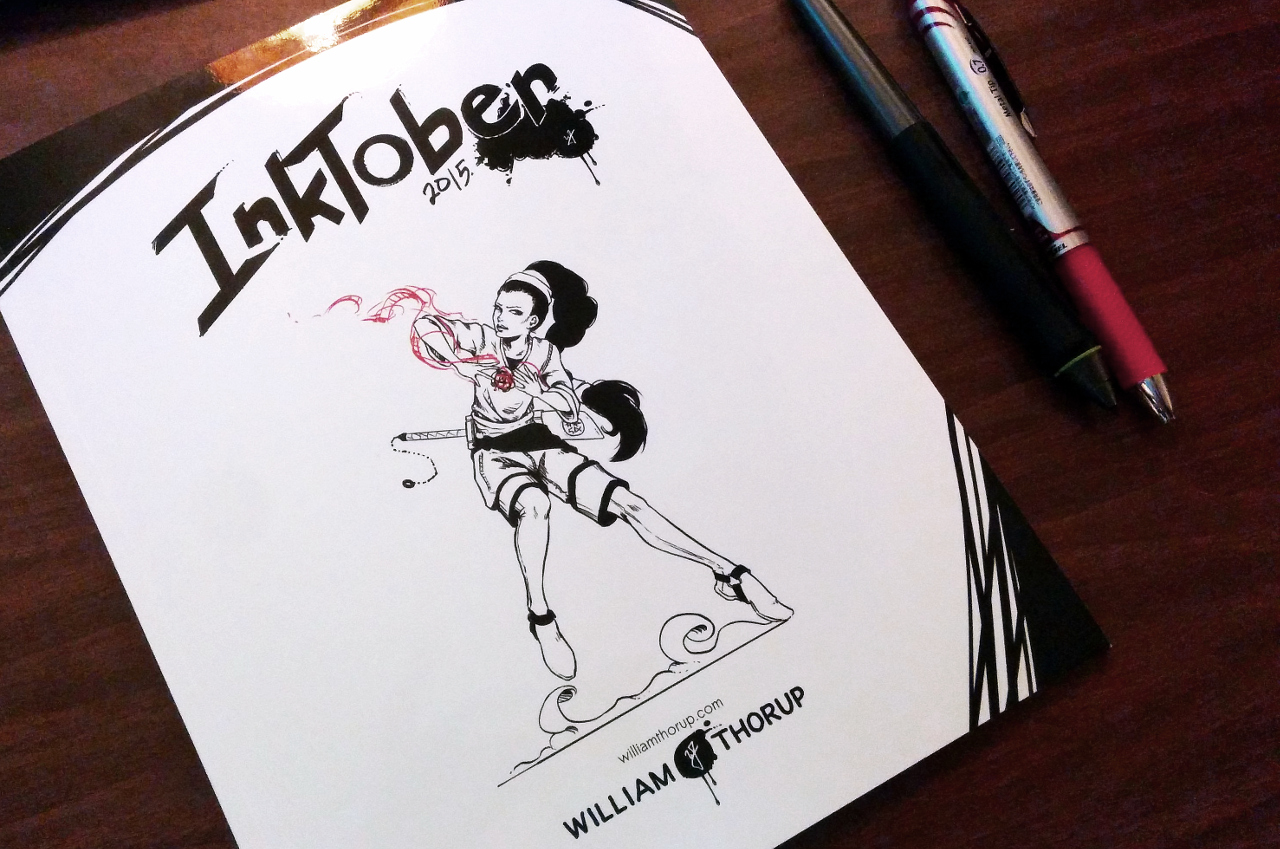
    Already a month away from Inktober, and I haven’t been too involved in the social media department at all. There is good reason for that though. During this month, I have been working on assembling my Inktober work into a printable book format. My first publicly published collection of my artwork.

    inktober_book_preview_1inktober_book_preview_2inktober_book_preview_3inktober_book_preview_4

    As many of you already know, I work primarily digitally. My paintings, sketches, inks, everything, all digital. This obviously has it’s benefits, but it also has some big cons that come with the convenience. The first and the most nagging for me is the fact that I don’t have a physical copy of my artwork for preservation, and for sharing with others. I have done prints before with a normal inkjet/toner printer, or through a printer like Inkleys, Walmart, or Costco. These options work, but these printers don’t really tailor to the visual artist, and, as a result, prints come out lackluster, and in some case, I don’t have the option to compile multiple images into book format. It also feels like a “You get what you pay for.” situation.

    I set out to find a on-demand printer who tailors to printing pictures/artwork. After looking at popular self publishing websites, like Lulu and Amazon, I discovered that most on-demand printers are tailored to writers, with some options for artists. I then stumbled onto Blurb.

    I decided to take my chance with them, as their store included a ton of content that other independent artists have produced, and after reading quite a few positive comments about their services and final printing results. The shear number of tools available to the would-be self-publisher are abundant, with their own custom software (BookWright), In Design, or Scribus, all viable options for prepping your content. This was important to me as well because I work exclusively in open source software with my art. I used Krita for my art, Inkscape for logos, Blender for my video content, and Scribus for my book layout. Looking up specs for the book size you want is easy, along with a useful “Help” section, putting together my final book was time consuming but easy. The only downside to this experience were the limited size options for books. They don’t provide a “custom” option for size, but they cover the basic sizes well, with my book having a final size of 8″x10″ (I wished I had a taller format book to work with, as most of my work was 11×17).

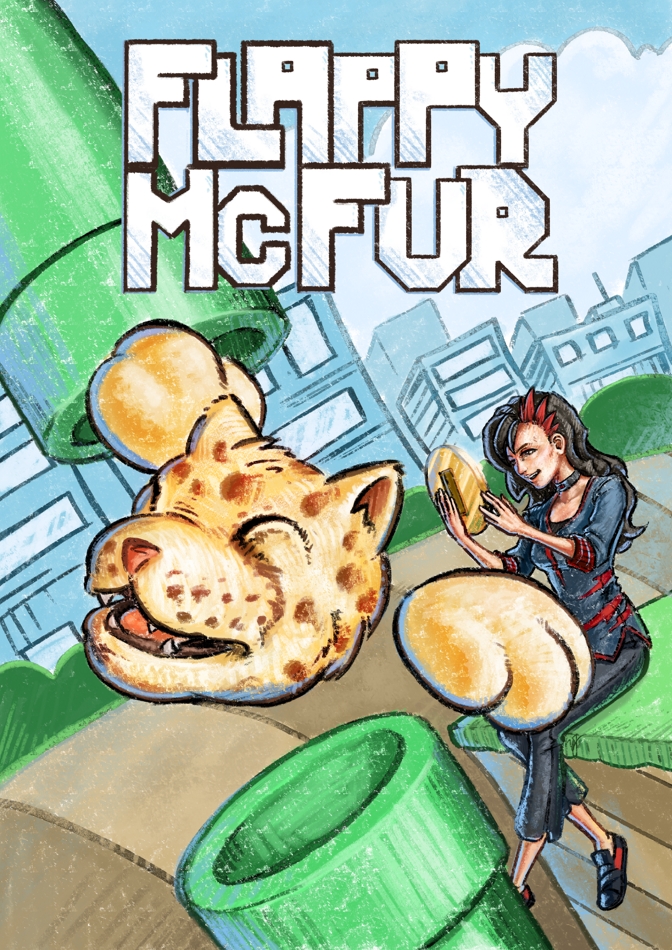
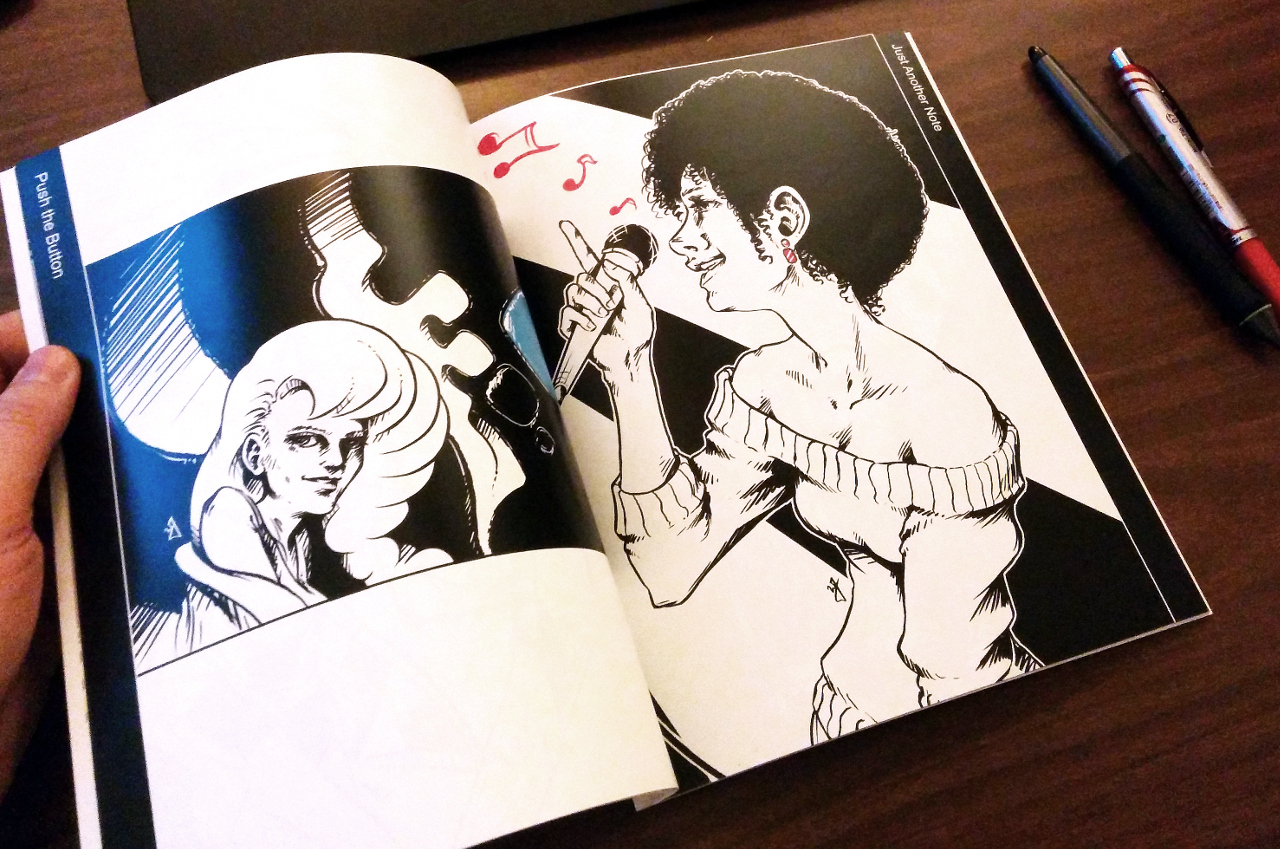
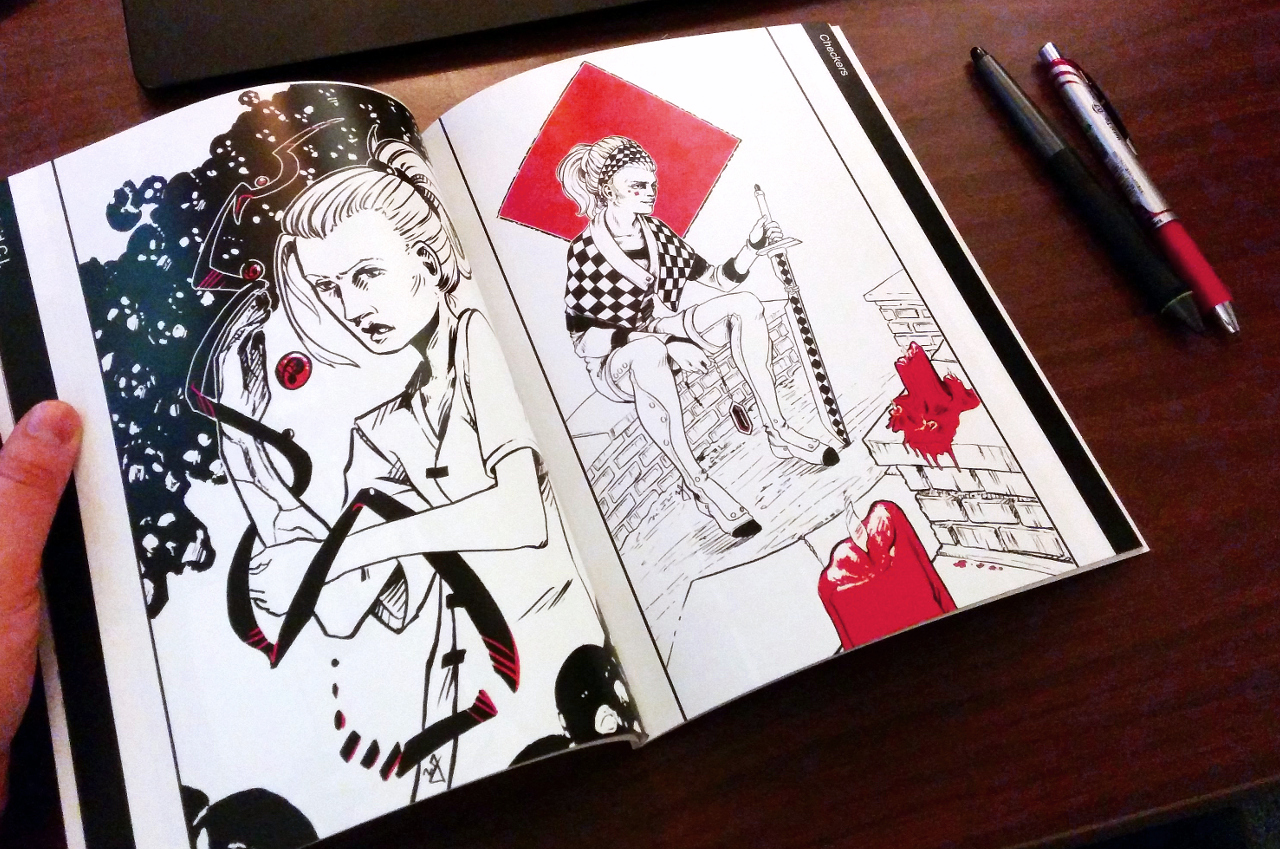
    Speaking of the final book, it was better than I expected. The print came out beautifully in the softcover format. The cover was a lamminated gloss, while the inside has a slight gloss. The blacks and other colors came out great.

    My book is finally up for sale at Blurb and I will encourage your support by asking to purchase a physical or digital copy. If you purchase by December 11th with the promo code GIFTS30, you will get a 30% discount, which is awesome!

    Softcover – $36.00 (USD)

    Hardcover (Printed Cover) – $55.00 (USD)

    Linen Hardcover (Printed Dust Jacket) – $58.00 (USD)

    PDF (DRM Free!) – $6.99 (USD)

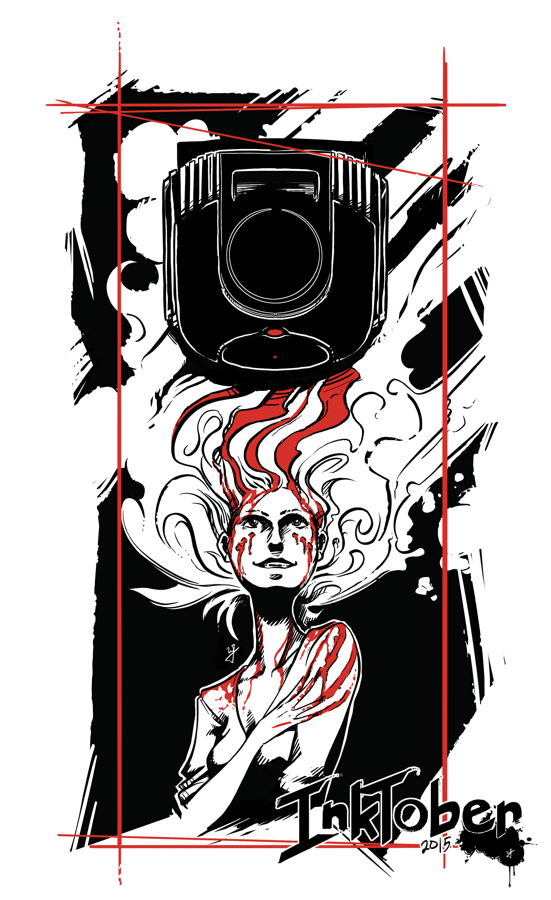
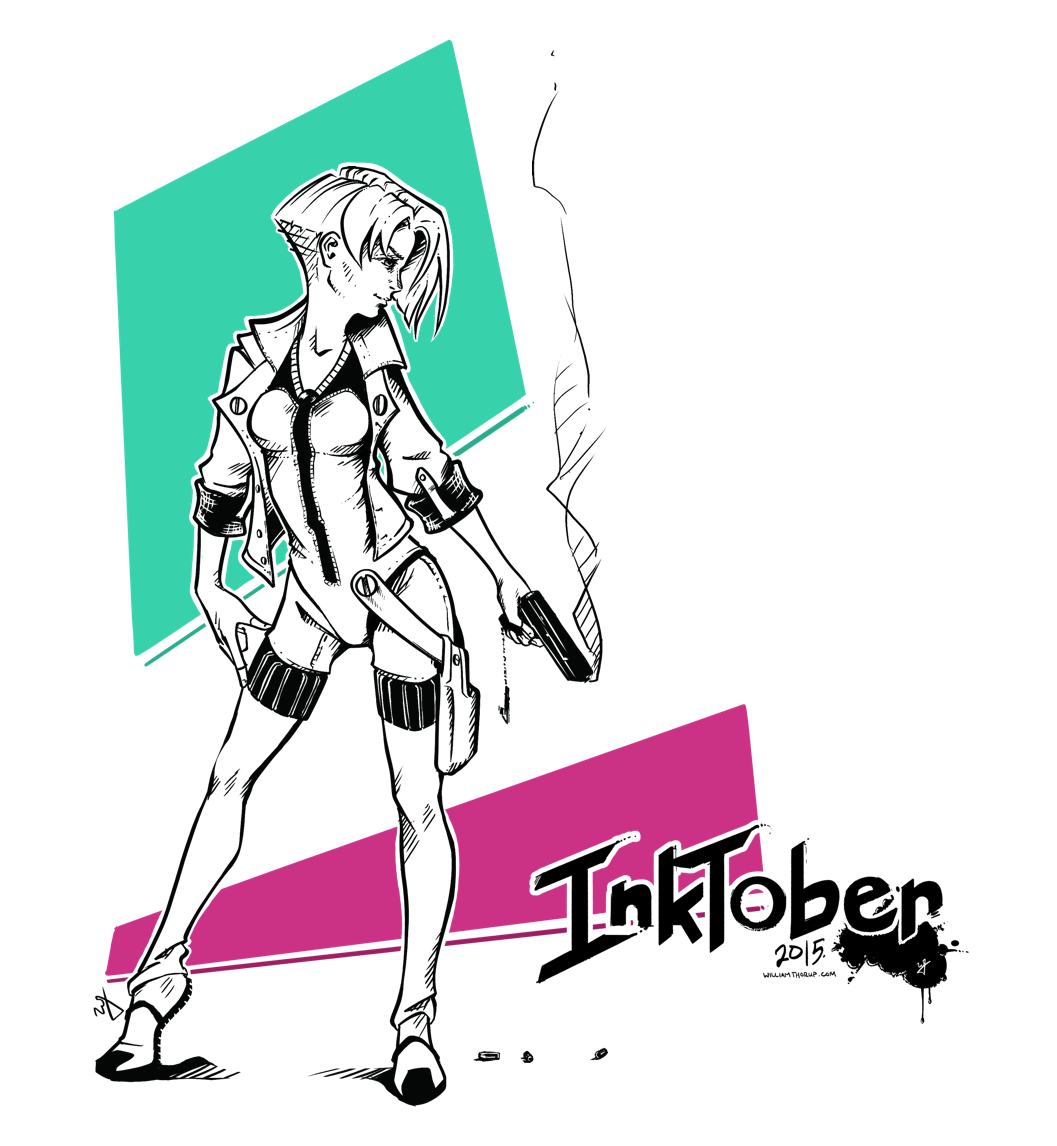
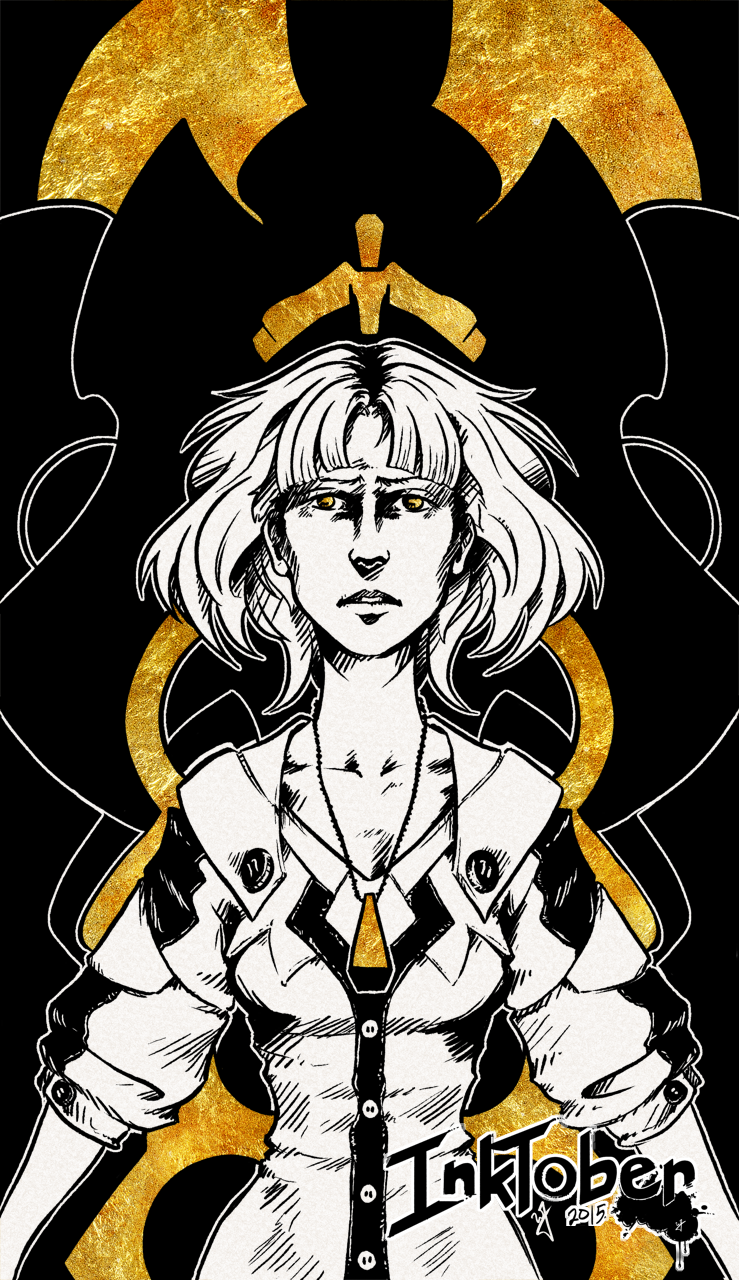
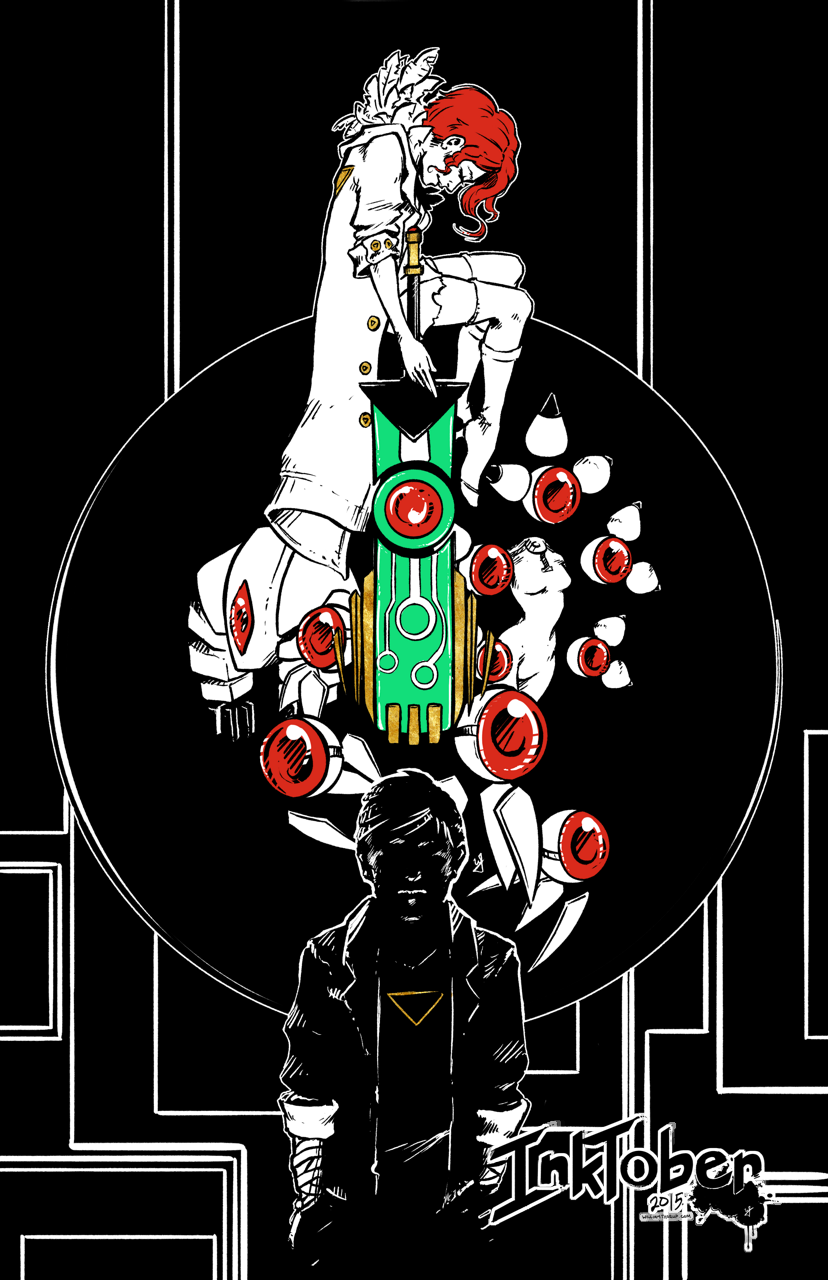
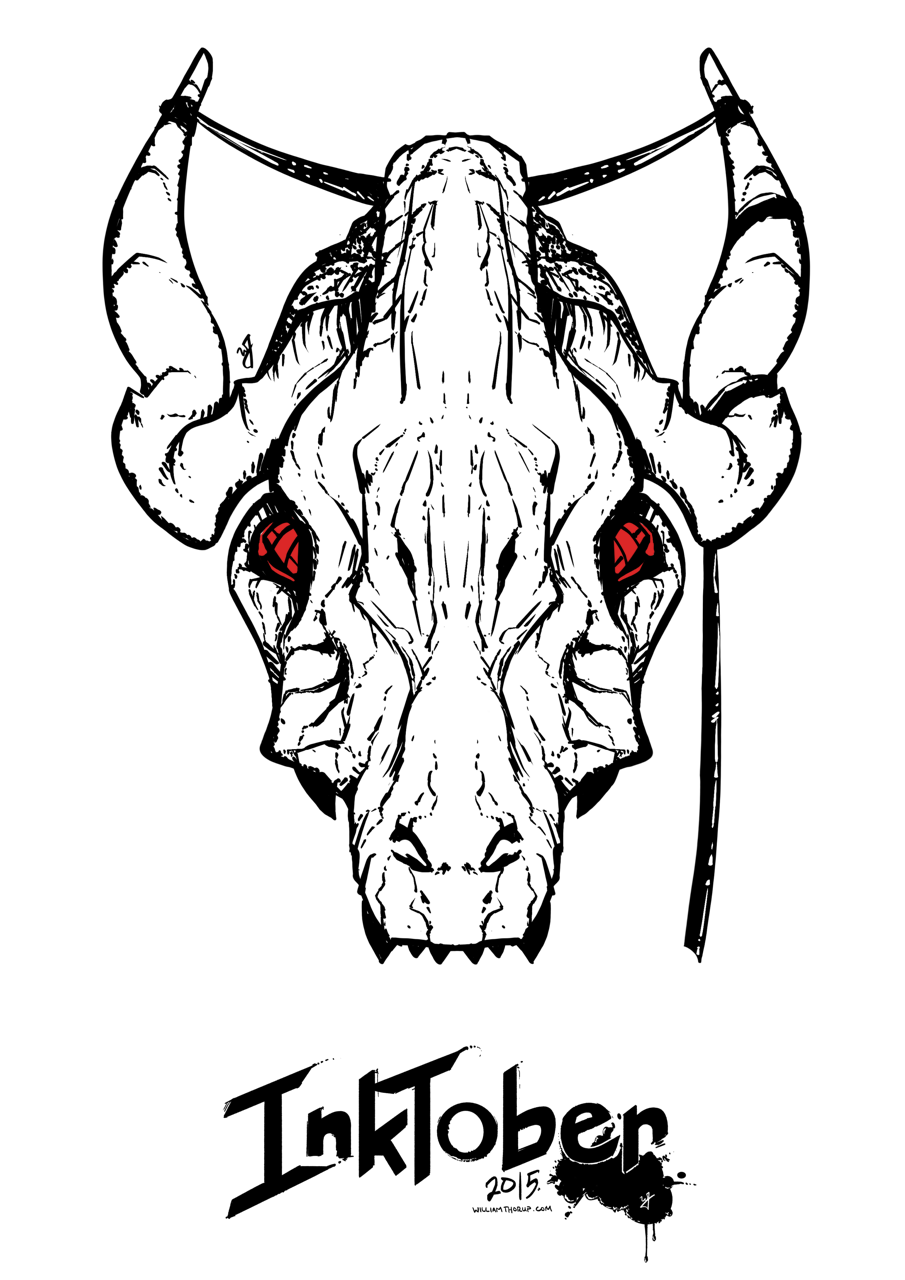
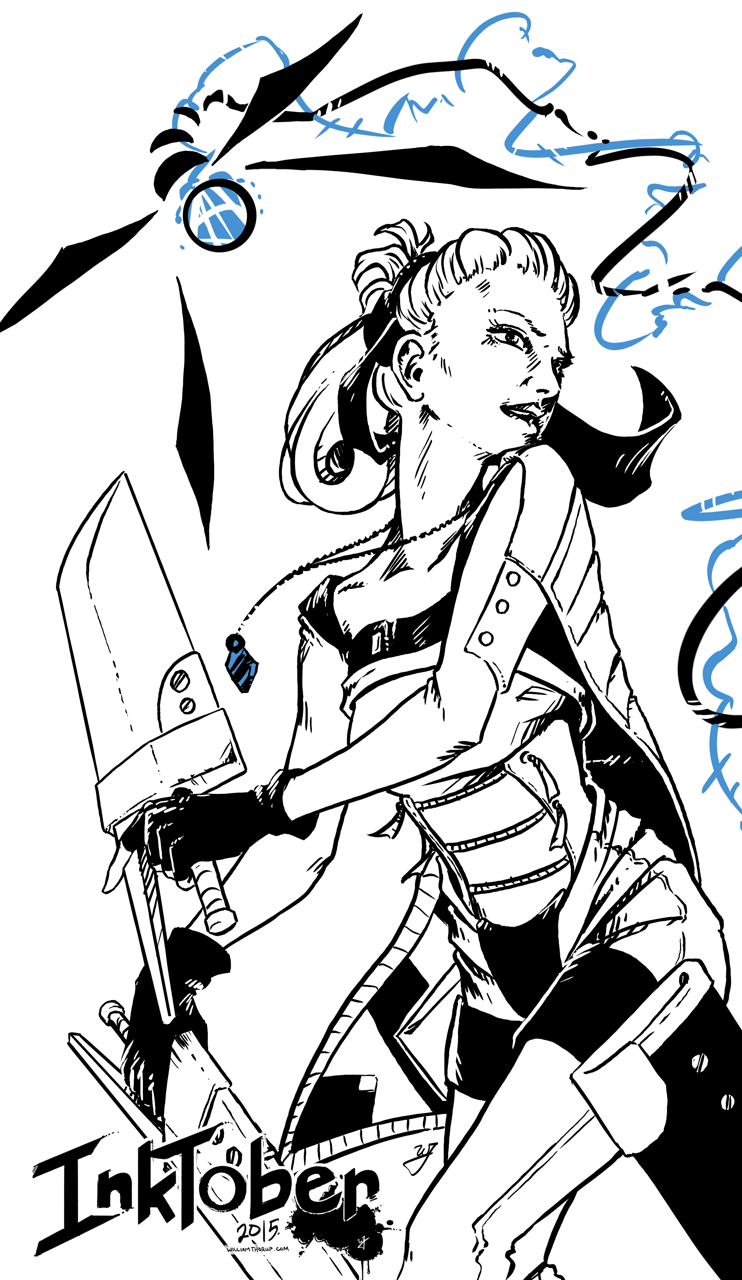
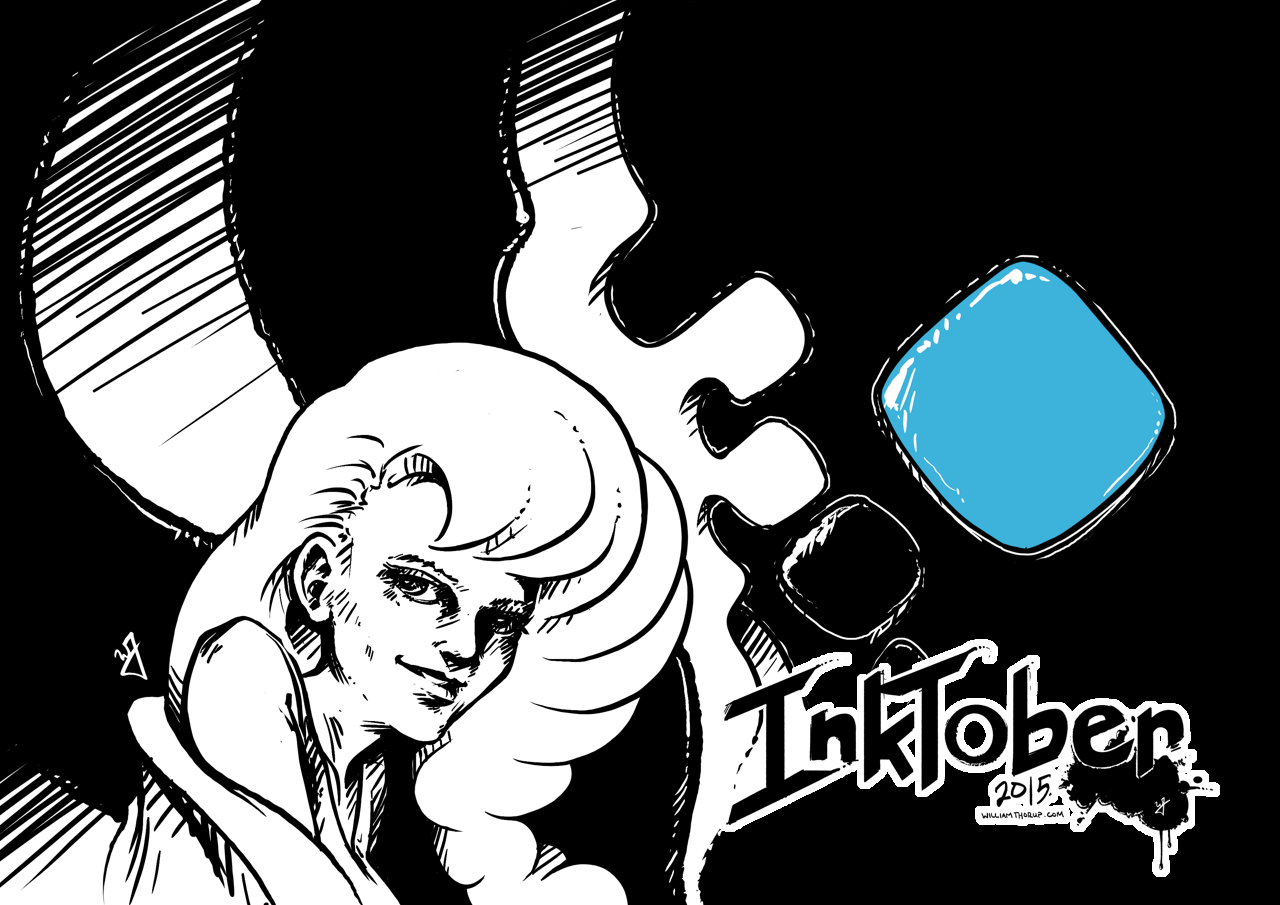
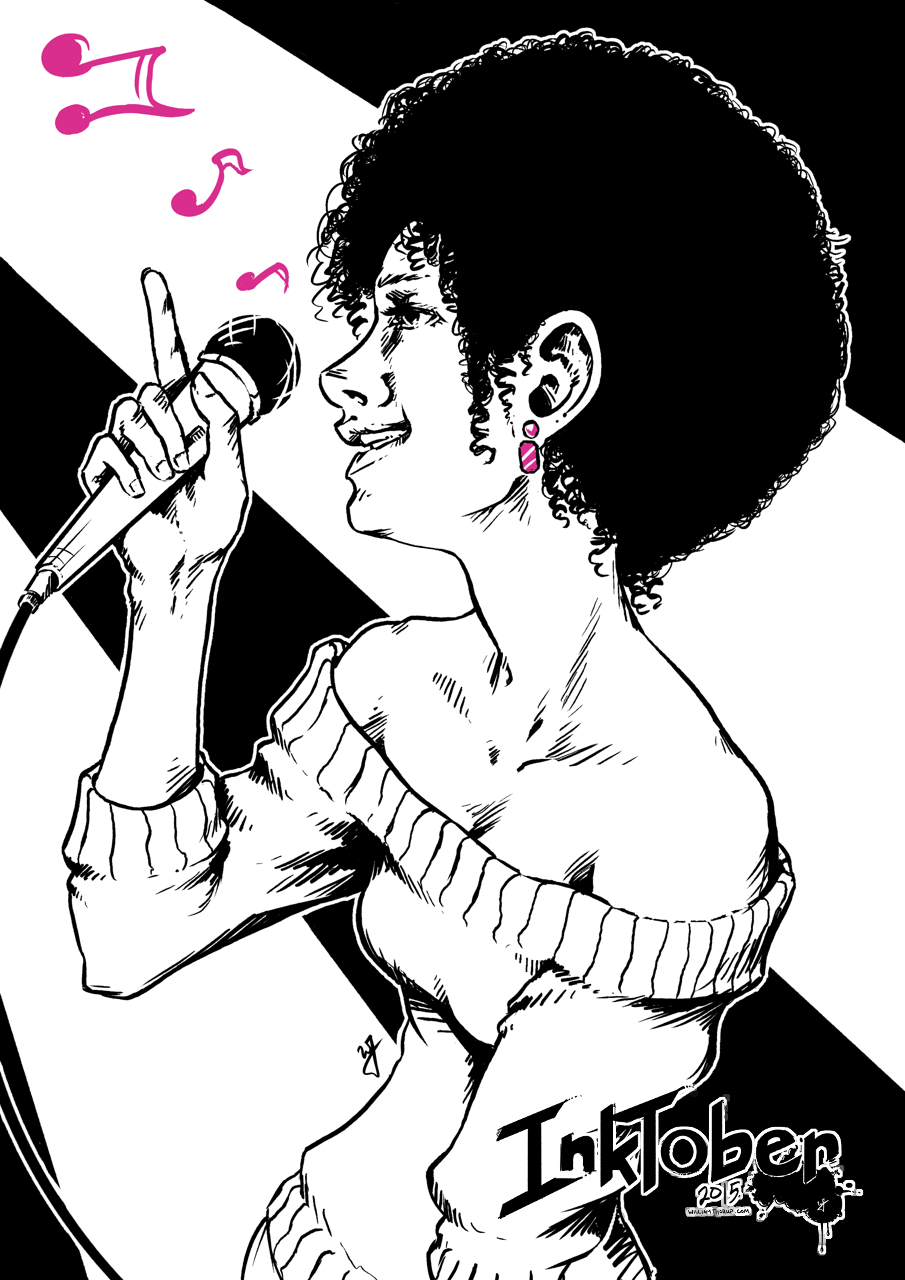
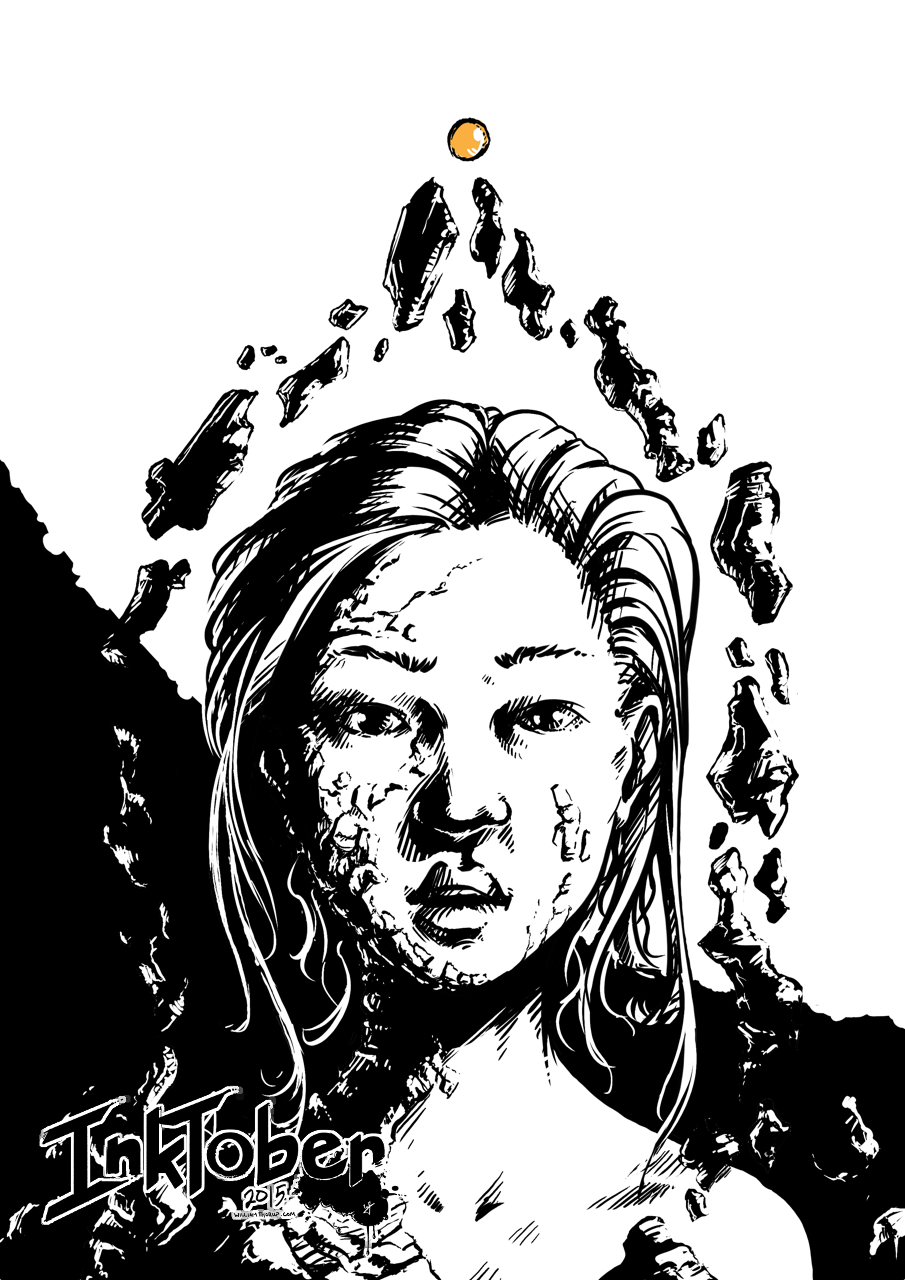
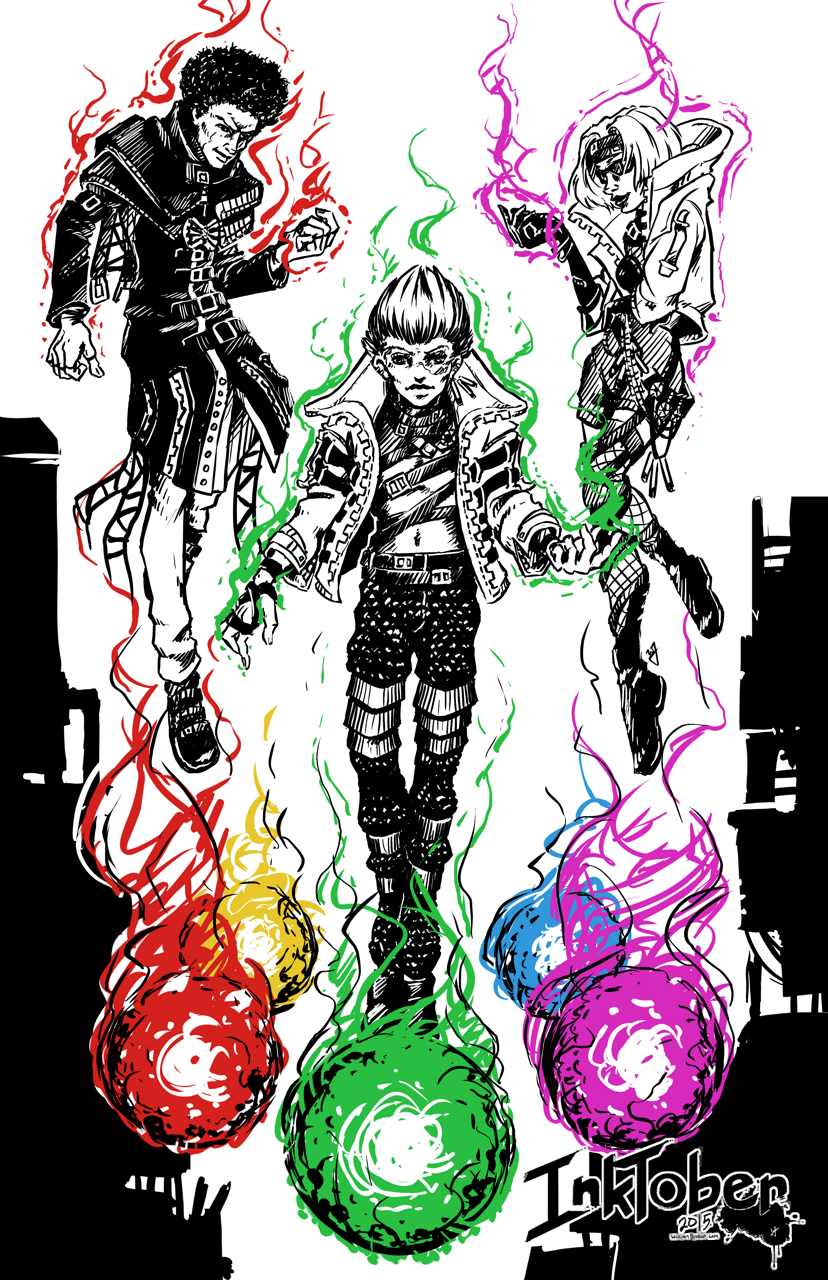
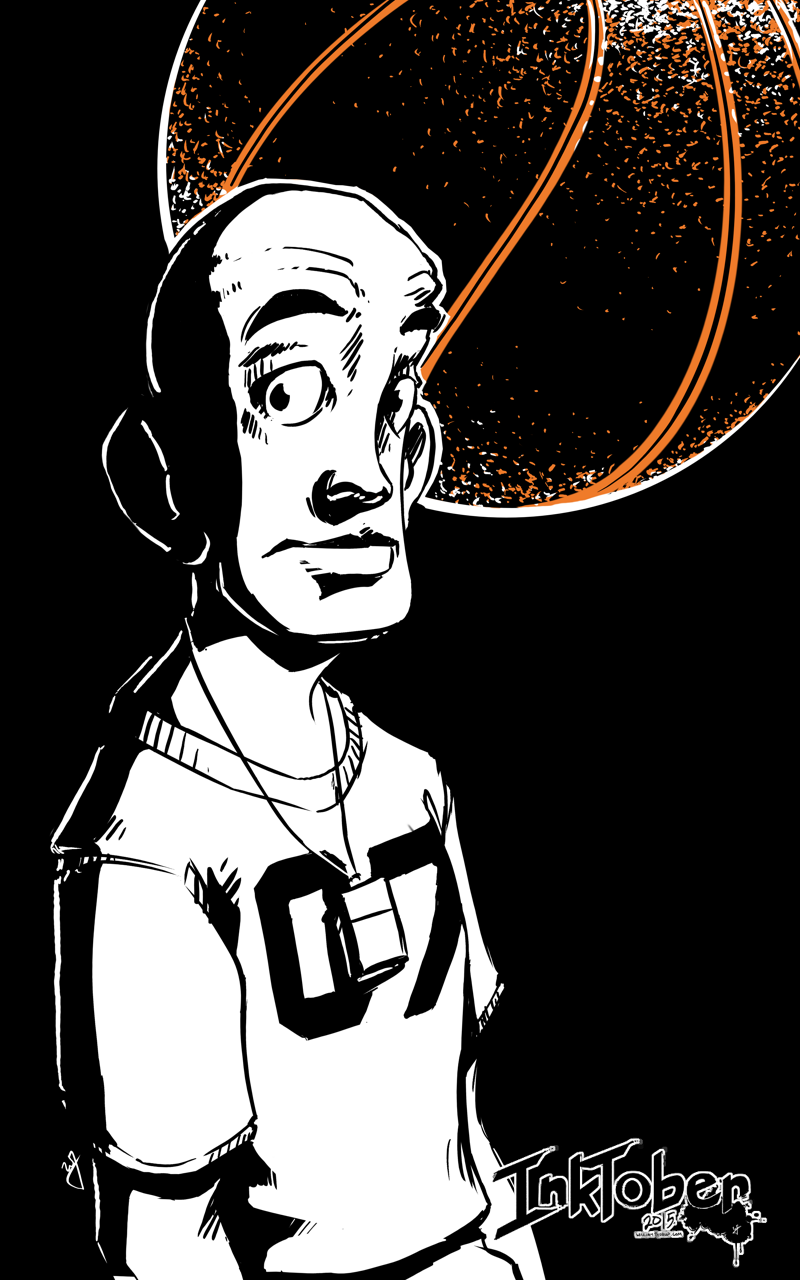
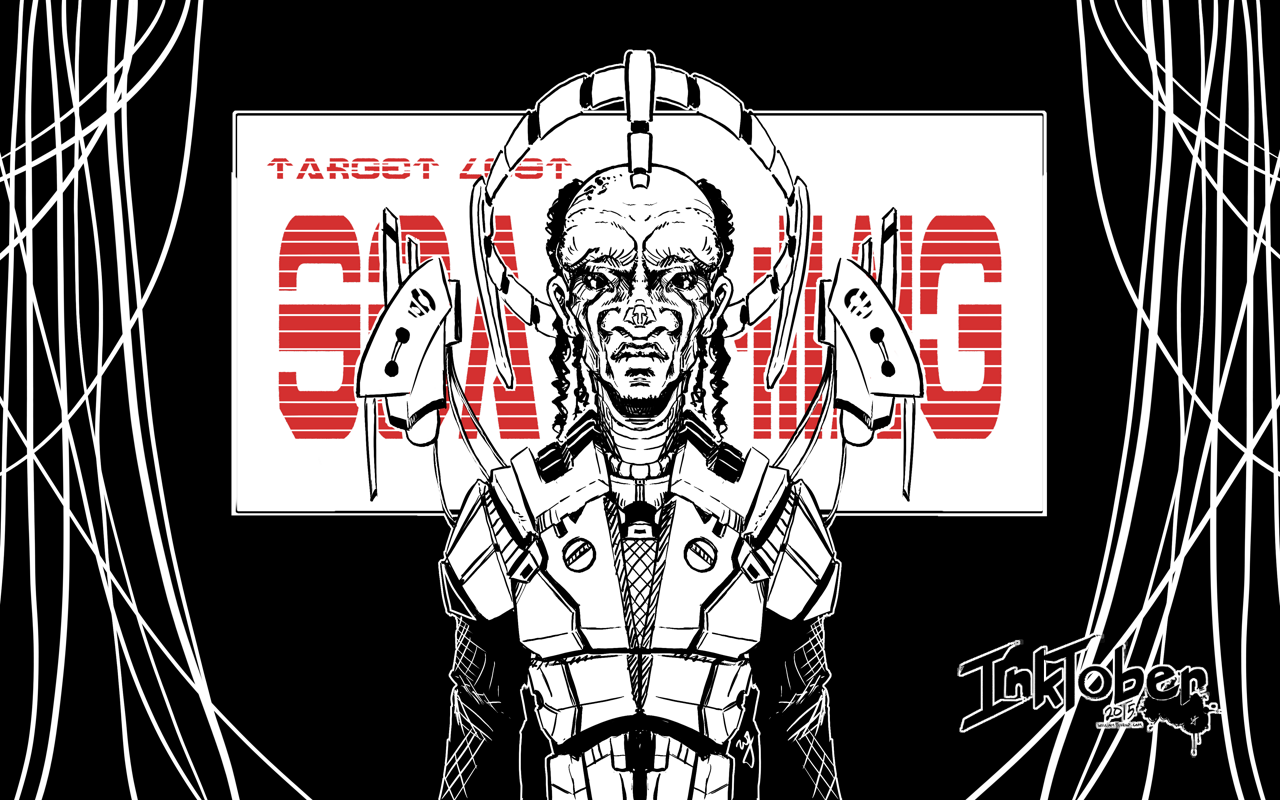
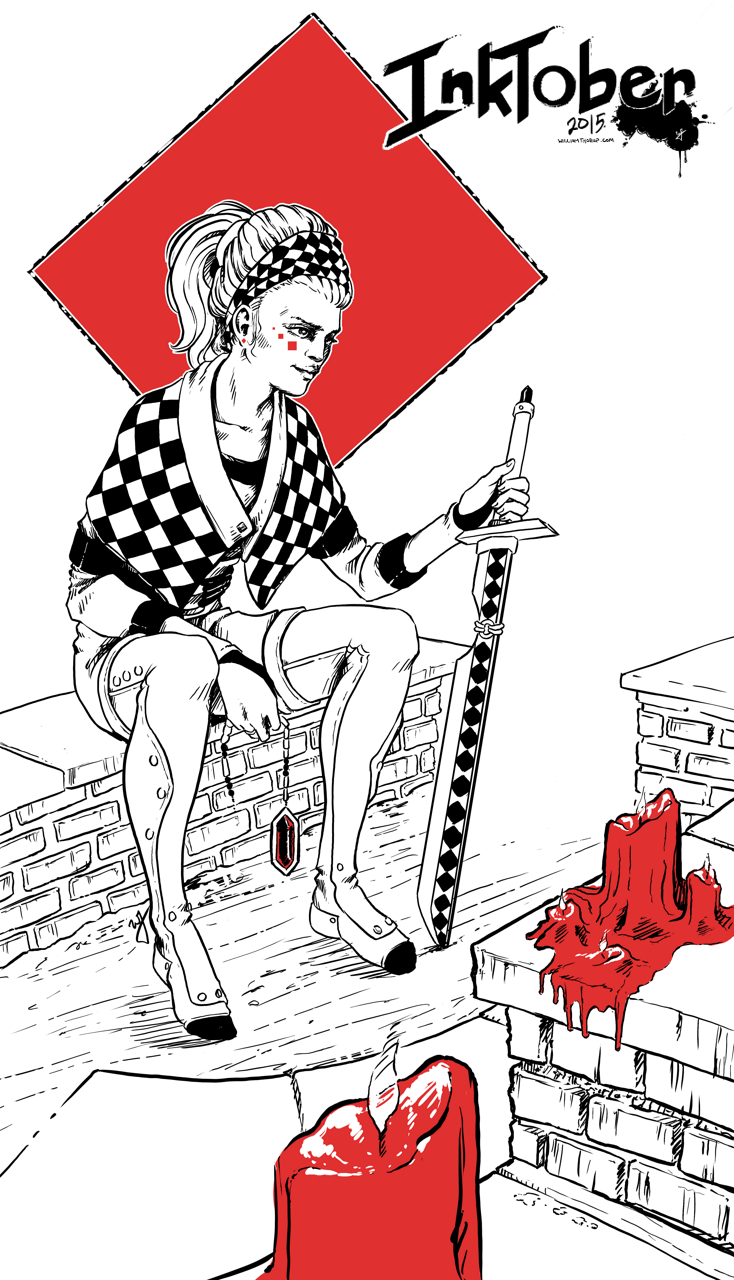
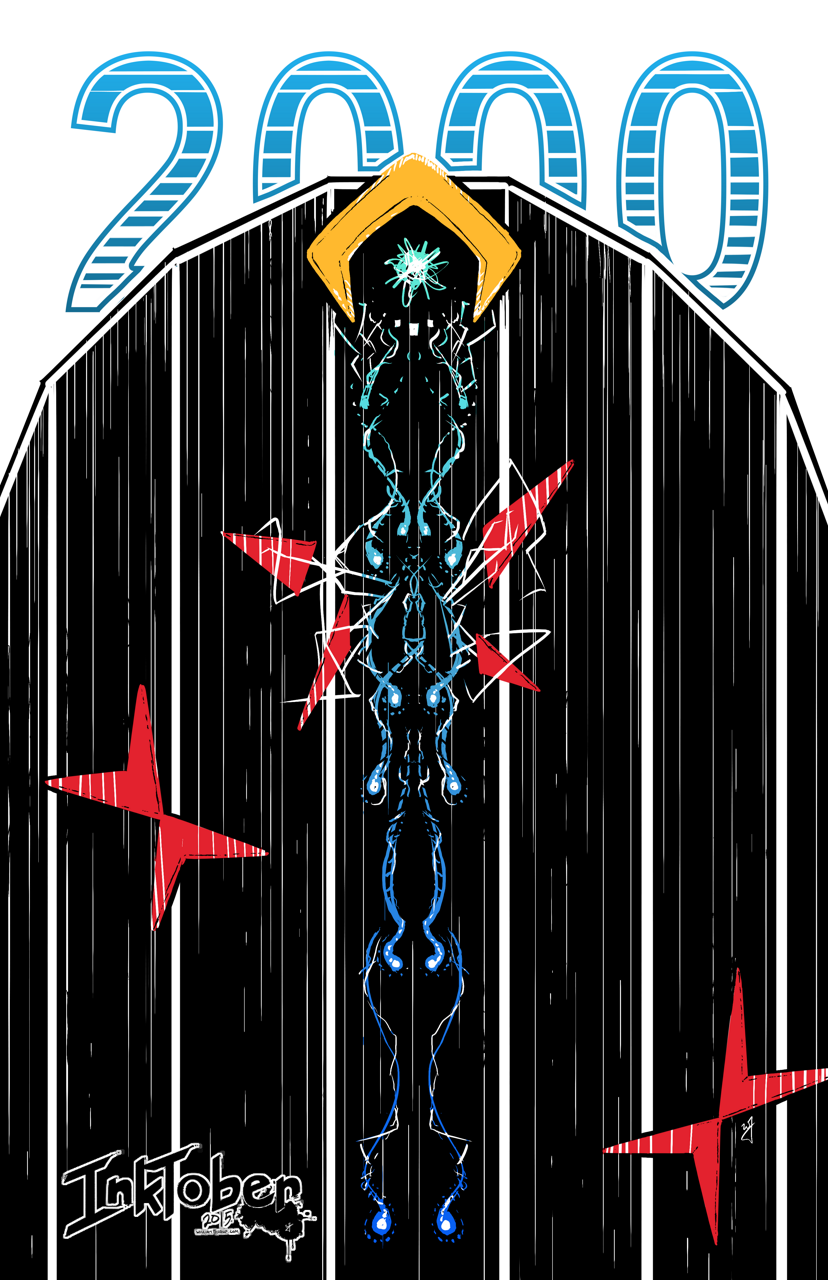
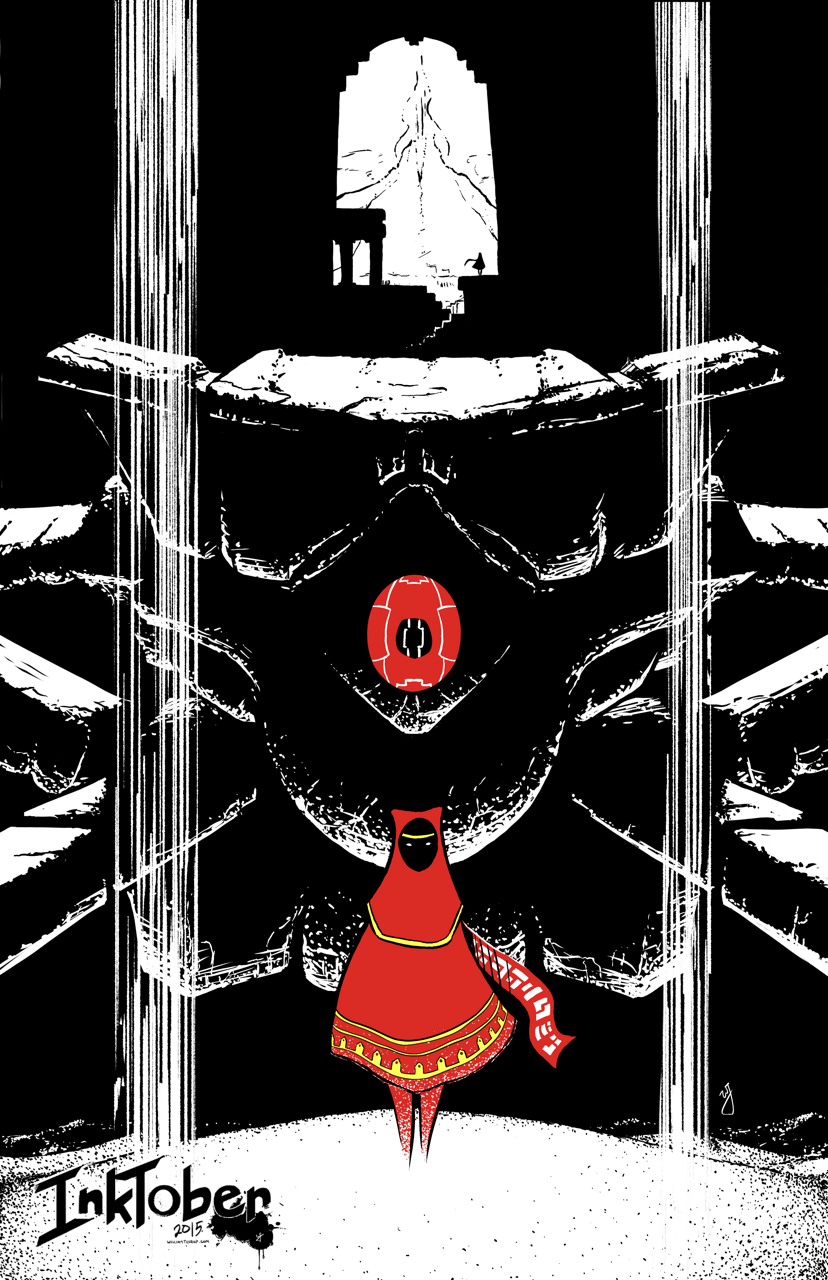
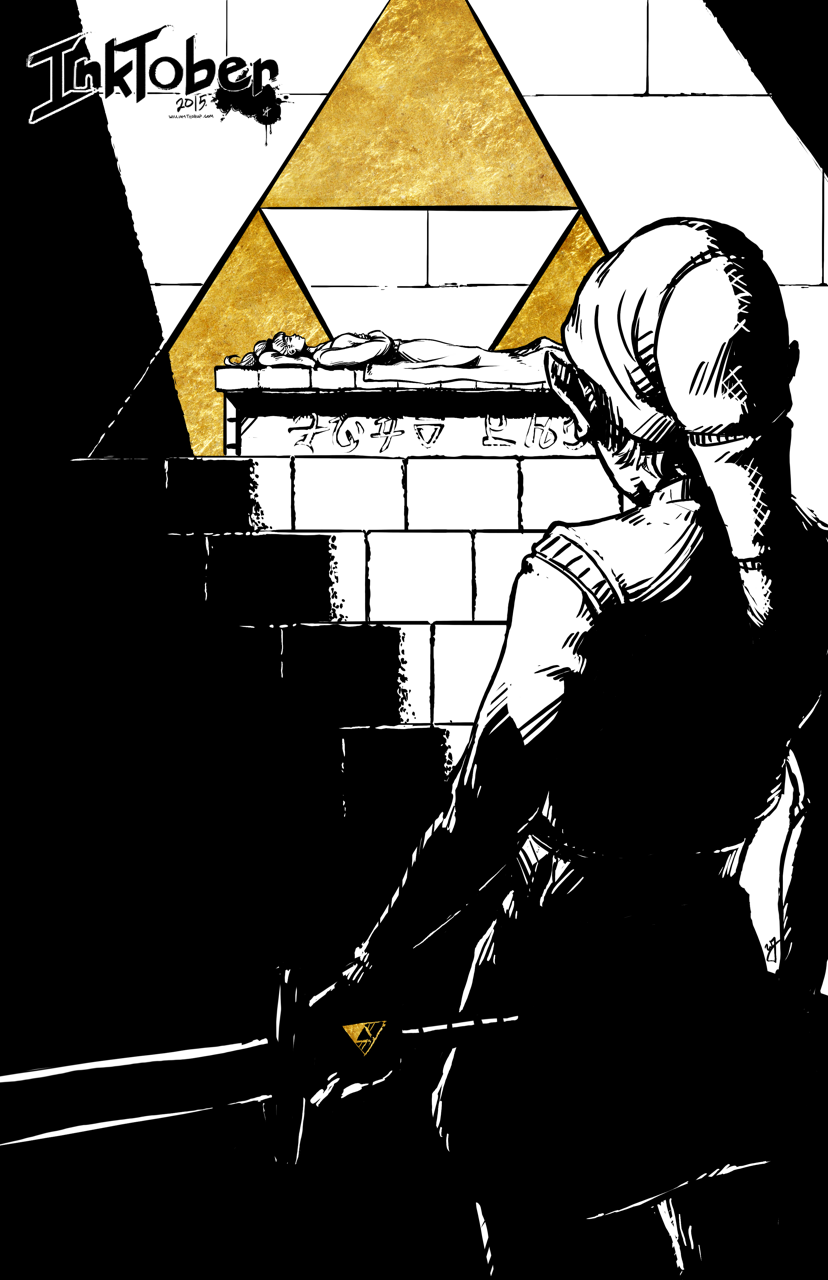
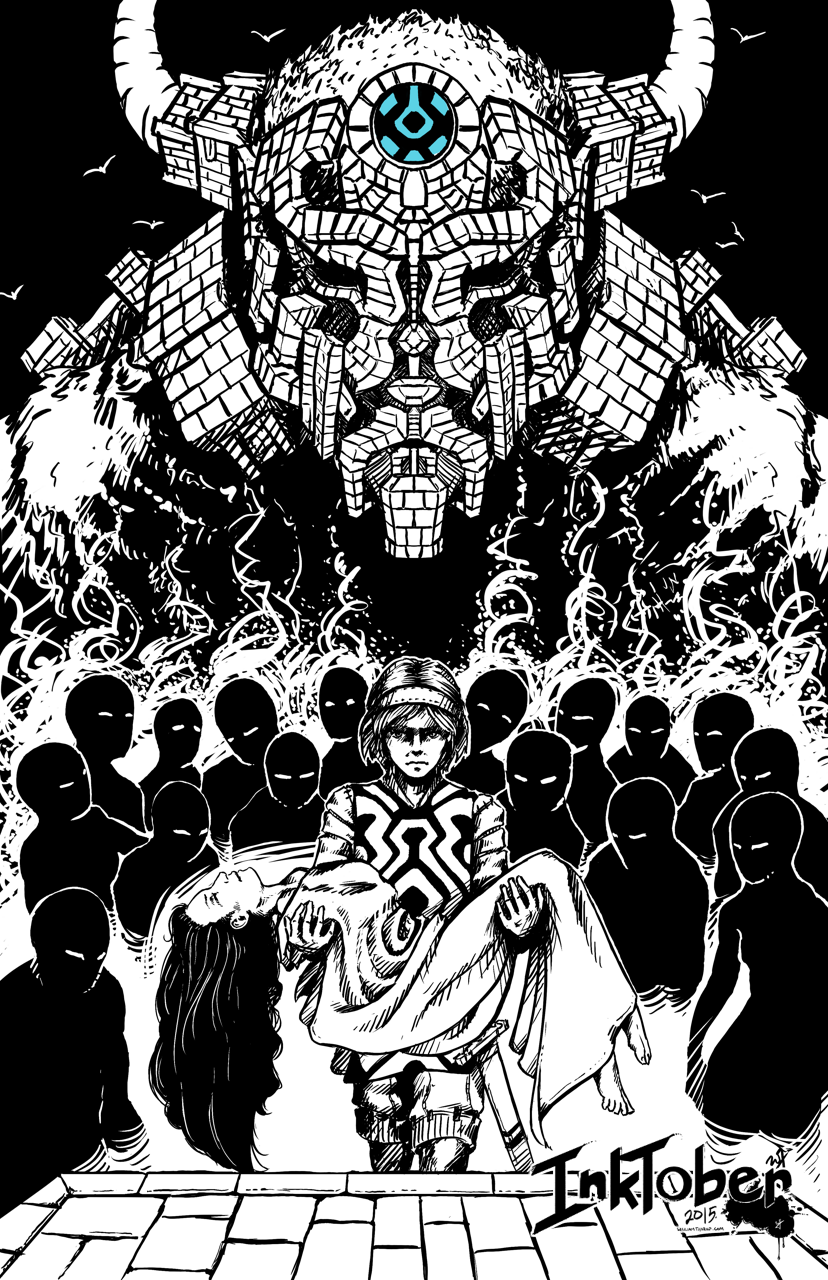
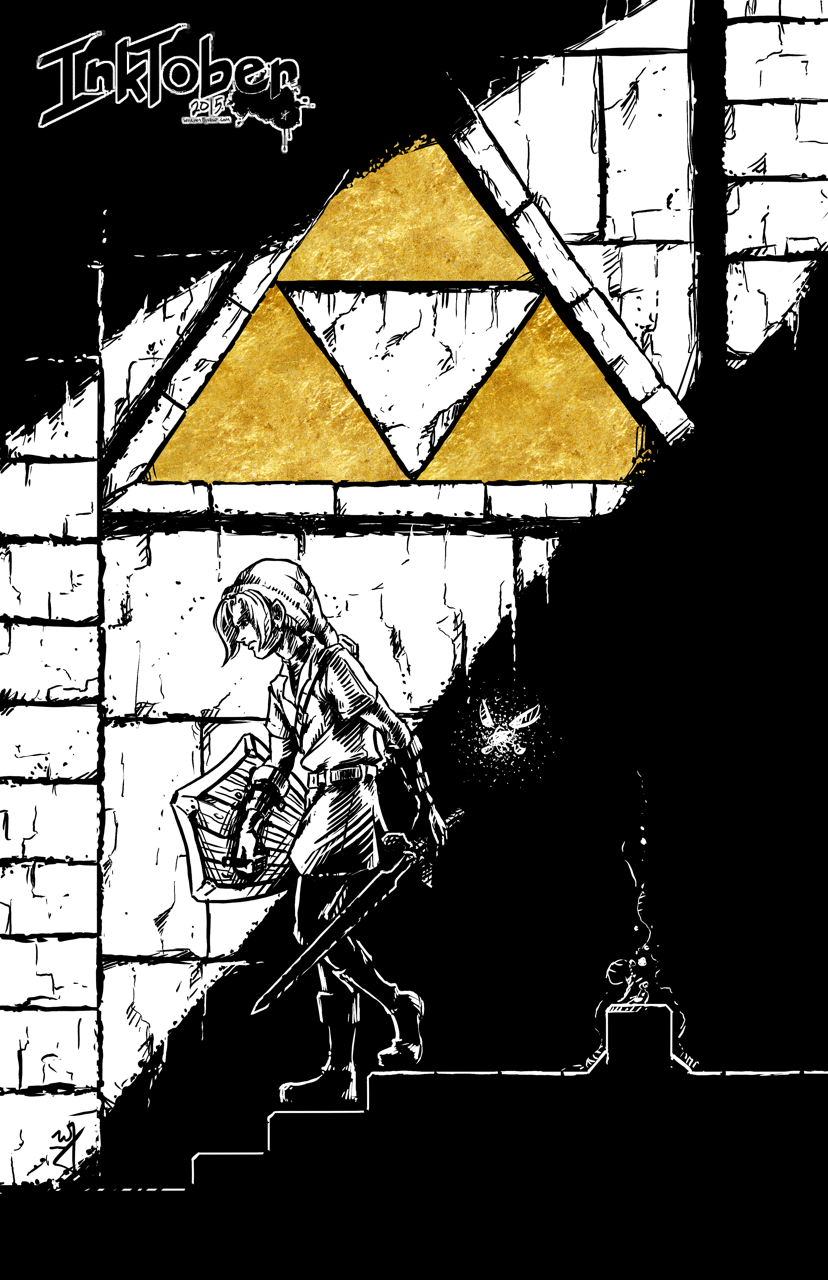
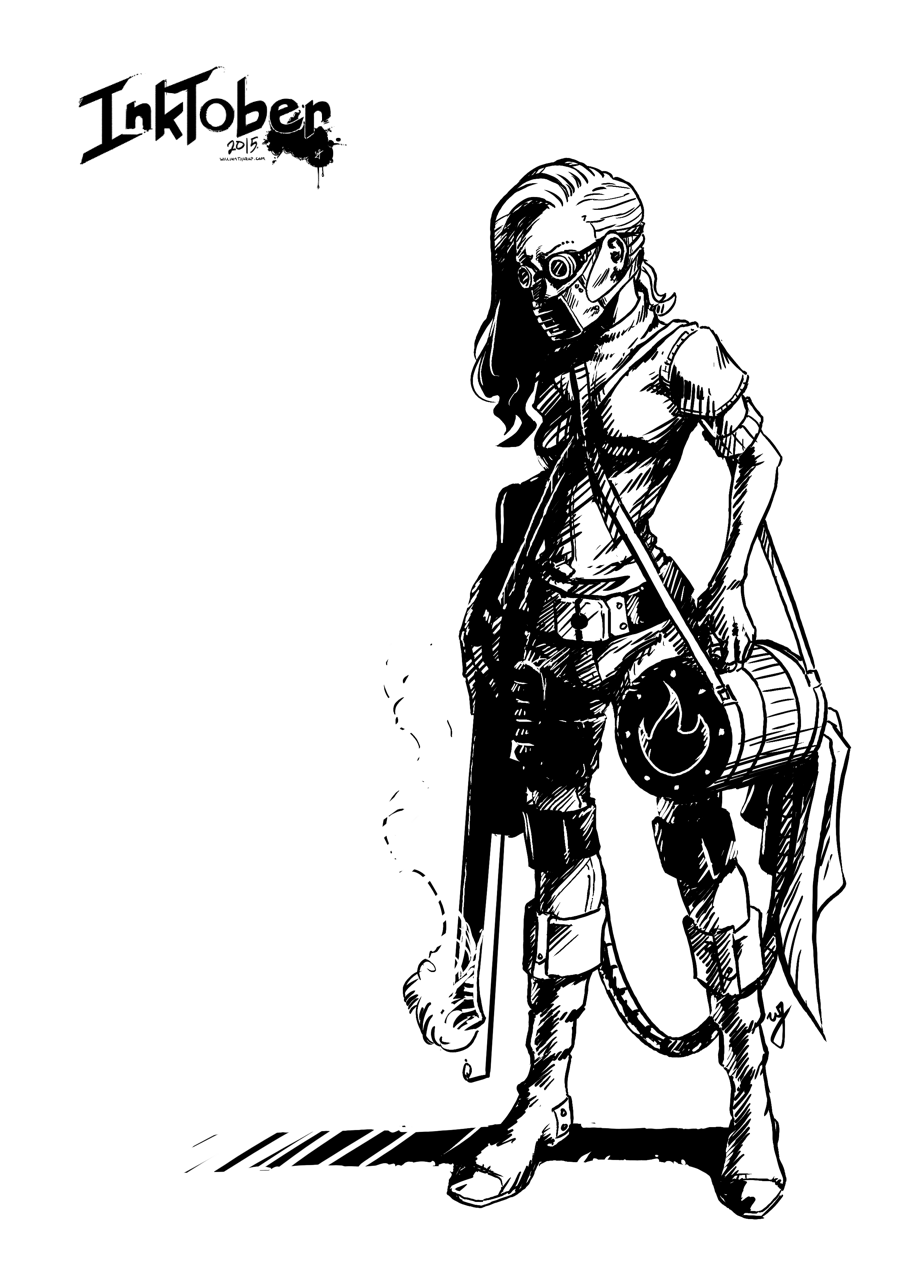
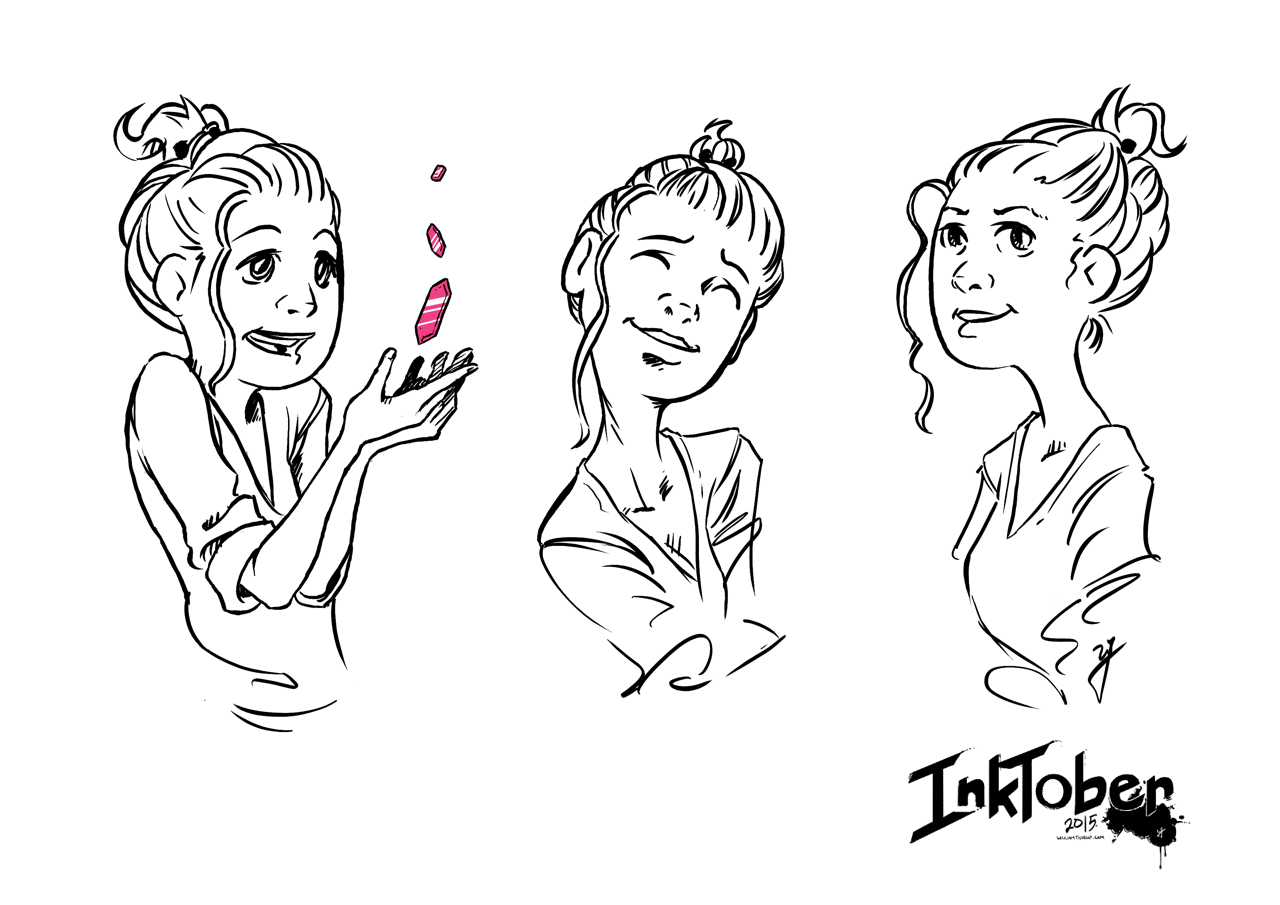
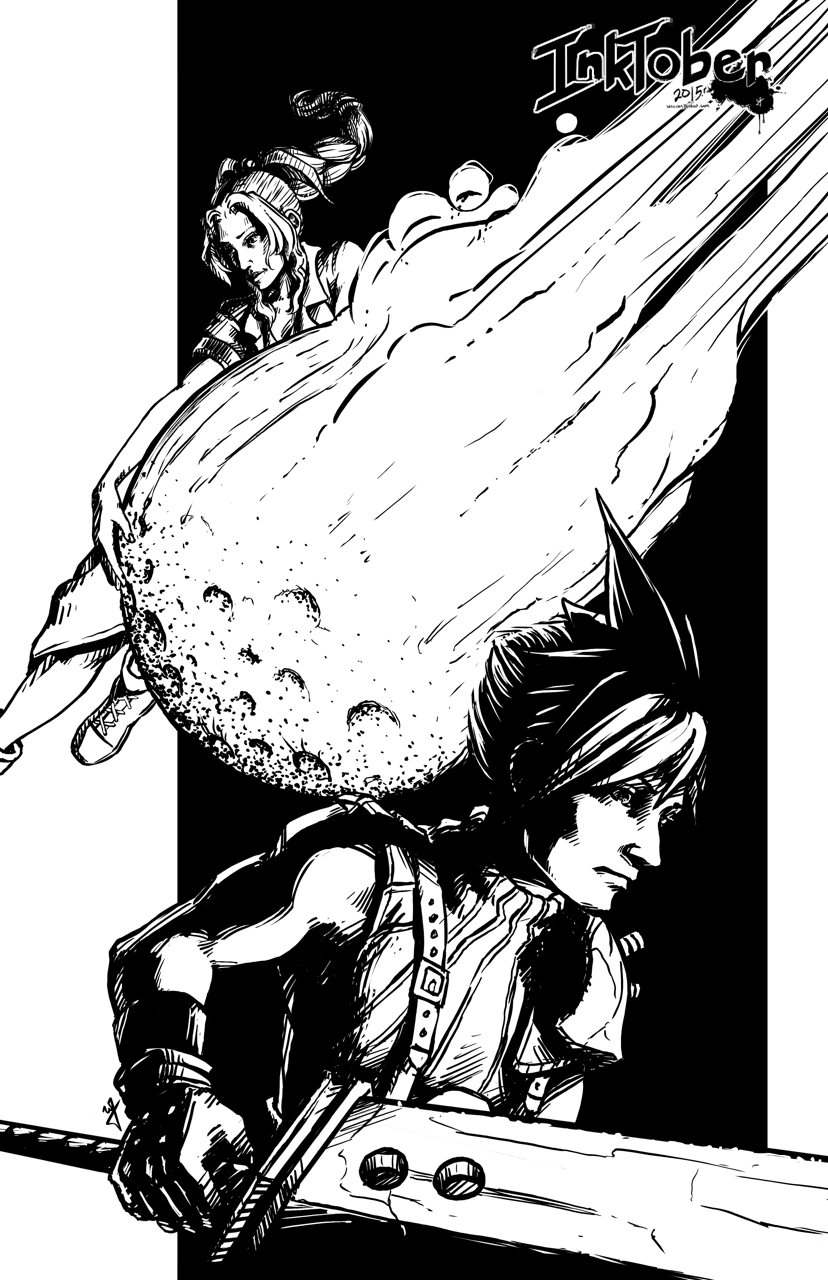
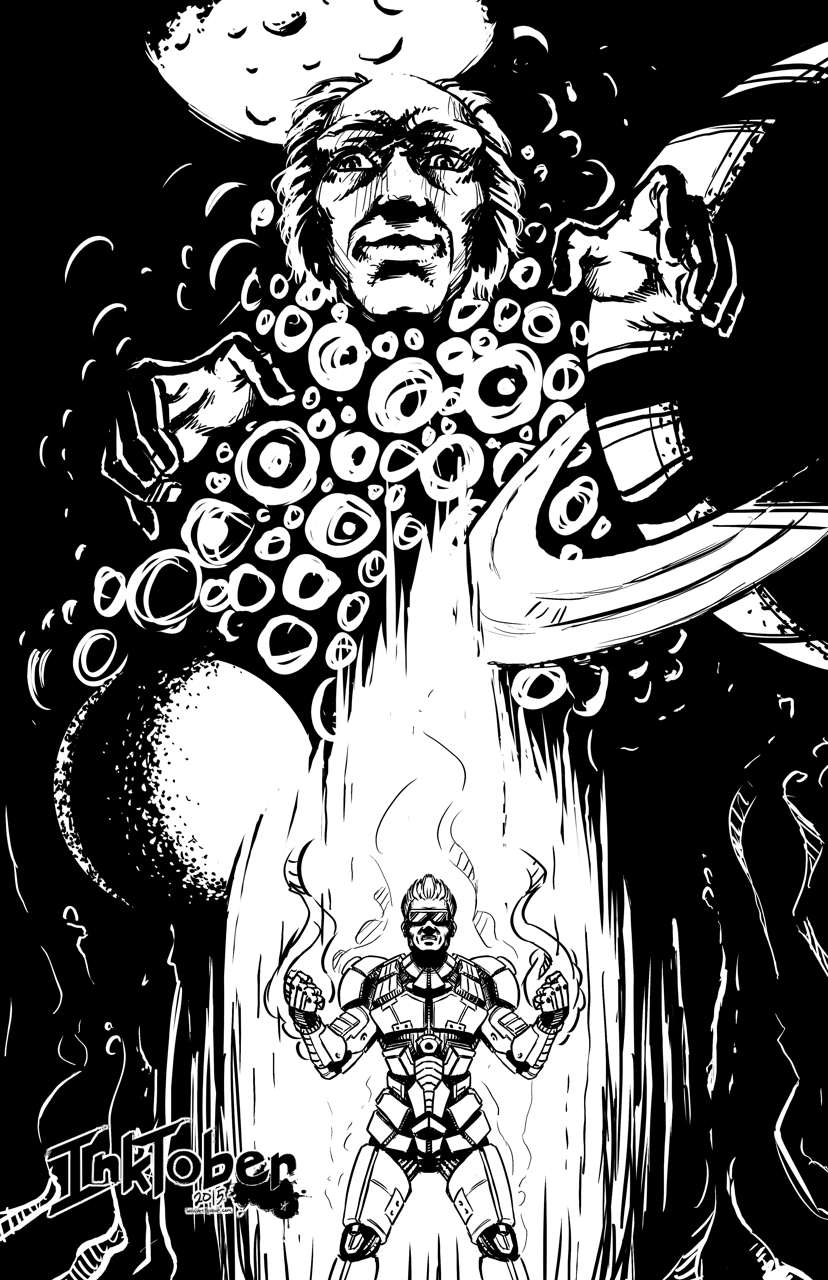
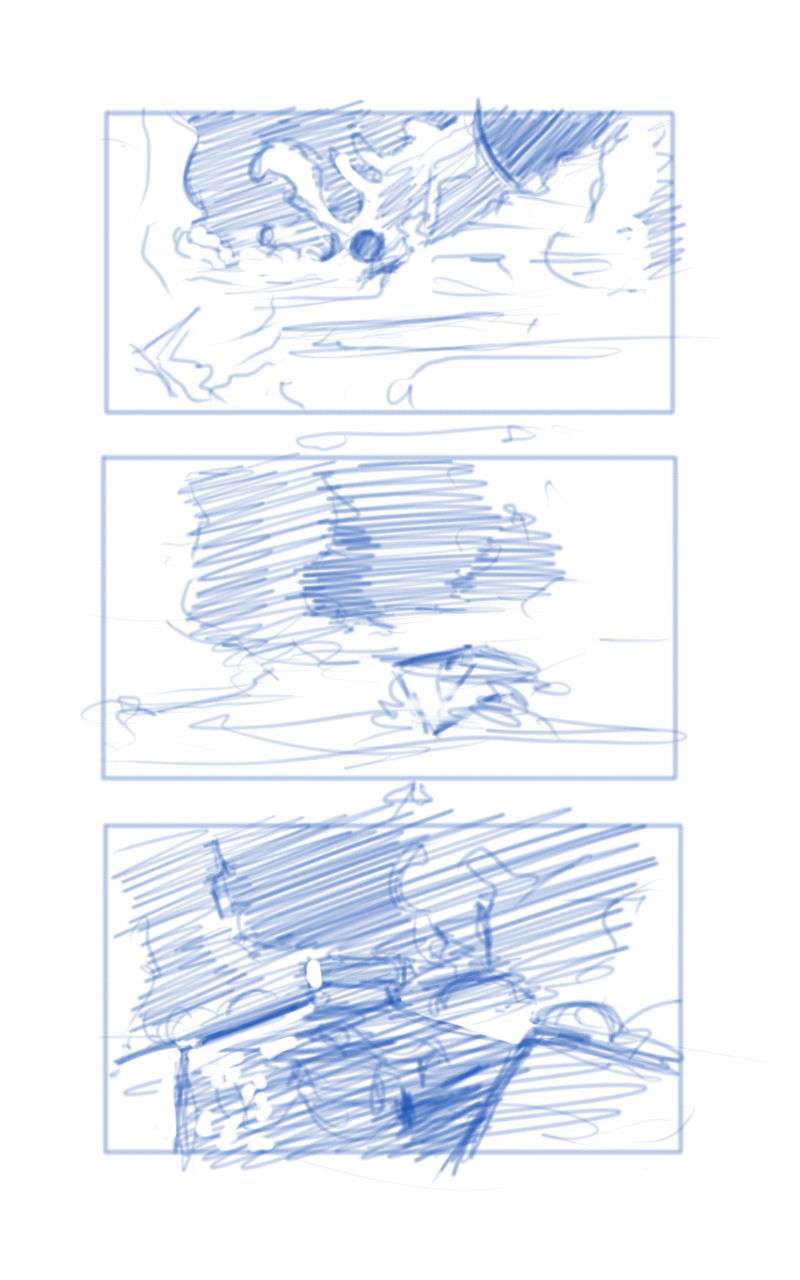
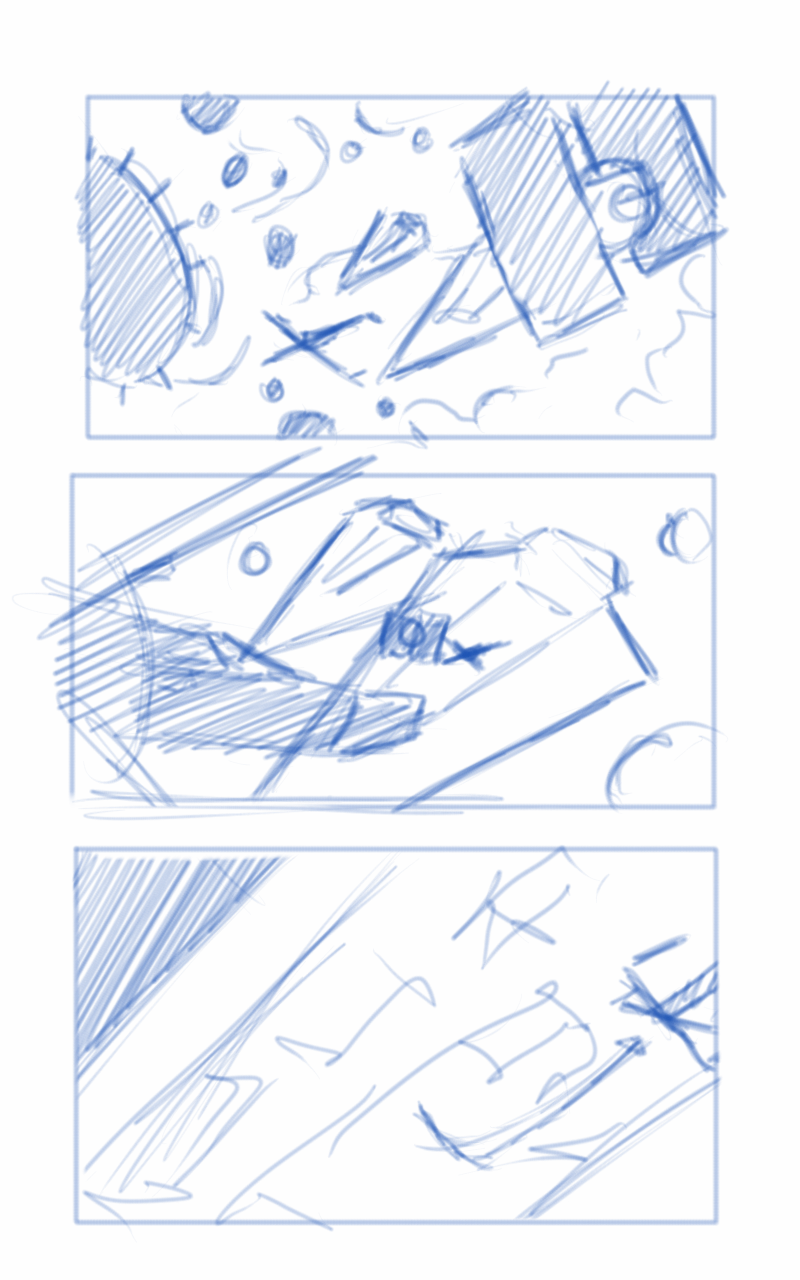
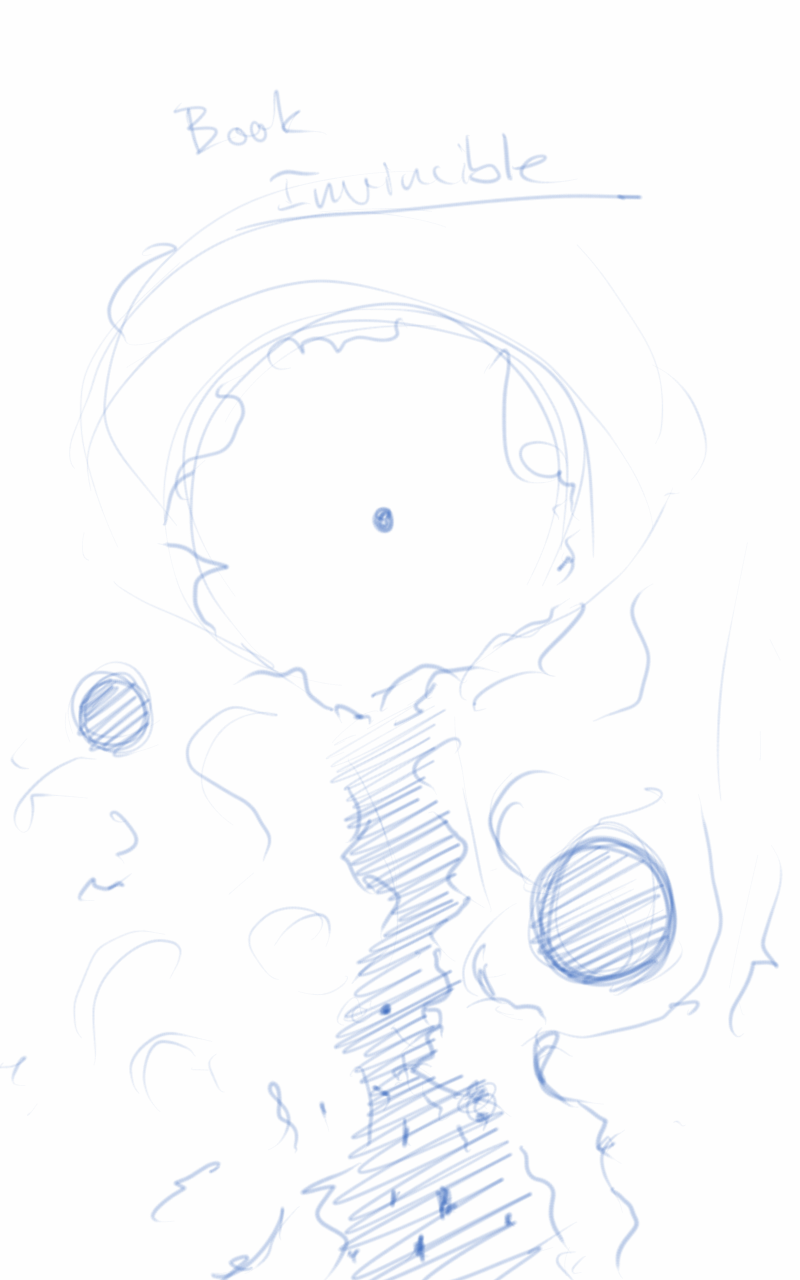
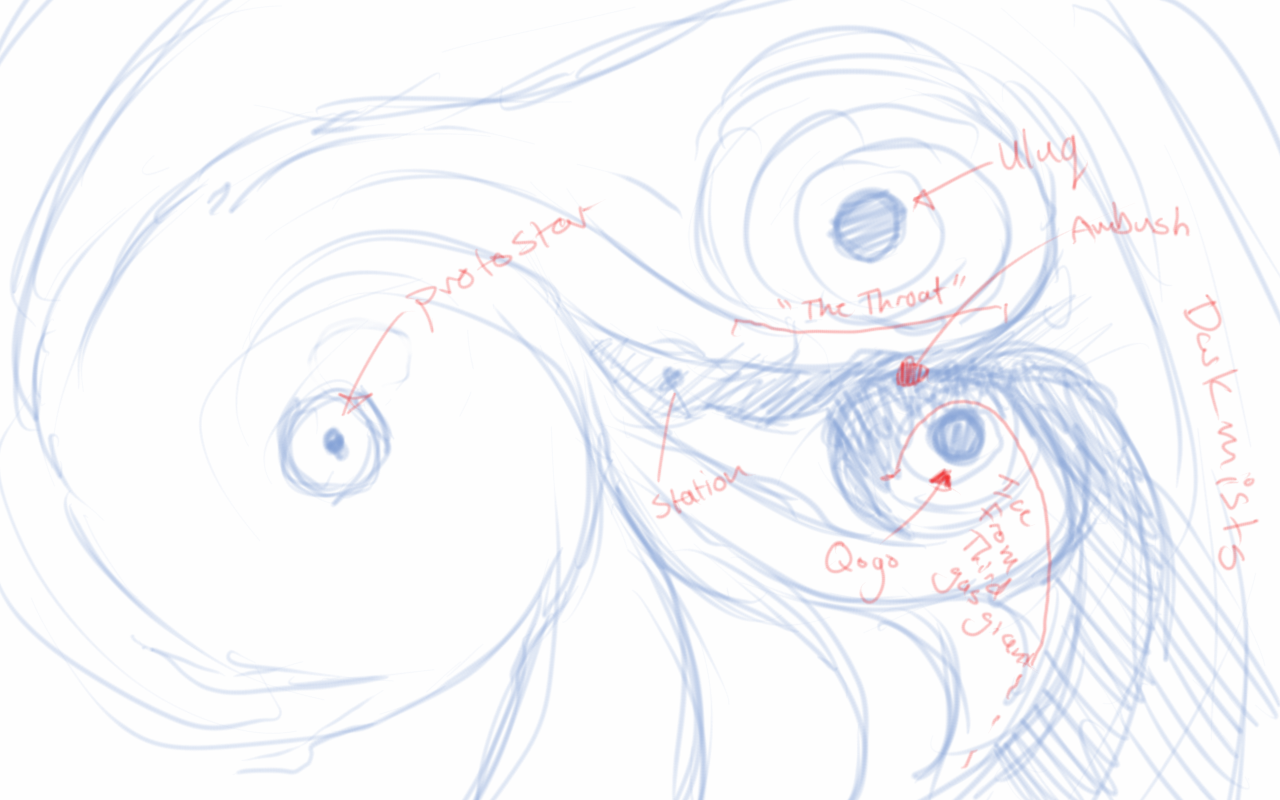
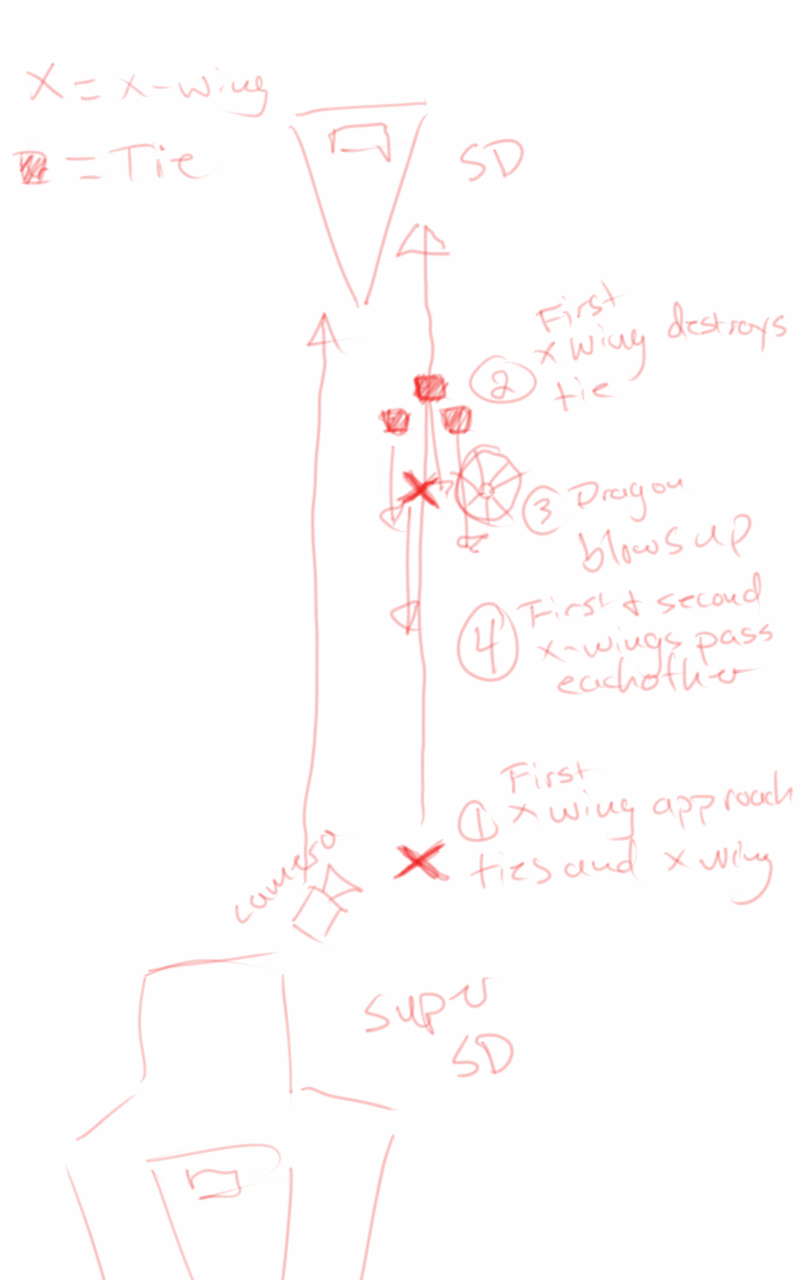
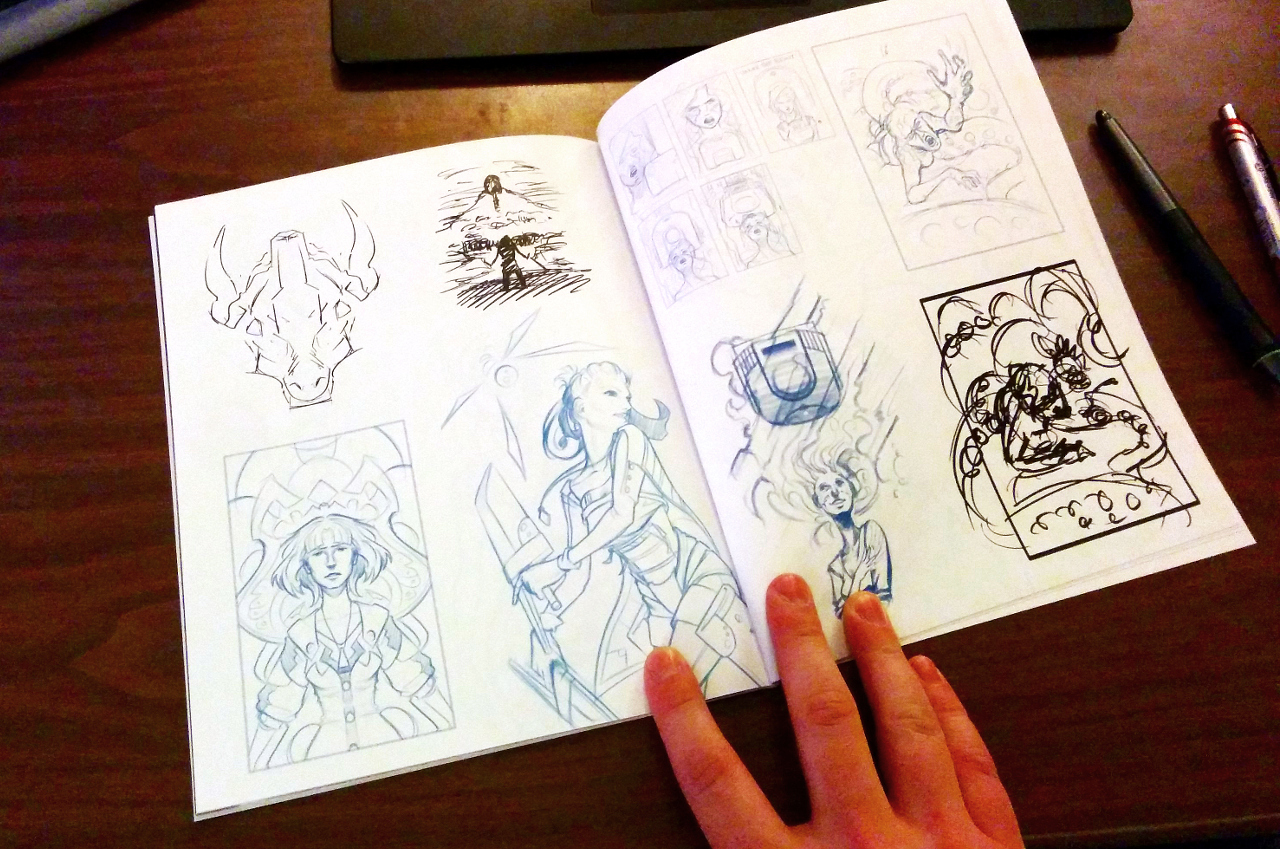
    The book contains all 31 pieces from Inktober, bueatifully printed, along with a 15 pages of sketches and thumbnails that help illustrate my process to the final inking. Please let me know what you think of the final collection, as I am hoping to publish a few more books in the near future of some of my current work, and any feedback will be valuable. Also, if you haven’t seen my work for Inktober yet, you can view it all for free in here, or on Instagram.

    A special thanks for Michael Buhler, Sarah Bailey, Trevor Rimmasch, and Isaac Christiansen for their knowledge and help polishing the final book.

  • INKTOBER 2015 | Finished

    INKTOBER 2015 | Finished

    Here we go. Time to give it a try. Inktober. I have been wanting to do this for the last few years, after my friend Michael Buhler first introduced me to the event. Be sure to check out his blog, as he is currently inking away as well. I think I final have myself worked up enough to carry through the end of the month.

    Inktober_blog_logo_web

    Goals

    I think that the only way I am going to see this through is if I set a few goals to help generate ideas, but keep it basic to avoid being too ridged. I want to keep it fun as well. For the sake of keeping my blog clean as well, I will be posting everything in this post, and I will also be sharing out to the Facebook Draw Night group, Google+, Deviant Art and to my Instagram.

    Goal #1 is to produce 10 larger, 11×17 vertical illustrations, for my top 10 video games. I won’t list that here now, don’t want to spoil the surprises to come.

    Goal #2 is 21 other small scale pieces. This can include inked sketches, smaller, and quicker to finish.


    Quick Link List

    A list of what is done, and linked for quick navigation.

    11×17 Fanart Illustrations

    Day 4 – Transistor
    Day 11 – Phantom Dust
    Day 16 – Tempest 2000
    Day 17 – Journey
    Day 18 – Adventure of Link
    Day 19 – Shadow of the Colossus
    Day 21 – Ocarina of Time
    Day 29 – Link’s Awakening
    Day 30 – Final Fantasy VII
    Day 31 – Street Fighter 2010


    Day 13 – “Navigator”
    Day 14 – “Hybrid CI”
    Day 15 – “Checkers”
    Day 20 – “Ambassador”
    Day 22 – “Lighter”
    Day 23 – “From the Depths”
    Day 24 – “Suzzie”
    Day 25 – “Time to Fly”
    Day 26 – “Unwavering”
    Day 27 – “Mouse Thief”
    Day 28 – “Minmei”

    Weekly Time Lapse Video

    Week 1 Time Lapse

    Week 2 Time Lapse

    Week 3 Time Lapse


    Day 1

    Play the Beast


    paint_the_beast_inktober_web


    Day 2

    Another Bullet


    bounty hunter_inktober_blog


    Day 3

    On the Throne


    on the throne_blog


    Day 4

    Transistor


    transistor_blog


    Day 5

    Gate Keeper


    gate_keeper_blog


    Day 6

    Forgotten Trophies


    forgotten_trophies_blog


    Day 7

    Fighter


    fighter_blog


    Inktober – Week 1 – Time Lapse


    Day 8

    Push the Button


    dots_blog


    Day 9

    Just a Few Notes


    disco_singer_blog


    Day 10

    Distilled


    distilled_blog


    Day 11

    Phantom Dust


    Phantom_Dust_blog


    Day 12

    Potential Baller


    baller_web


    Day 13

    Navigator


    navigator_blog


    Day 14

    Hybrid CI


    hybrid_CI_blog


    Inktober – Week 2 – Time Lapse


    Day 15

    Checkers


    checkers_blog


    Day 16

    Tempest 2000


    tempest_2000_blog


    Day 17

    Journey


    journey_blog


    Day 18

    Adventure of Link


    adventure of link_blog


    Day 19

    Shadow of the Colossus


    shadow_of_the_collossus_blog


    Day 20

    Ambassador


    ambassador_blog


    Day 21

    Ocarina of Time


    Ocarina of Time_blog


    Inktober – Week 3 – Time Lapse


    Day 22

    Lighter


    lighter_blog


    Day 23

    From the Depths


    from the depths_blog


    Day 24

    Suzzies


    suzzie_blog


    Day 25

    Time to Fly


    Its_time_to_fly_blog


    Day 26

    Unwavering


    unwavering_blog


    Day 27

    Mouse Thief


    mouse theif_blog


    Day 28

    Minmei


    minmei_blog


    Day 29

    Link’s Awakening


    08_links akwakening_blog


    Day 30

    Final Fantasy VII


    final fantasy 7_blog


    Day 31

    Street Fighter 2010


    Street Fighter 2010_blog


  • Star Wars: Legacy of the Force – Fan film – Happan Ambush CG Sequence

    Star Wars: Legacy of the Force – Fan film – Happan Ambush CG Sequence

    This post has been a long time in the making. Some time around the beginning of February of 2015, we approached the James brothers ( a utah local film crew, and artists) who currently involved with a locally made Star Wars Fan film called “Star Wars: Legacy of the Force”, primarily produced by Tye Nelson and directed by Danny James. We asked if they might have something that we could work on in regards to VFX, and they had something big that needed work on.

    A quick thank you to Jacob Thorup and Bryce Thorup for letting me work on this at work, and also for providing critique. Micheal and Heather Buhler for their feedback. And finally Tye Nelson and the James brothers for allowing me to work on this project. Thank you!

    (Note, my details about what has happened in the production are very slim, I was third-party primarily, and most of my details come from conversations and emails from both the James brothers and Tye Nelson.)

    Be sure to watch the whole film at legacyoftheforcefanfilm.com

    The Proposal

    At this point in production of the fan film, everything was shot, and basic edits had been put together. This rough cut also featured a rough intro battle sequence which was strictly CG. You can see a what this looked like through this video at the 00:09 second mark, hosted on the creator’s channel. The producers and directors were not completely satisfied by this product, that was produced by another artists, other than myself. Because of this, the James Brothers offered to have me take a shot at it. I said yes.

    In case you don’t wish to spend the time to go through the rest of the article, I put together a quick video that goes through a bit of the development process, along with a break down of the final shot.

    Pre-Production

    So began a fun, frustration, enlightening, and enjoyable adventure of the most complicated CG shot I have done to date. I used Blender as my primary tool, and I eventually moved into After Effects for my final compositing.

    Based on some notes from the James Brothers I began reworking the current sequence to be something a bit more dynamic and interesting. I started off with just a small piece of artwork produced for the Star Wars official card game, and with some ideas of making it look like the fight was taking place just in upper orbit around a planet.


    animatic_1_1animatic_1_2animatic_1_3animatic_1_4animatic_1_5


    This is where the first animatic came into play. This was largely shooting from the hip, and I put a little too much effort into the background and lighting, which should have been left for later in the process. I enjoyed this idea, but it wasn’t what the producer was looking for at the end of the day. It was ultimately scrapped.

    The second animatic took to the original sequence, and basically mimics it for the most part. I decided to adjust the introduction of the Super Star Destroyer, as I thought a rising from the dark mists would feel a bit more ominous, and letting the viewer take in its vast size would help to maintain the brooding force that it is.


    conceptart_1conceptart_2conceptart_3conceptart_4conceptart_5


    The third animatic is much more refined. If I remember correctly, I had been given source material to work with, and I had already begun creating the environment at based on that material. In essence, the environment was created by one gas giant colliding with another, creating a large mass of debris and material between the remaining two gas giants. These all orbited around a proto-star. The source materials paints a darker environment on the page. I deviated from these details to help created a vast sense of scale with the nebula, and how small all the space craft were in relation to it. This required more light, so I made the star brighter than what is described in the book.

    After the movement of the main players in the sequence was locked down, and the animation for the main space craft was finished, I set to work on the actual spacecraft themselves.

    The base models were downloaded from scifi3d.com. This site hosts donated models from a ton of different sci-fi universes, and it had everything I needed for the sequence. After getting the models, I spent a good chunk of time cleaning them up in Blender, texturing, and additional modeling, before bringing them into the final scene to replace the proxy models I used for the animatics.


    x-wing_5-15-15_2x-wing_5-15-15tie_5-15-15_1hapan_5-15-15


    After the models were brought in, simulations for fire/smoke and other debris were done, along with blaster fire. Then came rendering everything out for compositing.

    Each render layer was done separately. The x-wings on one layer, the tie fighters on one layer, the planets on one layer, etc… This was to accommodate any possible changes without having to render the whole scene again. The only requirement to this workflow was to make sure that the animation for the camera never changed. This allowed all the separate layers to match move with each other, and if a layer needed changes and rerender, all you needed to do was replace the frames for that single layer in the final composite.


    ambush_final_0ambush_final_1ambush_final_2ambush_final_3ambush_final_4ambush_final_5ambush_final_6


    I moved my scene layers over to After Effects to composite there. I was originally planning on compositing completely in Blender, but there was a possibility that I wasn’t going to be able to finish things myself. I needed to move into a program that someone else could use in case I couldn’t finish. This did help speed things up though, as I didn’t have to render motion blur out of Blender (really slow…), as I was able to replace this with a much quicker effect in After Effects called Pixel Motion Blur.


    SSD_before_after


    Due to time constraints, and because of the amount of time I had spent on the project, I wasn’t able to add specific post effects like heat distortion. But at this point it is time to move onto other things. Overall the experience was gratifying. I ran into a ton of situations I have not encountered before, and I was able to successfully navigate through them, and learn a host of new things along the way. I have gained a deeper appreciation for the work that goes into a shot like this, and I know why it takes more than one person to pull it off well.

  • Atari ST | Review | Golden Path

    Atari ST | Review | Golden Path

    Again, another nostalgia moment for me. My early childhood was spent on the Atari ST, and even though I couldn’t truly enjoy the games and other functions of the computer, many things left a deep impression on me.

    golden_path_tos100

    One of those things was Golden Path. A point and click adventure that most people have never heard of, but is one of the games that defines the Atari ST for me.

    This game definitely didn’t win any awards, and it largely flew under the radar in 1986, from what I can find anyways. There are a few reviews I was able to dig up around the net. One for the Amiga version which had slightly better background art. There was one more review for the ST version in an old magazine but I can’t find the actual article.

    The game holds a strong place in my mind, and will continues to do so every time I play it.

    The Review

    It certainly wasn’t a terrible game. In fact, after about 5 minutes, just about anyone will have a good handle on the mechanics. The visuals are appealing to me, and with the music, seem to work really well with the overall presentation.

    The music is great, clean, a bit stereotypical of China, and clear on the ST version. I was watching some game play on the Amiga version, and even though it may sound a bit more “realistic”, it lacks in quality, and at points in the game is more of a distraction that a working piece of the game’s presentation.

    golden_path_boxart

    As for the difficulty, it is a bit steep. There is a book in the bottom left corner of the screen that will open and close from time to time, that will help you understand what is on each screen that you pass through. But this lacks in any helpful clues most of the time, and you will be left doing the trial and error dance until something works. This wasn’t unusual for games at the time, it is something that I personally enjoy about these older games, but is understandably a turnoff for those who are venturing into the older realms of video games for the first time.

    golden_path_box_insides

    I didn’t have the box or manual growing up, and I was pleasantly surprised when I got my own copy recently. The box front has something that is reminiscent of classic Chinese painting that looks like mount Fuji (not Chinese at all), and dragons. With a well designed rear cover, that graces us with some well captured screen shots of the game with a short, and surprisingly deep, back story. The innards include two floppy disks containing the game its

    elf, a registration card, a warranty card, and a surprisingly impressive 39 page manual. Containing basic instructions on how to play the game, but the majority of it taken by a lengthy back story which may or may not have some basis in Chinese history/mythology.

    golden_path_screen_1

    golden_path_screen_2

    Nostalgia aside, this is a must play for any point and click fan. It provides a great look into what developers were experimenting with in terms of game play and themes shortly after the likes of Kings Quest, but before great titles like Full Throttle and the Monkey Island series.

  • Atari ST | Adopted SF314 and Megafile 30

    Atari ST | Adopted SF314 and Megafile 30

    Looking to expand on my Atari ST peripherals, and for the want of some more convenient storage, I began the search for some Hard Drive space and a drive that could read double sided double density floppy disk drives.

    Having these two things will help immensely with programming and graphics. File loading will be a bit easier, and transferring files to my PC for backup would be much easier.


    “They Made Things Tougher Back Then”

    First the SF314 floppy disk drive. Previously I was borrowing and old floppy drive out of my brother’s collection of old PCs in order to read and write to double sided double density floppies. This was only a temporary fix though, as the control board was borrowed from my SF354, and the drive laid exposed to the harsh unforgiving elements next my Atari 520ST CPU. Definitely a temporary solution.

    The primary difference between the two drives is that the SF354 can only read single sided disks (max memory of 360k), compared to the SF314 that can read single and double sided disks (max memory of 720k).

    So the search began, to find a deal on a SF314 drive.

    Because I am sometimes a lazy individual, and this time a bit impatient, I started searching on Ebay. I didn’t have to look long before I stumbled on a listing for a SF314 without cables with no guarantee that the drive worked. With the assurance that “they build stuff tougher back then”, I decided to take the risk and purchased the drive.

    A week later, I plugged in the drive with my already owned power supple and I/O cable, and it worked flawlessly.

    st_harddrive_floppydrive

    Not So Floppy Storage

    Next came some hard drive space to work off of. For those of you who have searched for a deal on hard drives for the Atari ST know that it is nearly impossible to find anything under $100 that works. So, after feeling brave after getting an untested disk drive, I took the plunge on a partially tested Atari Megafile 30.

    By partially, I mean that the person listed that they had no real way of testing the device, except for plugging in a power cable and turning it on. He said that he could hear the drives spin up, good sign, but no guarantee that it worked. I later learned that if the heads inside the drive weren’t software locked, then there could be damage during transport as well.

    On the Best Electronics website, these Megafile 30s are listed at about $160, this comes with the hookups and with a guarantee that it will work. With this in mind I decided to order the one on Ebay, without the DMA cable, for $100 shipped. Then I ordered a cable from Best Electronics (about $15), hoping that I could give a “maybe” working Megafile 30 a new home.

    Again, about a week later, and to my relief, I purchased a working Atari Megafile 30. The drive had existing files on it that dated back to 1989, but most were corrupted. The original owners used it primary for storing documents, and it was fun to dig into those a bit to learn more about them. One user composed some midi music, and also did a bit of programming in Pascal. I took an hour or two going through the files, and recovered any personal files that weren’t corrupted, and then formatted the drive with the Atari HD Utilities disk. I am now a proud owner of 30MB of hard drive space.


    It is surprising to see this old hardware that has been floating around for the last 30 years, still has a bit of life left. I will eventually invest in an Ultrasatan or CosmosEX, which provides a more modern interface for storage (SD Cards), but for now, I will revel in the nostalgia.

  • Atari Jaguar | Flappy McFur | Box Art Illustration

    Atari Jaguar | Flappy McFur | Box Art Illustration

    This one has been a long time coming. I have always intended to update the original box art, done in Inkscape, with a nicer looking illustration. I just thought I would have gotten to it sooner.

    cd cover illustrated_2_final_web

    I keeping with the overall design of the original box art, I maintained the perspective, composition, and other key elements of the original, with only a few changes. The biggest change, and naturally the most obvious is that it isn’t vector art anymore. To compensate for the lack of scalability, I doubled my usual working resolution in Krita. I usually work at an A4-300dpi (2430x3508px). This time I basically doubled that resolution (4400x6218px), to help future proof the piece, in case we wish to do posters or banners.

    The other obvious change was the inclusion of the second character in our game, Cutter, McFur’s lovely companion turned human. Currently, Cutter’s part in the game is purely aesthetic, but there are plans in having her be a larger part in all the flapping the player will be doing. Something like dropping bonus coins or removing pipes for McFur every once in a while.

    flappy_mcfur_boxart_sample_1flappy_mcfur_boxart_sample_2flappy_mcfur_boxart_sample_3

    Now compared to the first and second illustrations done for this game, I decided to take the rough colored pencil and crayon look further, and I really liked the final result. I used two pastel brushes primarily, but I also used a couple of pencil and standard brushes when I needed a bit more detail in places. I am not worried about reworking the previous illustrations, because I feel they feel great for what they are, but finishing this piece makes me feel like doing one or two more new illustrations following this pattern. We’ll see.


    boxart_process_animation


    Enjoy the time lapse video I put together, a few close ups of detail, and have fun commenting on the differences between the old and new box art. I am also thinking about doing an extended cut of the time lapse that is about an hour long, so those of you who like to see more of my process in detail, you may have the opportunity soon.

  • Atari ST | ROLAND GKC-3 | SC1224 Color Monitor Replacement Cable

    Atari ST | ROLAND GKC-3 | SC1224 Color Monitor Replacement Cable

    I recently purchased a SC1224 color monitor for my ST and realized that it was a model that didn’t have a hard wired 13 pin DIN connector to plug in the back of ST.

    I did some searching around and soon discovered that finding an orginal replacement cable is becoming impossible. As this model of the SC1224 was prone to lose it’s video cable because it wasn’t hardwired.

    roland_gk-3_st_monitor_cable

    Making a custom cable would be out of the question, as my soldering skills are nearly non-existing. And there are some who say they are a nightmare to put together anyways.

    So, looking for some alternative cables I discovered that these 13 PIN cables were also still being used for some musical synthisizer equipment. But when people talked about using these cables as a video cable replacement, sometimes they wouldn’t work. The cables would lack the proper copper shielding, or some of the pins wouldn’t be wired up, making it useless for the ST.

    But, the light shown through with one forum post. With a confirmation that a specific cable has worked for someone else before, I ordered the ROLAND GKC-3, ten footer cable for about $18 US.

    Got here yesterday, and it works great with my monitor. With the exception of the length of the cable, it seems to be a great alternative to an official cable. I assume that because the GKC-3 cable works, the -5 and other models will most likely work as well.

  • Atari ST | Hardware Measurements

    Atari ST | Hardware Measurements

    I was having a hard time finding actual dimensions for Atari ST hardware, so I decided to measure and post for those who may also need the info. Also, check out my sweet art setup at work. (I am owner of the business, I get away with these things sometimes).

    st_setup_1

    Keep in mind that the dimensions for the given pieces of hardware are not consistent throughout, due to various slopes and curves that make up the overall design and look of the hardware. These are box dimensions that would cover the entirety of the form of the hardware.

    SC1224 Color Atari ST Monitor
    12.75 in. Wide X 14 in. Deep X 11.75 in. Tall
    Metric
    32.385 cm Wide X 35.56 cm Deep X 29.845 cm Tall

    SM124 Monochrome Atari ST Monitor
    12.75 in. Wide X 12 in. Deep X 11 in. Tall
    Mertric
    32.385 cm Wide X 30.48 cm Deep X 27.94 cm Tall

    520ST CPU (no internal disk drive)
    18.5 in. Wide X 9.875 in. Deep X 2.875 in. Tall
    Metric
    46.99 cm Wide X 25.083 cm Deep X 7.303 cm Tall

    Atari ST SF354 Disk drive
    5.5 in. Wide X 9.875 in. Deep X 2.875 in. Tall
    Metric
    13.97 cm Wide X 25.083 cm Deep X 7.303 cm Tall

    Standard Atari ST Mouse
    2.937 in. Wide X 3.812 in. Deep X 1.25 in Tall
    Metric
    7.45 cm Wide X 9.682 cm Deep X 3.175 in Tall

  • Atari Jaguar | Nondestructive 50/60hz Switch Mod

    Atari Jaguar | Nondestructive 50/60hz Switch Mod

    Here is a little mod for the Atari Jaguar that I don’t think is available on the internet at the moment. I was looking to add a switch to one of my Jaguar consoles in order to switch between PAL (50hz) and NTSC (60hz). In order to test Flappy McFur in both modes. The tutorials available online all use an additional switch in order for the mod to work. Also, most of the available tutorials suggest cutting a hole in the beautiful Jaguar Console’s case. In the case of this one tutorial, you can even use a rocker switch, which looks pretty cool I must admit, but I am not comfortable with cutting a hole into my cat.

    So, during a conversation with an electrician friend, who has helped me with some other Jag related electronic issues, he pointed out that you just need to short out the point that is used to detect whether or not the console is in PAL or NTSC mode. Obvious right, this is what an external switch does. Then he proceeded to point out that the console already has an “additional” switch that could be used for that purpose, without damaging the console. That is the switch located on the RF module.

    A couple of minutes later, we had a Jaguar switching refresh rates like a pro.

    Disclaimer

    Now, the title of this post isn’t completely telling the truth. You do have to sacrifice one of the RF frequencies (high or low, I can’t remember which one…), but this is a small price to pay, and for most Jaguar owners, not a big deal. Composite or S-Video right? If you still really want to use RF, the option is available, but slightly limited. And before we start, I don’t take responsibility for anything that might happen to your console during or after you apply this modification. With that in mind, I have had this mod for about 2 months now, with no issues on my NTSC jaguar. Lets get started.


    50/60hz (PAL/NTSC) Switch Mod

    Tools and Supplies

    Tools and supplies are simple. Just a soldering iron, some solder, a wire (about 15 to 16 inches long – 38cm to 41cm), and a Jaguar console.

    Opening your Console

    Here is a quick video that will show you how to do that. Basically for screws and bending up a few tabs.

    Soldering

    First you will need to open your console, if you aren’t sure how to do this here is great video to show you how to do that. After you get access to the motherboard, you will need to remove the metal cap off of the RF modulator (the silver box near the back left of the console. This is easy enough to pop off using a screw driver or pliers. This will give you access to soldering point 1.

    Point 1 is located in the top right corner of the RF modulator box, second from the right side of the box (please refer to the picture for reference). If you aren’t worried about being perfect, you can just add some existing solder to point, attaching it to the existing pin. Or, you can remove the older solder, and then re-soelder the point with the wire attached as well.

    50_60_point_1

    Soldering point 2 is a bit trickier, and requires a steady hand, and just the smallest amount of solder. The point is located on chip U25, and is the pin located at the bottom right (please refer to the image below for reference). What I did was apply a bit of solder to the tip of my soldering iron, and then, while holding the wire to the pin, dabbed the point until the wire sticks to the pin of the chip. Try to avoid getting solder on any of the other surrounding pins, it might cause the Jaguar to produce more intoxicating fumes than it usually does.

    50_60_point_2

    Tidying up

    As you can see in the picture below, I brought the wired around the left edge of the console in order to avoid any potiention electrical problems in the future. And I used tape to hold it in place. On the left side of the RF module box, there is an opening big enough to allow the wire to pass through to the inside of the back when you place the metal cap back on.

    50_60_mod_wide


    I hope others find this modification useful. It is entirely reversible by desoldering the wire, no problem. Also, no worries about cutting a nasty hole in the side of your gorgeous console shell. If you run into problems with this mod, or think that this isn’t a good idea, please let me know. Here is a video showing the mod in action.

  • Battle Recovery | Pastels and Contrast

    Battle Recovery | Pastels and Contrast

    I have been drawing/painting allot, I swear. Just haven’t been finishing much. I start on a piece, and before I know it, I have moved onto another one, and another one, and anot…… You get the idea.

    So, I thought I would post something I did manage to finish up (Sorry, forgot to hit the record button, no time lapse this time around). This was a little concept born out of a sketch session, and, because I liked how the composition and concept were coming together, I decided to push it further.

    A soldier, after the battle, brought back into her assigned quarters for healing. The robots remove the worn armor, as others tend to the wounds occurred in battle. I imagined a world where children would grow up in relative isolation, bred by a computer to oversee the conquering of worlds. Kept separate from the general population, and all for the progression of man. She is one of the many victims of a human-less world, created by humans.

    A sad story, but I found it very inspiring while working through this. Because of the dark, and messy nature of the situation I chose to use a pastel brush in Krita to maintain a rough texture throughout the drawing process. That along with one of the default fill patterns to add a roughness to the whole image.

    The whole image took about 3-4 hours, and is quite different from anything else I have done in the past.