William Thorup

Illustrator, Motion Graphics Designer, Animator, and VFX Artist

Category: Atari Jaguar Dev

  • Atari Jaguar – Cover Art & Packaging for Last Strike

    Atari Jaguar – Cover Art & Packaging for Last Strike

    With customers on the verge of finally getting their copies of Last Strike, I thought I would do a post on a bit of the background on how the packaging for this great piece of Atari Jaguar homebrew came together.

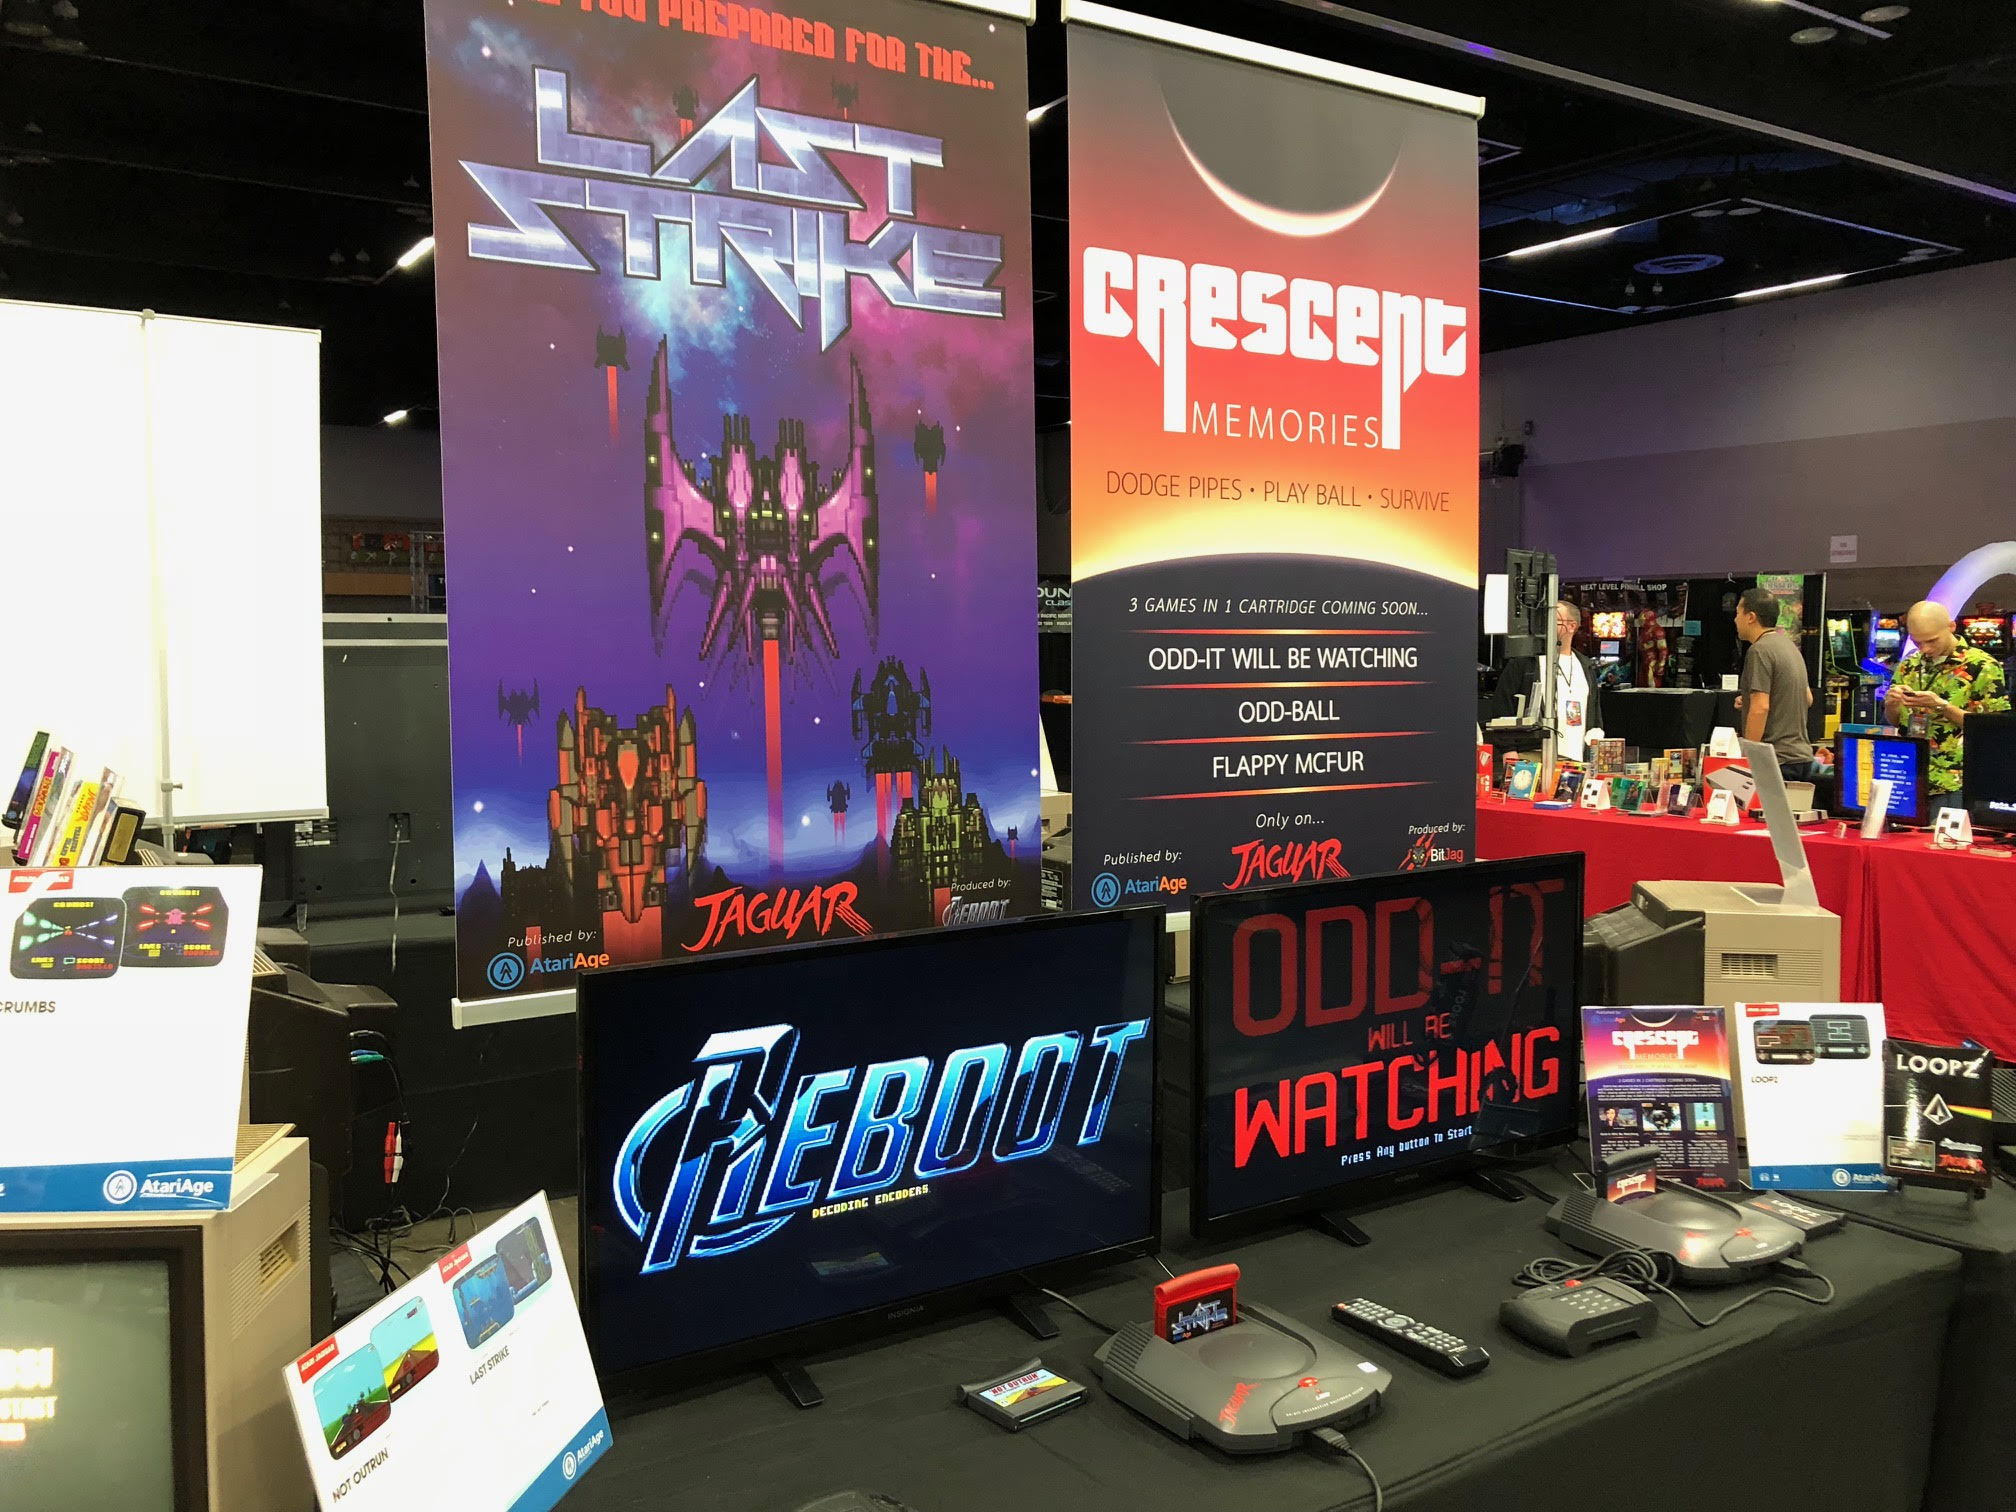
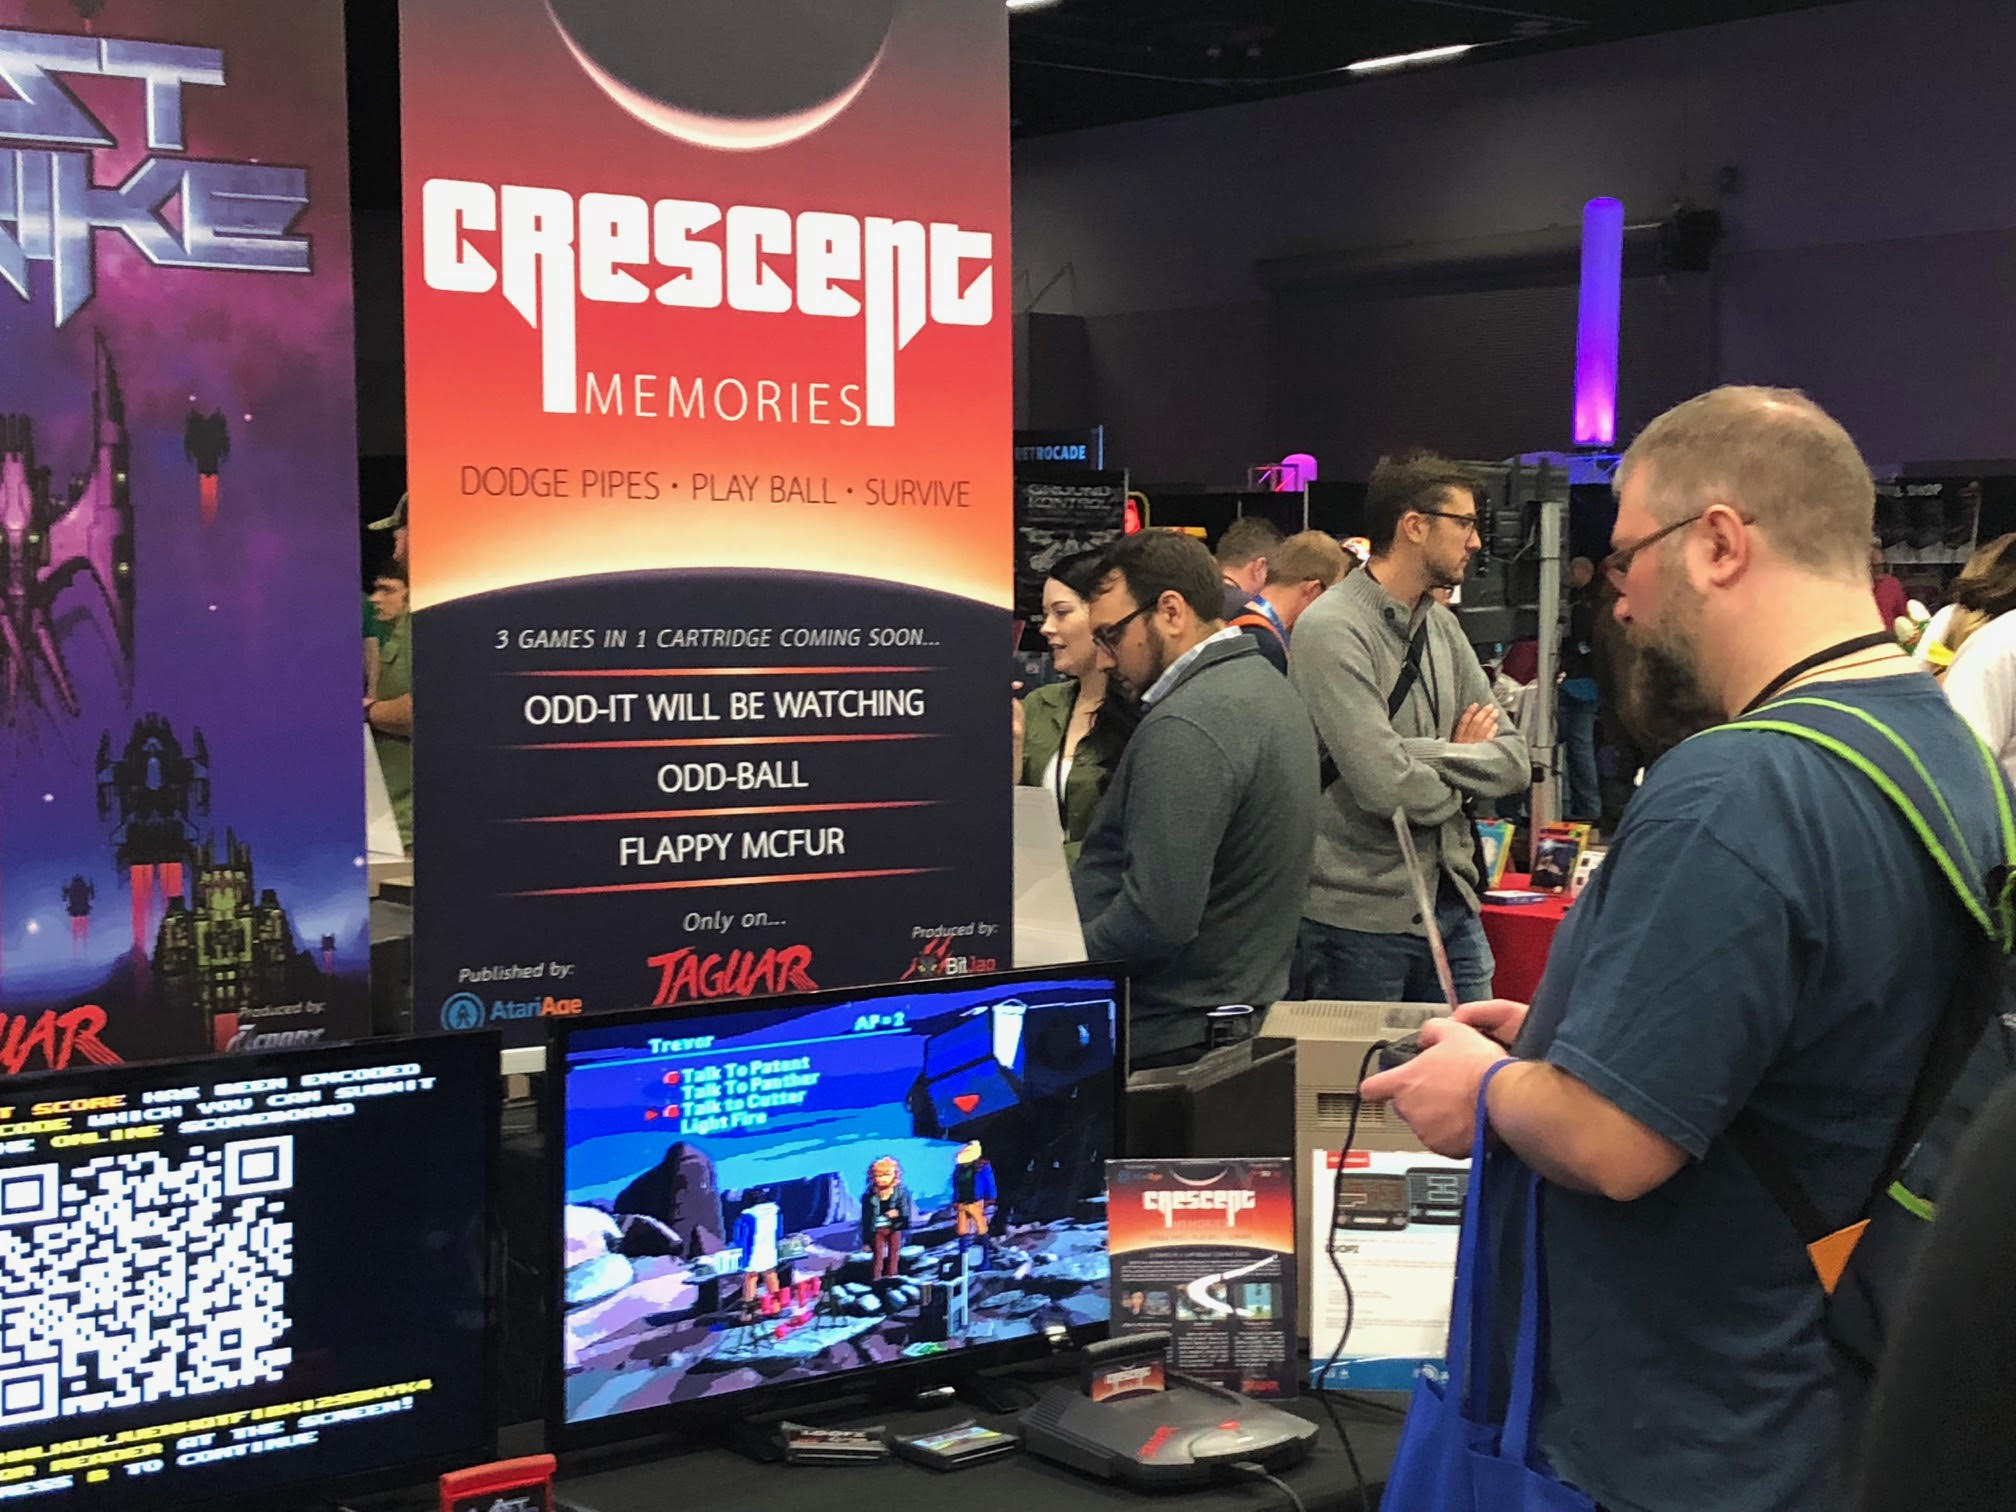
    Digging through 3 years of emails, it’s interesting to see how much you tend to forget on these long term projects. My involvement with Last Strike started with helping Albert at AtariAge in 2018 with some banner artwork for his booth for Portland Retro Gaming expo.

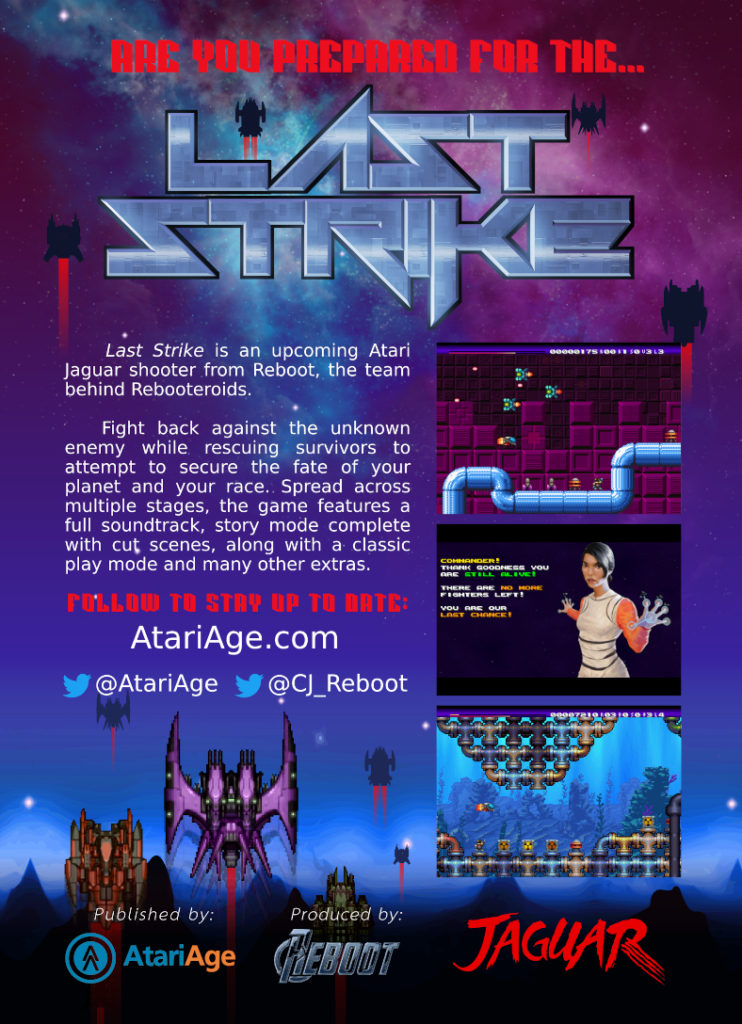
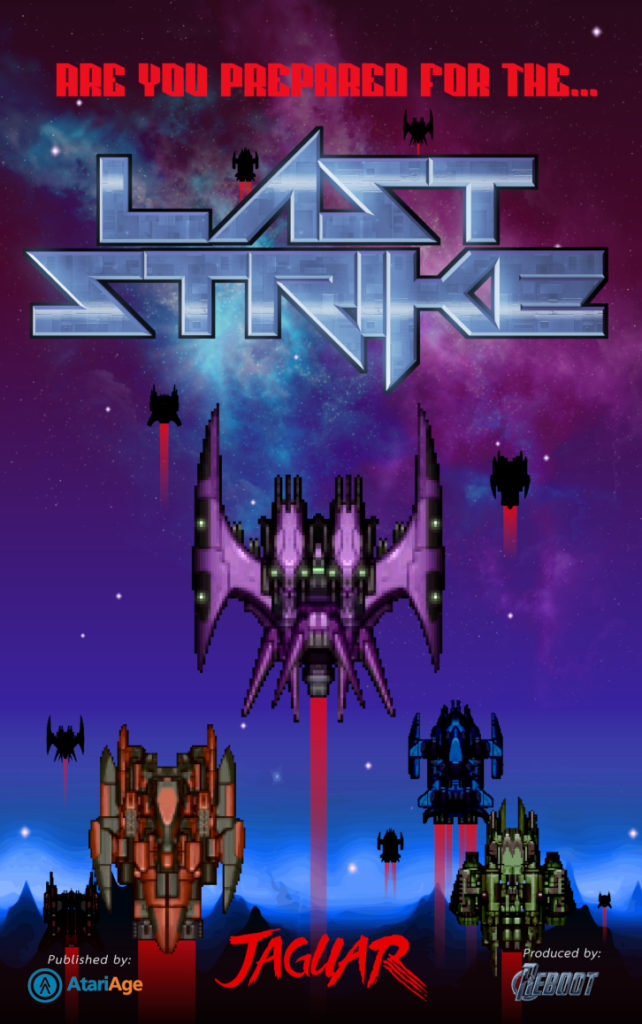
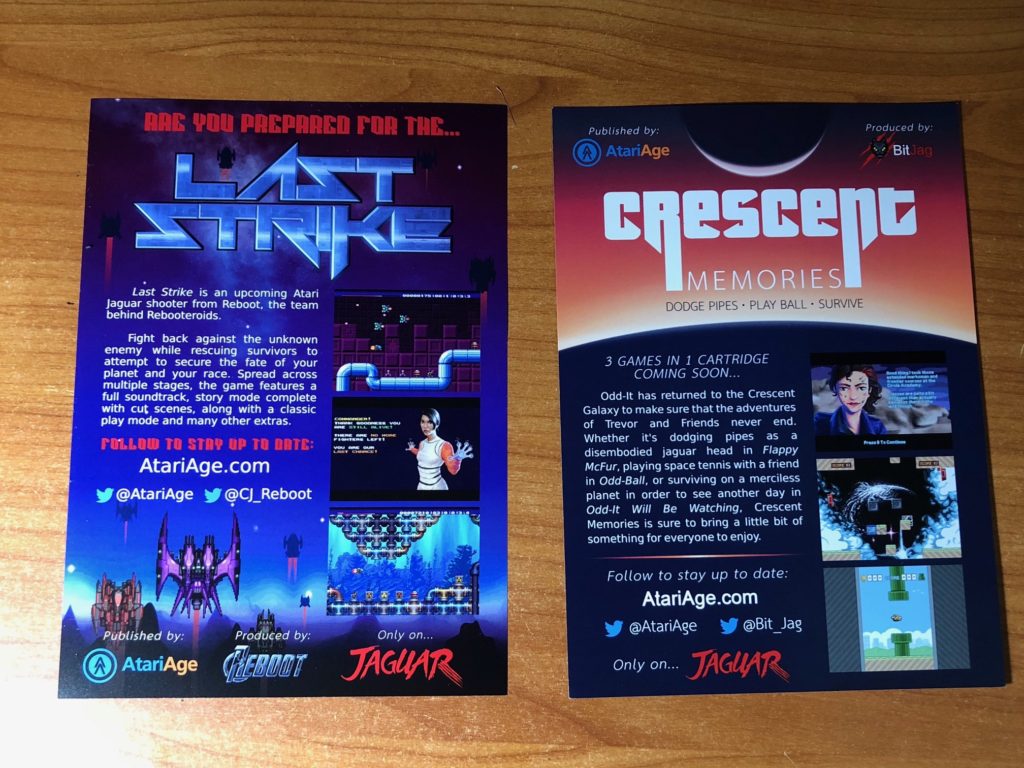
    I have actually never see these booths in person, and with the lockdowns, that chance may not come any time soon. Based on pictures posted by AtariAge though, it’s an honor to have some of this quick graphic design work show up at conventions where thousands of people get to see it. Along with the banner, I had put together a flyer that was available for pick up by potential AtariAge customers. Last Strike was printed back-to-back with the flyer for BitJag’s Crescent Memories game. The sprite artwork for the spaceships is from https://opengameart.org/.

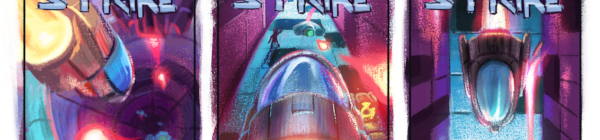
    After the convention wrapped up, along with the holidays, work started on the cover art for Last Strike. April 2019 is when the emails started, along my usually first step for work like this. Thumbnail sketches.

    I decided to bypass pencil sketches and go directly to color sketches. A couple reasons for this. Reboot didn’t have much in regards to direction except for pointing me towards previous content generated for marketing and assets for the game. This makes picking a color palette fairly easy. Just stick to what is used in the game and the banners/flyers that were used for Portland Retro Gaming Expo.

    For the content and composition of the boxart, I decided to take inspiration from other shooters. One in particular was used as inspiration, and that was the cover art for Raiden on the Atari Jaguar.

    Raiden’s box art takes a very simple but effective approach of extreme perspective to create a good sense of depth and movement. With the nose of the aircraft pointed towards the obstacles that the player must face in the game they are about play, we are given a good tone for the game without needed to plug and play.

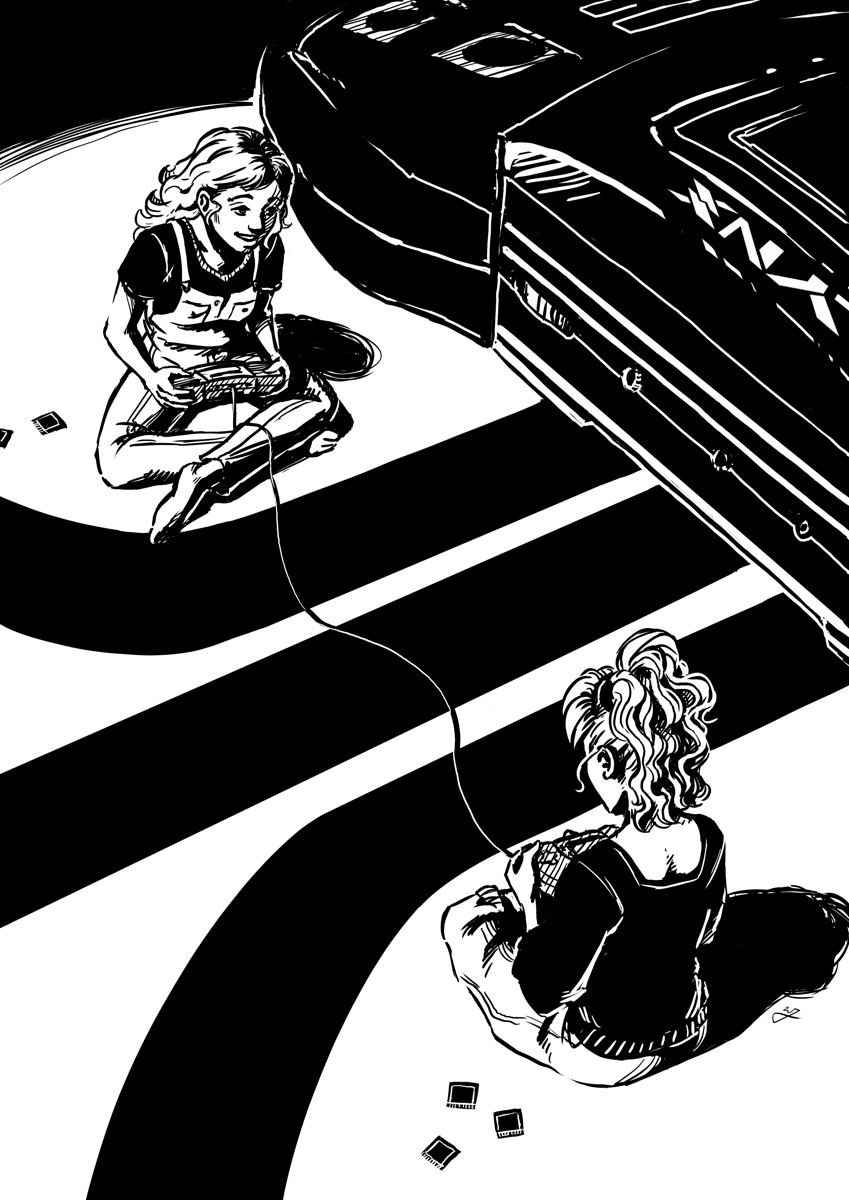
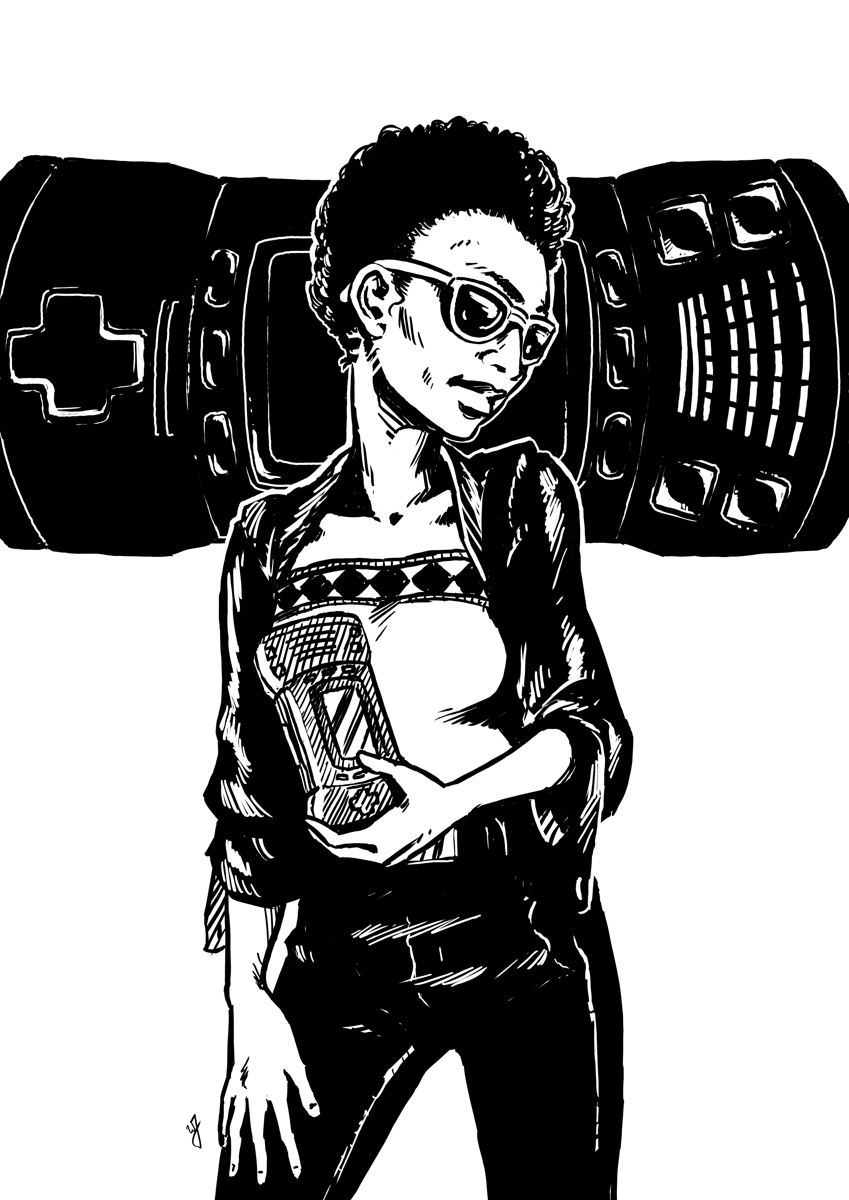
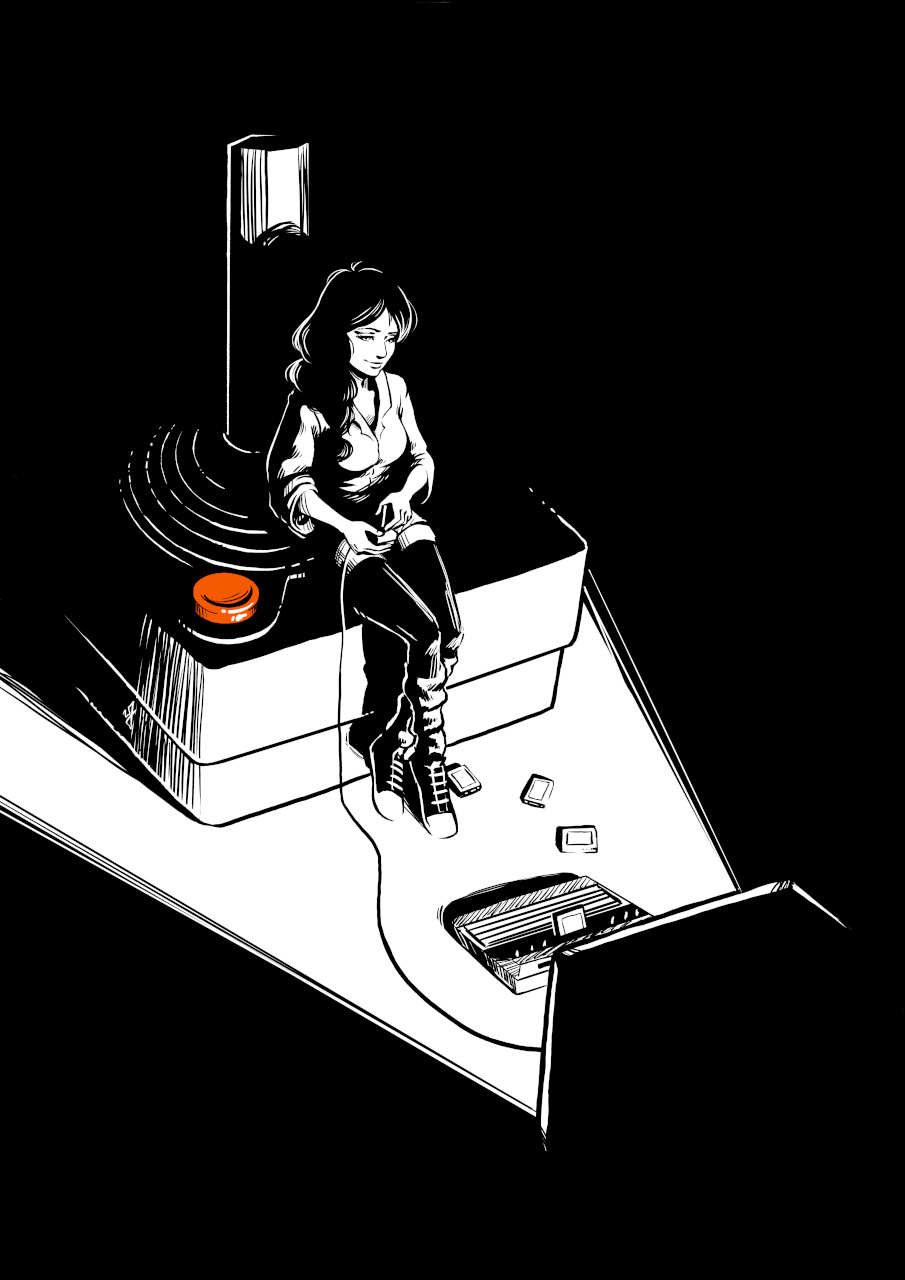
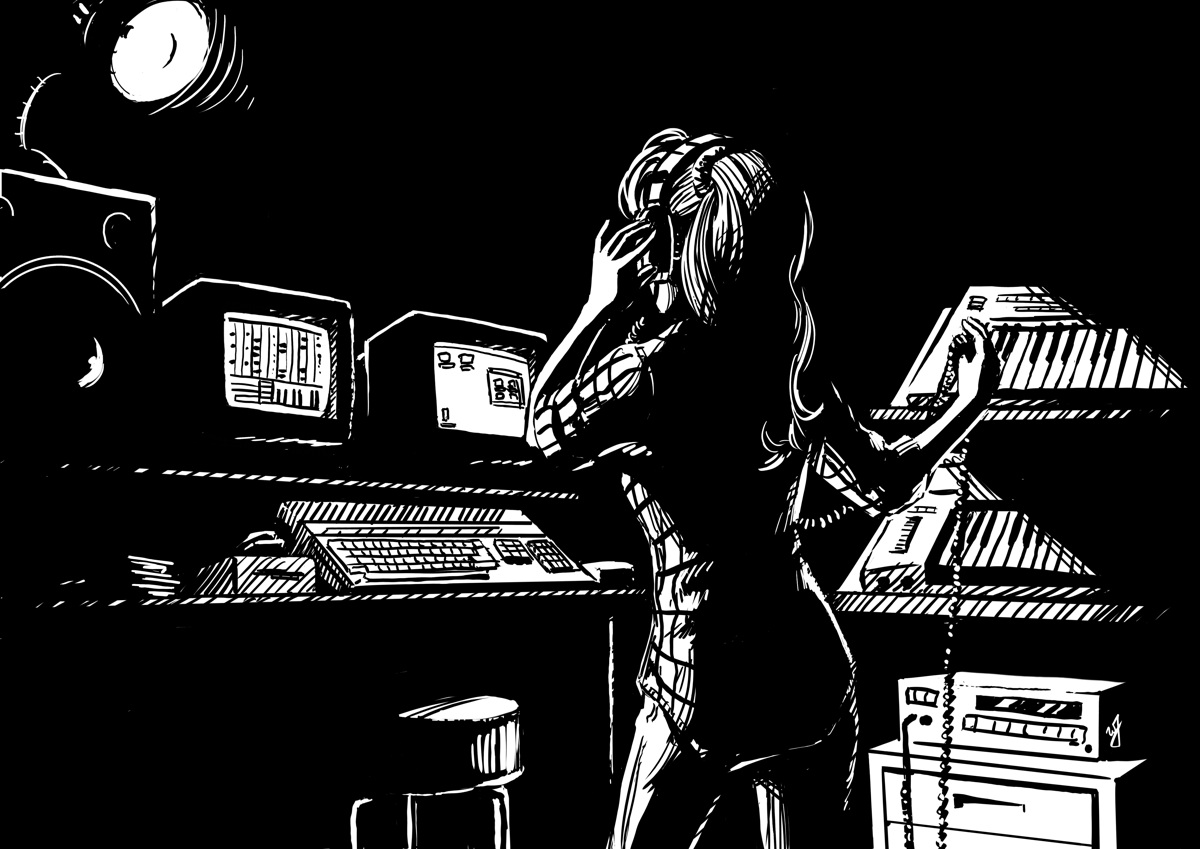
    With these thumbnail sketches I decided to take the compositional ideas and translate them into something new for Last Strike. I also decided to play with a few different camera angles to see if the client might want something not quite on the beaten path.

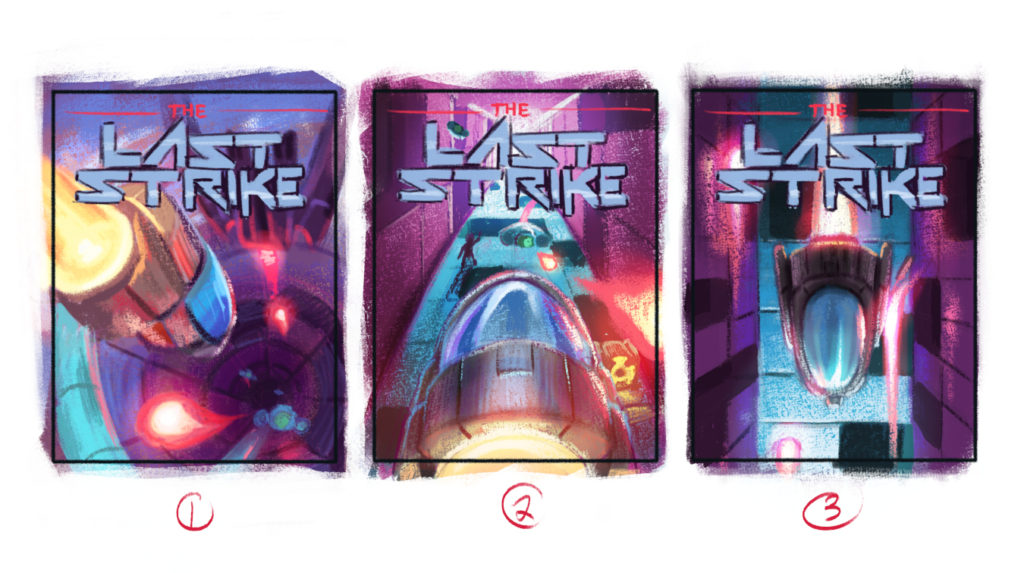
    After a few suggestions for changes the first thumbnail was the direction chosen. Before moving onto the final illustration, and because of the feedback, I decided to do a one more thumbnail sketch. Working in the adjustments and to refined the composition accordingly.

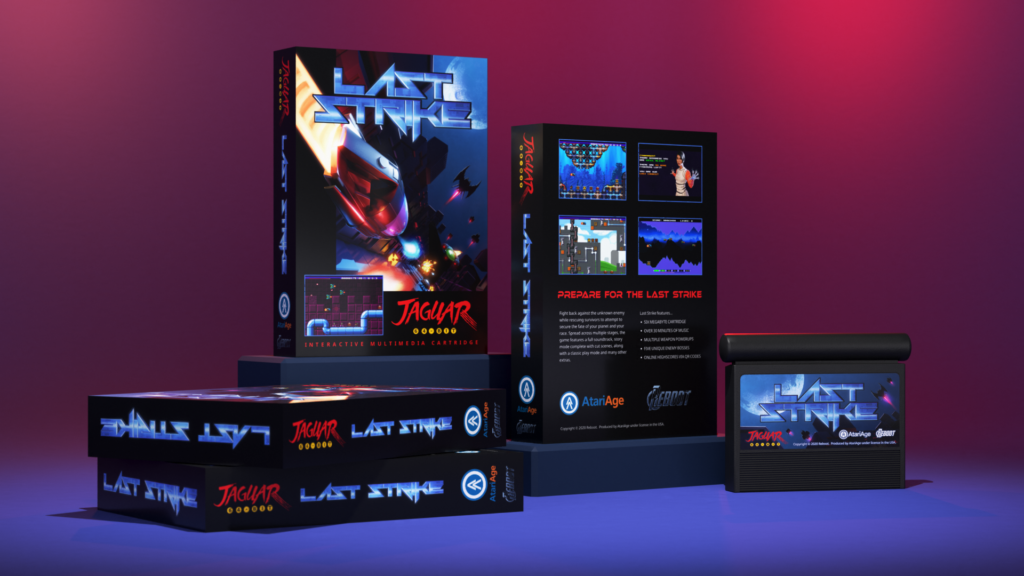
    Along with this new sketch, I was also needed to look forward to how this might look on actual product packaging. I had developed some templated 3D renders for testing artwork on for previous projects I have done for Jaguar games. I felt that we were far enough along with this final sketch to get a good feeling of what the final cover art and overall package would be like.

    With a go ahead for the artwork and confidence that the cover art would work well for box, manual, and cartridge label, I moved forward to the final illustration.

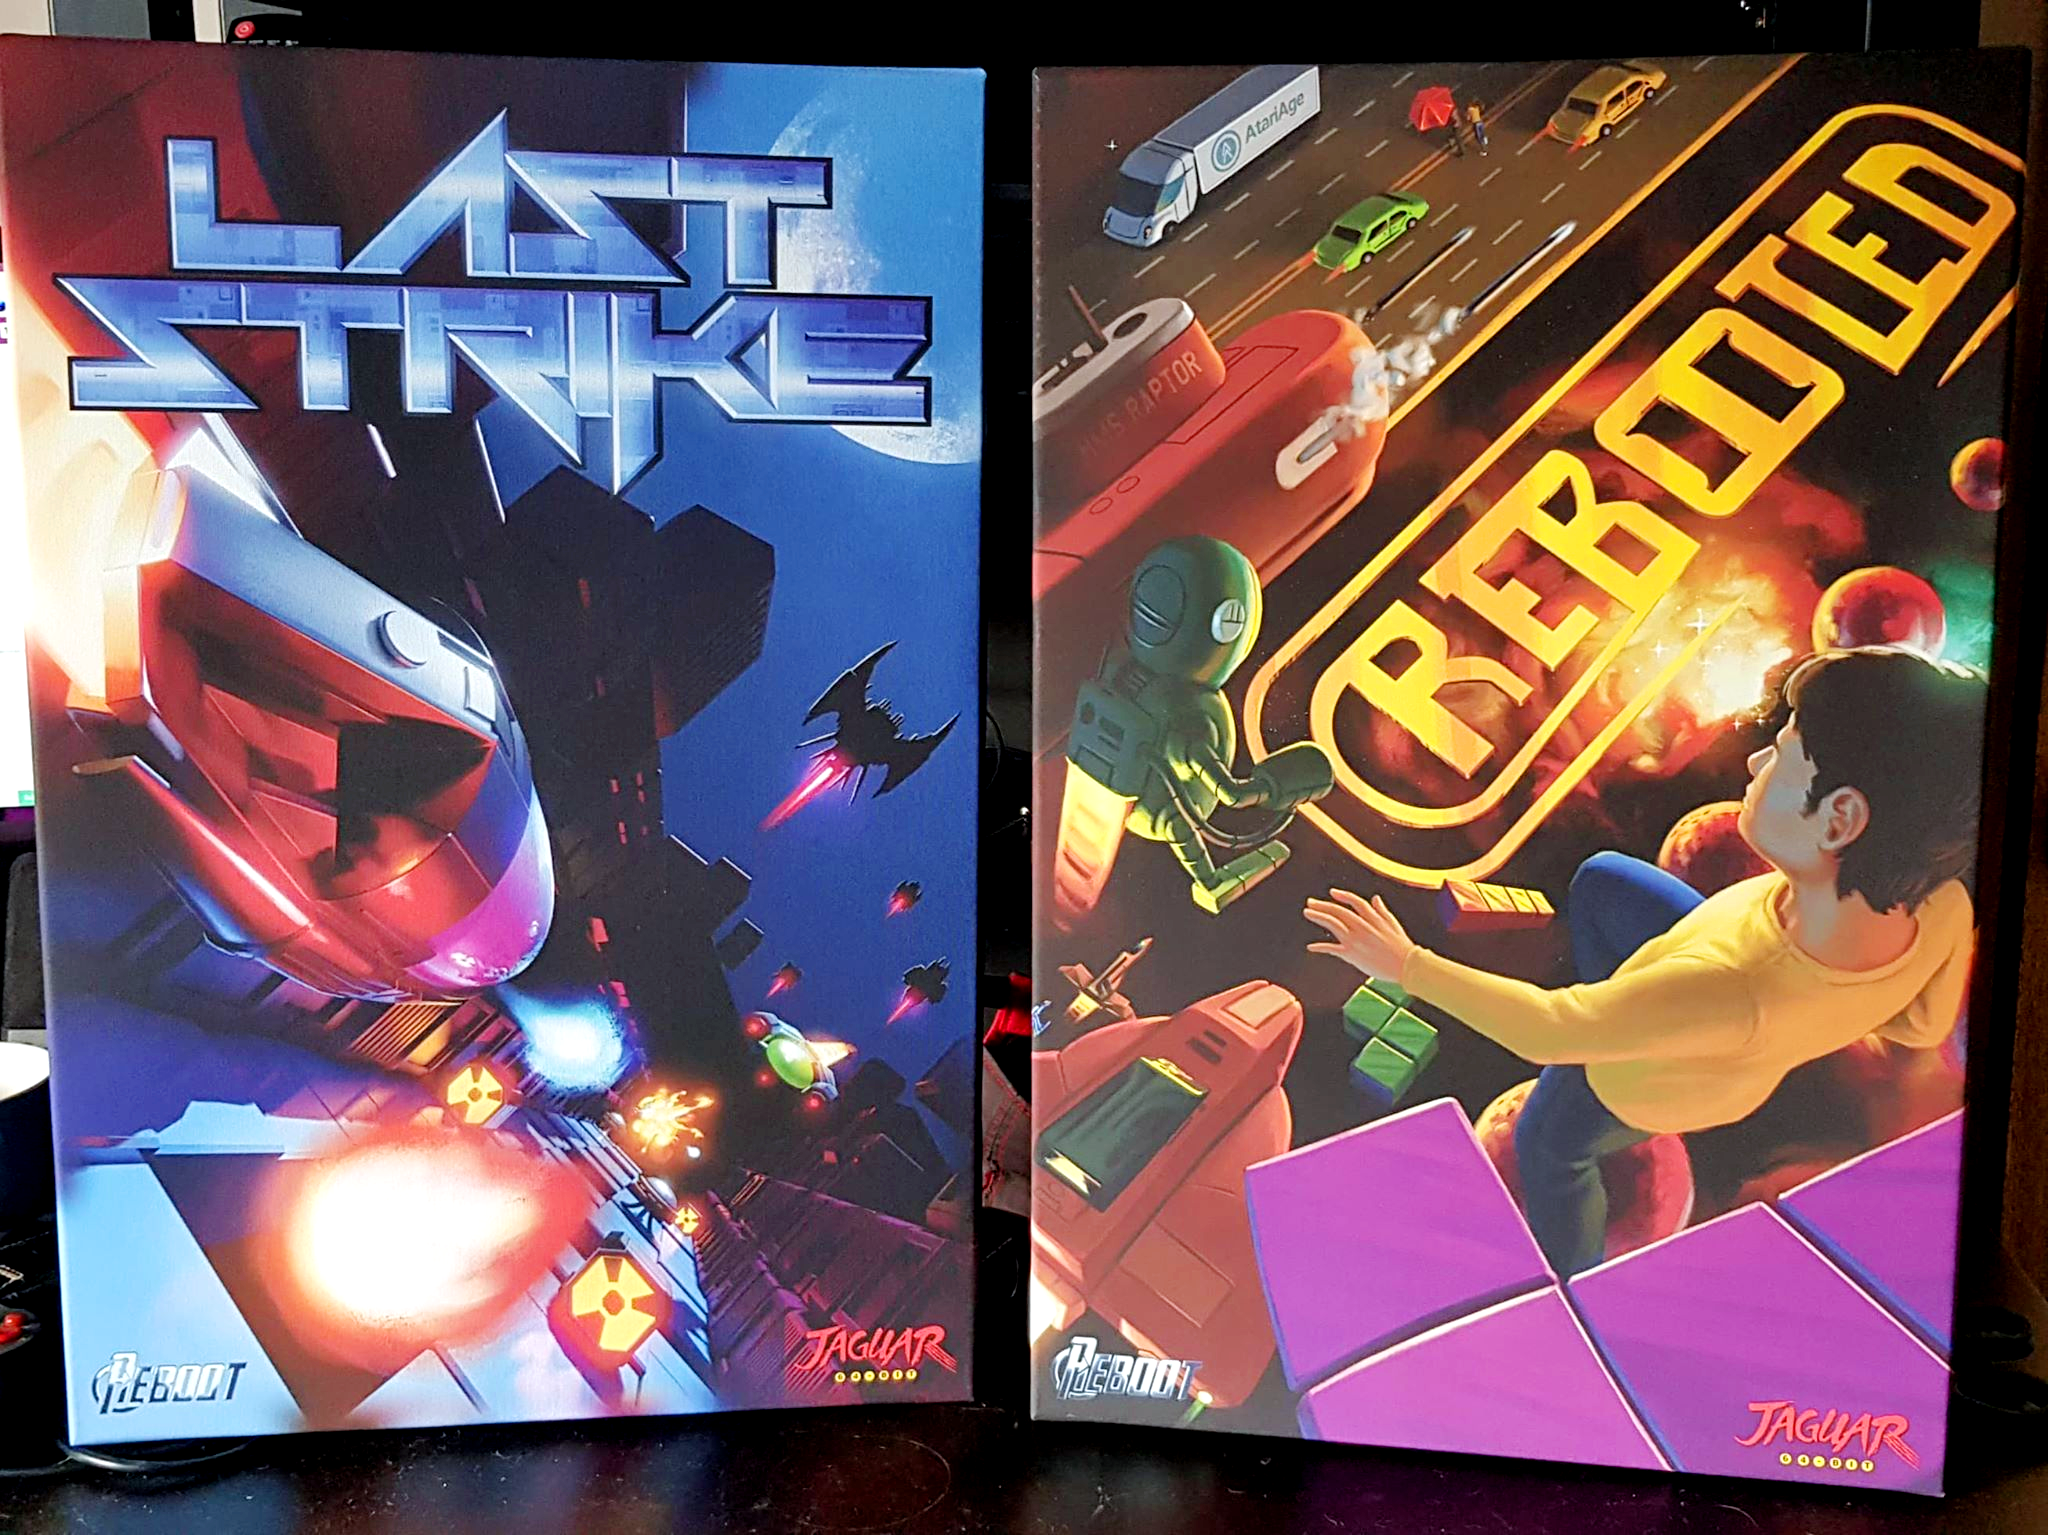
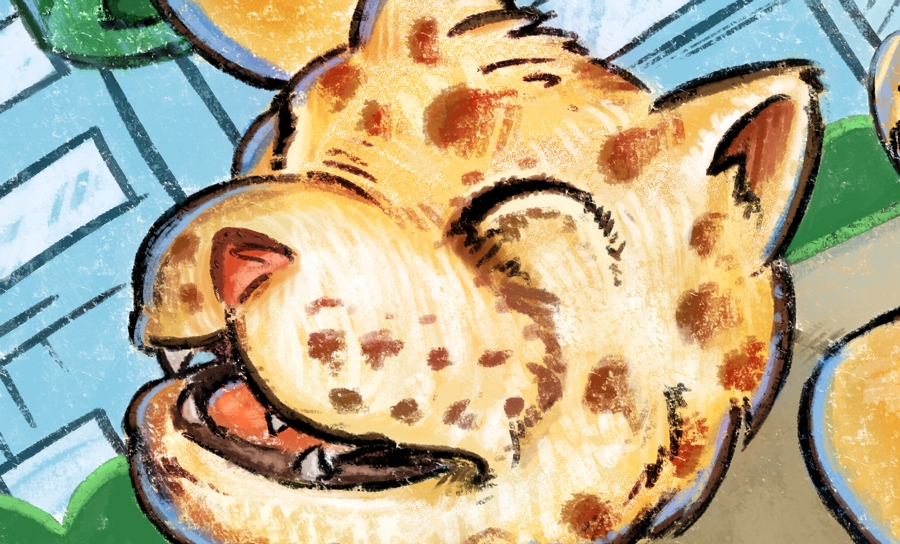
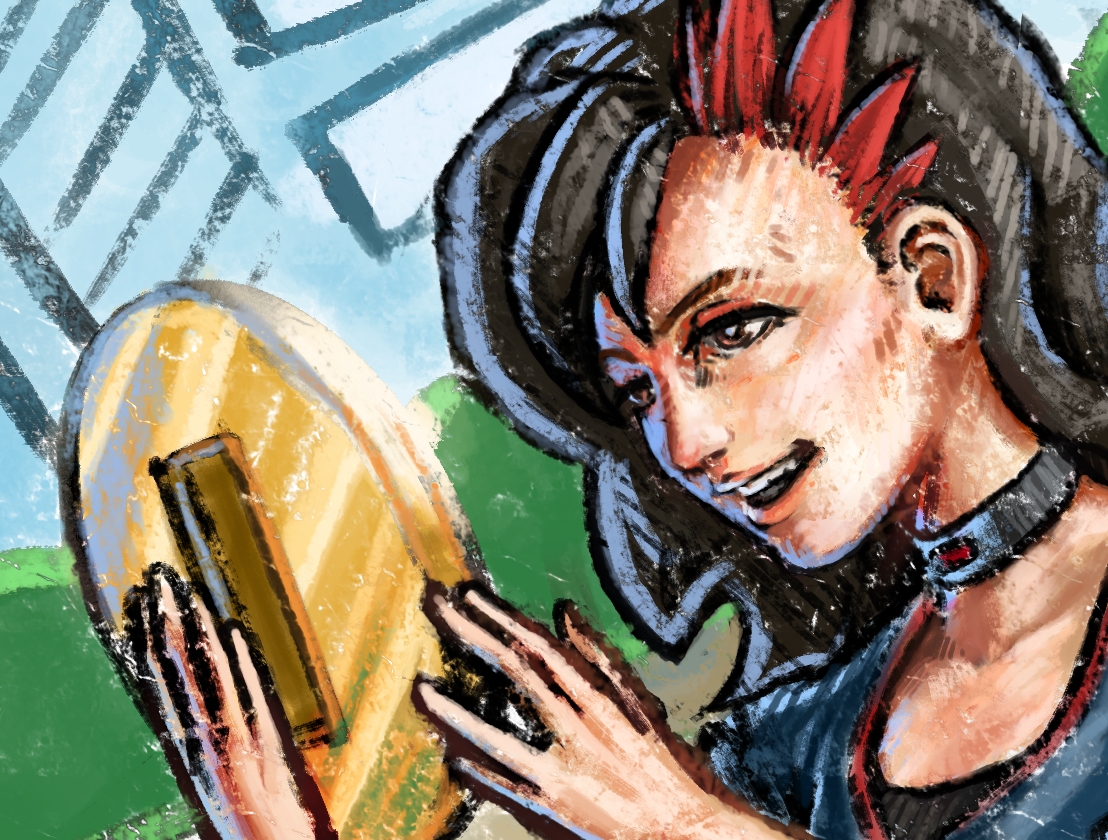
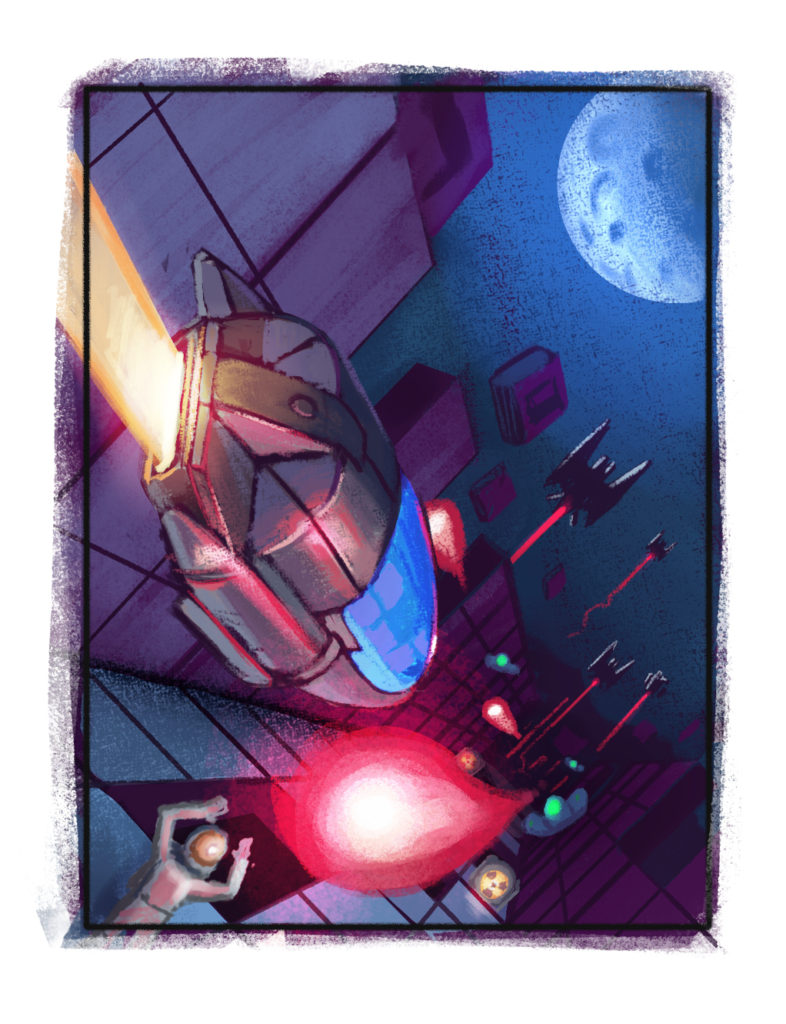
    I decided not to go with a strictly painted process and instead decided to use Blender to generate a pre-rendered base to work from. Building the models for the ships, the corridor, and other objects ended up taking up as much time as it would have taken just to paint them from scratch in Krita. But I believed that starting with a very clean and synthetic base to paint from would lend itself to the sci-fi feel of the game, while still giving me the freedom to add more organic edges here and there. Organic things like the people, blasts of energy, and the moon, contrast in form and silhouette with the more refined edges of the walls, floor, and ships. Creating a nice tension that plays well with the action of the scene.

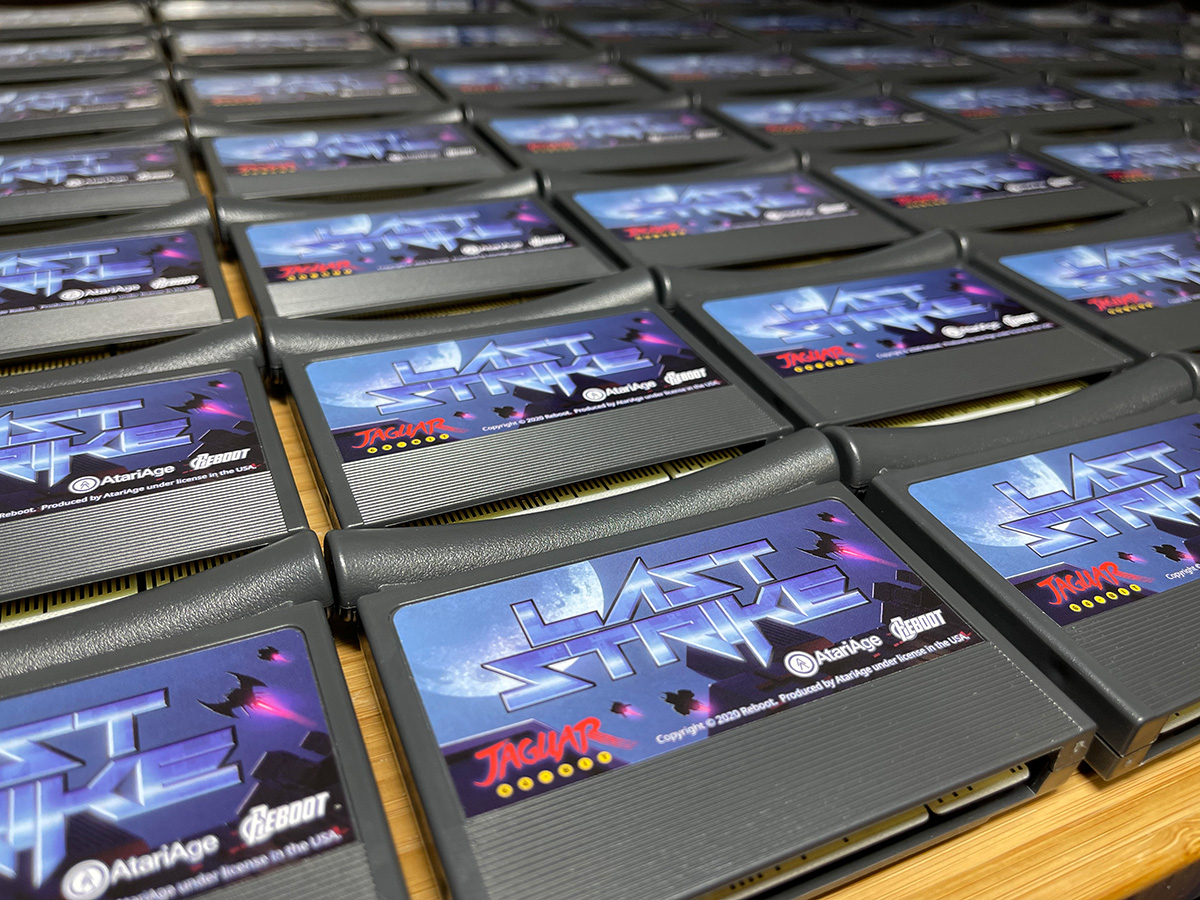
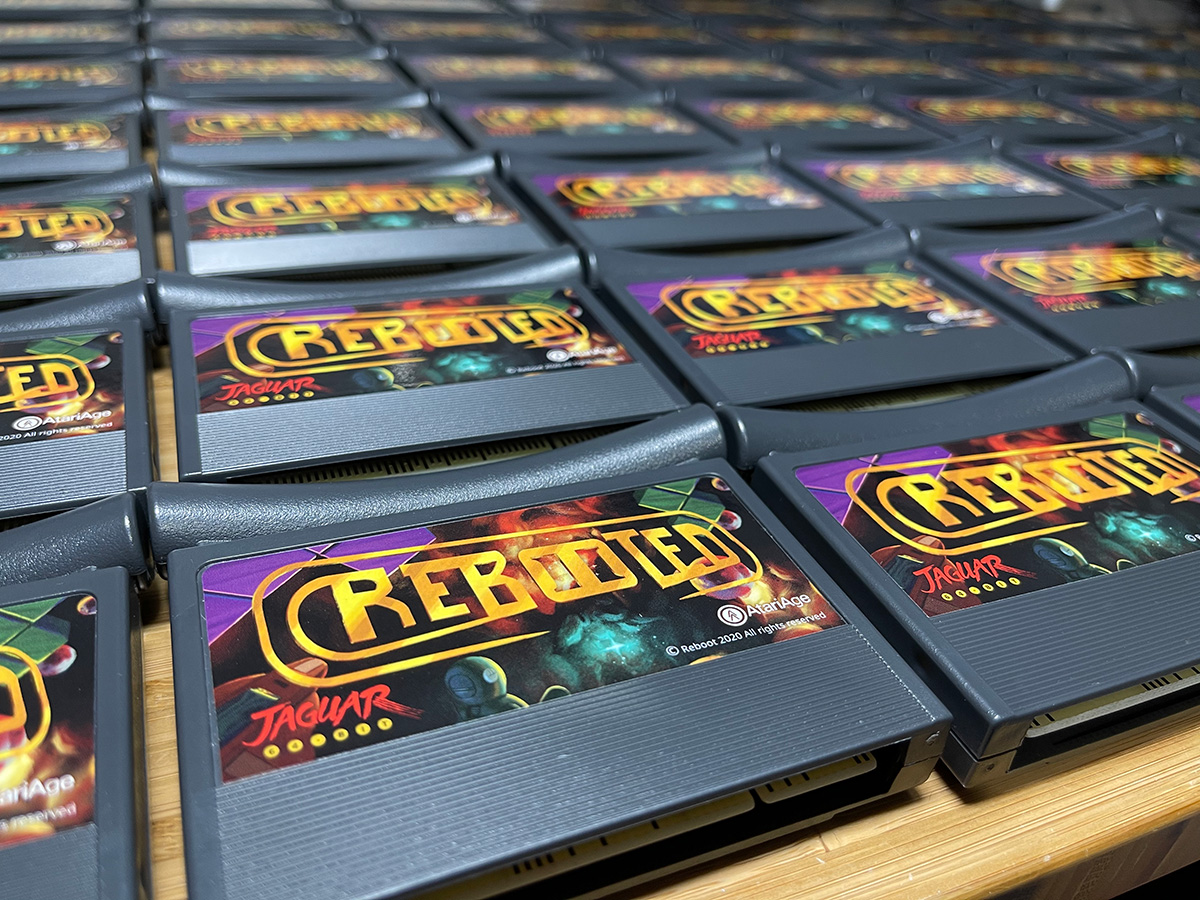
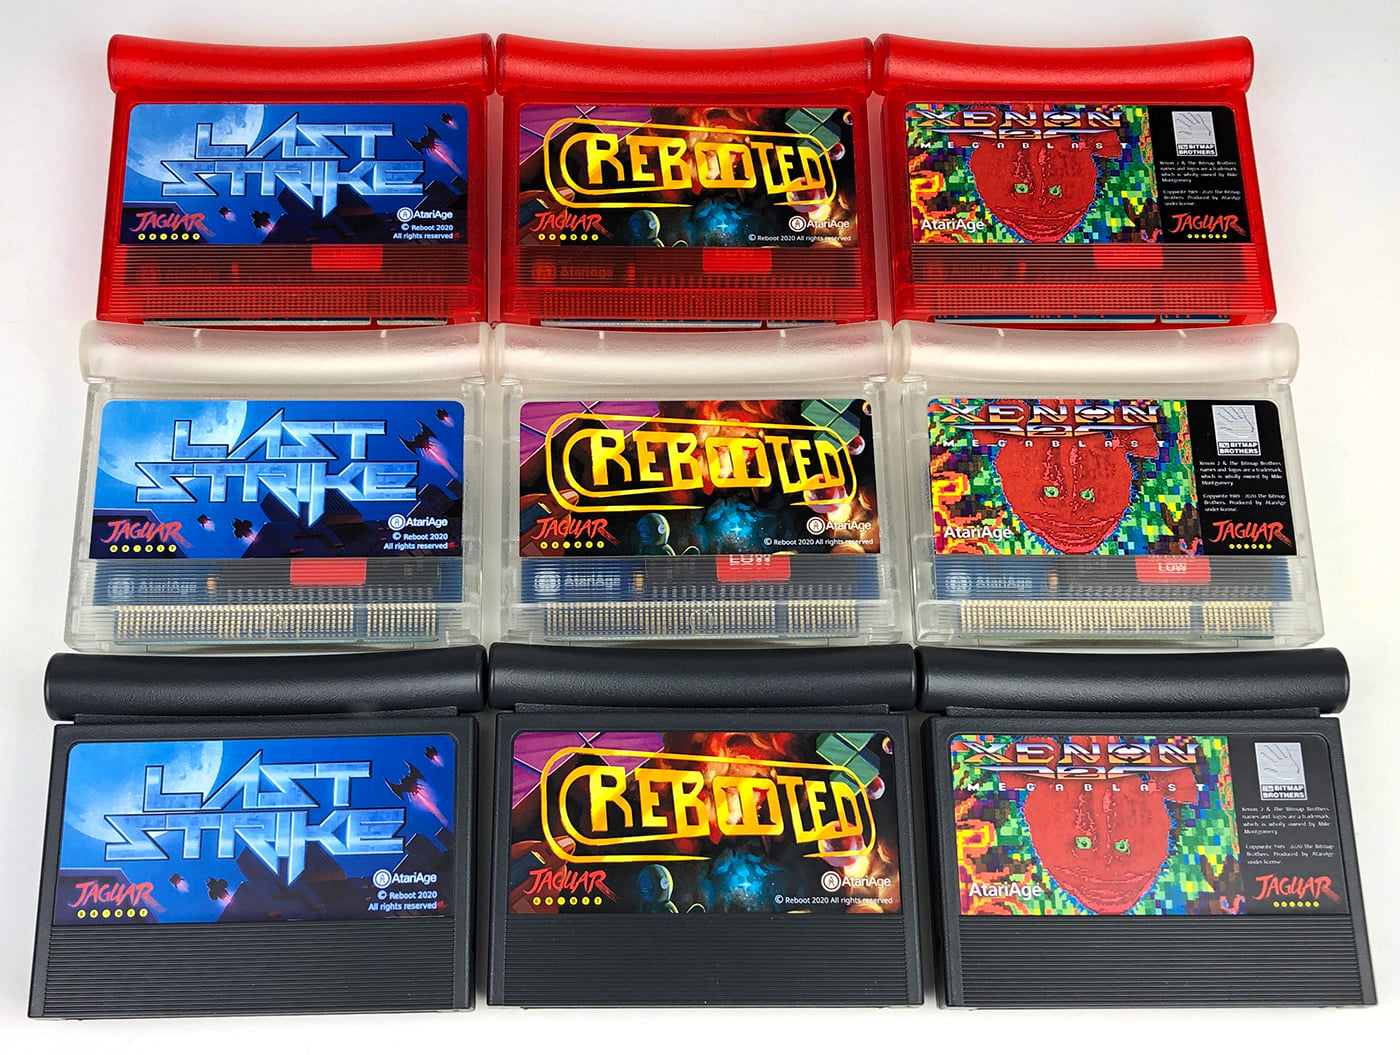
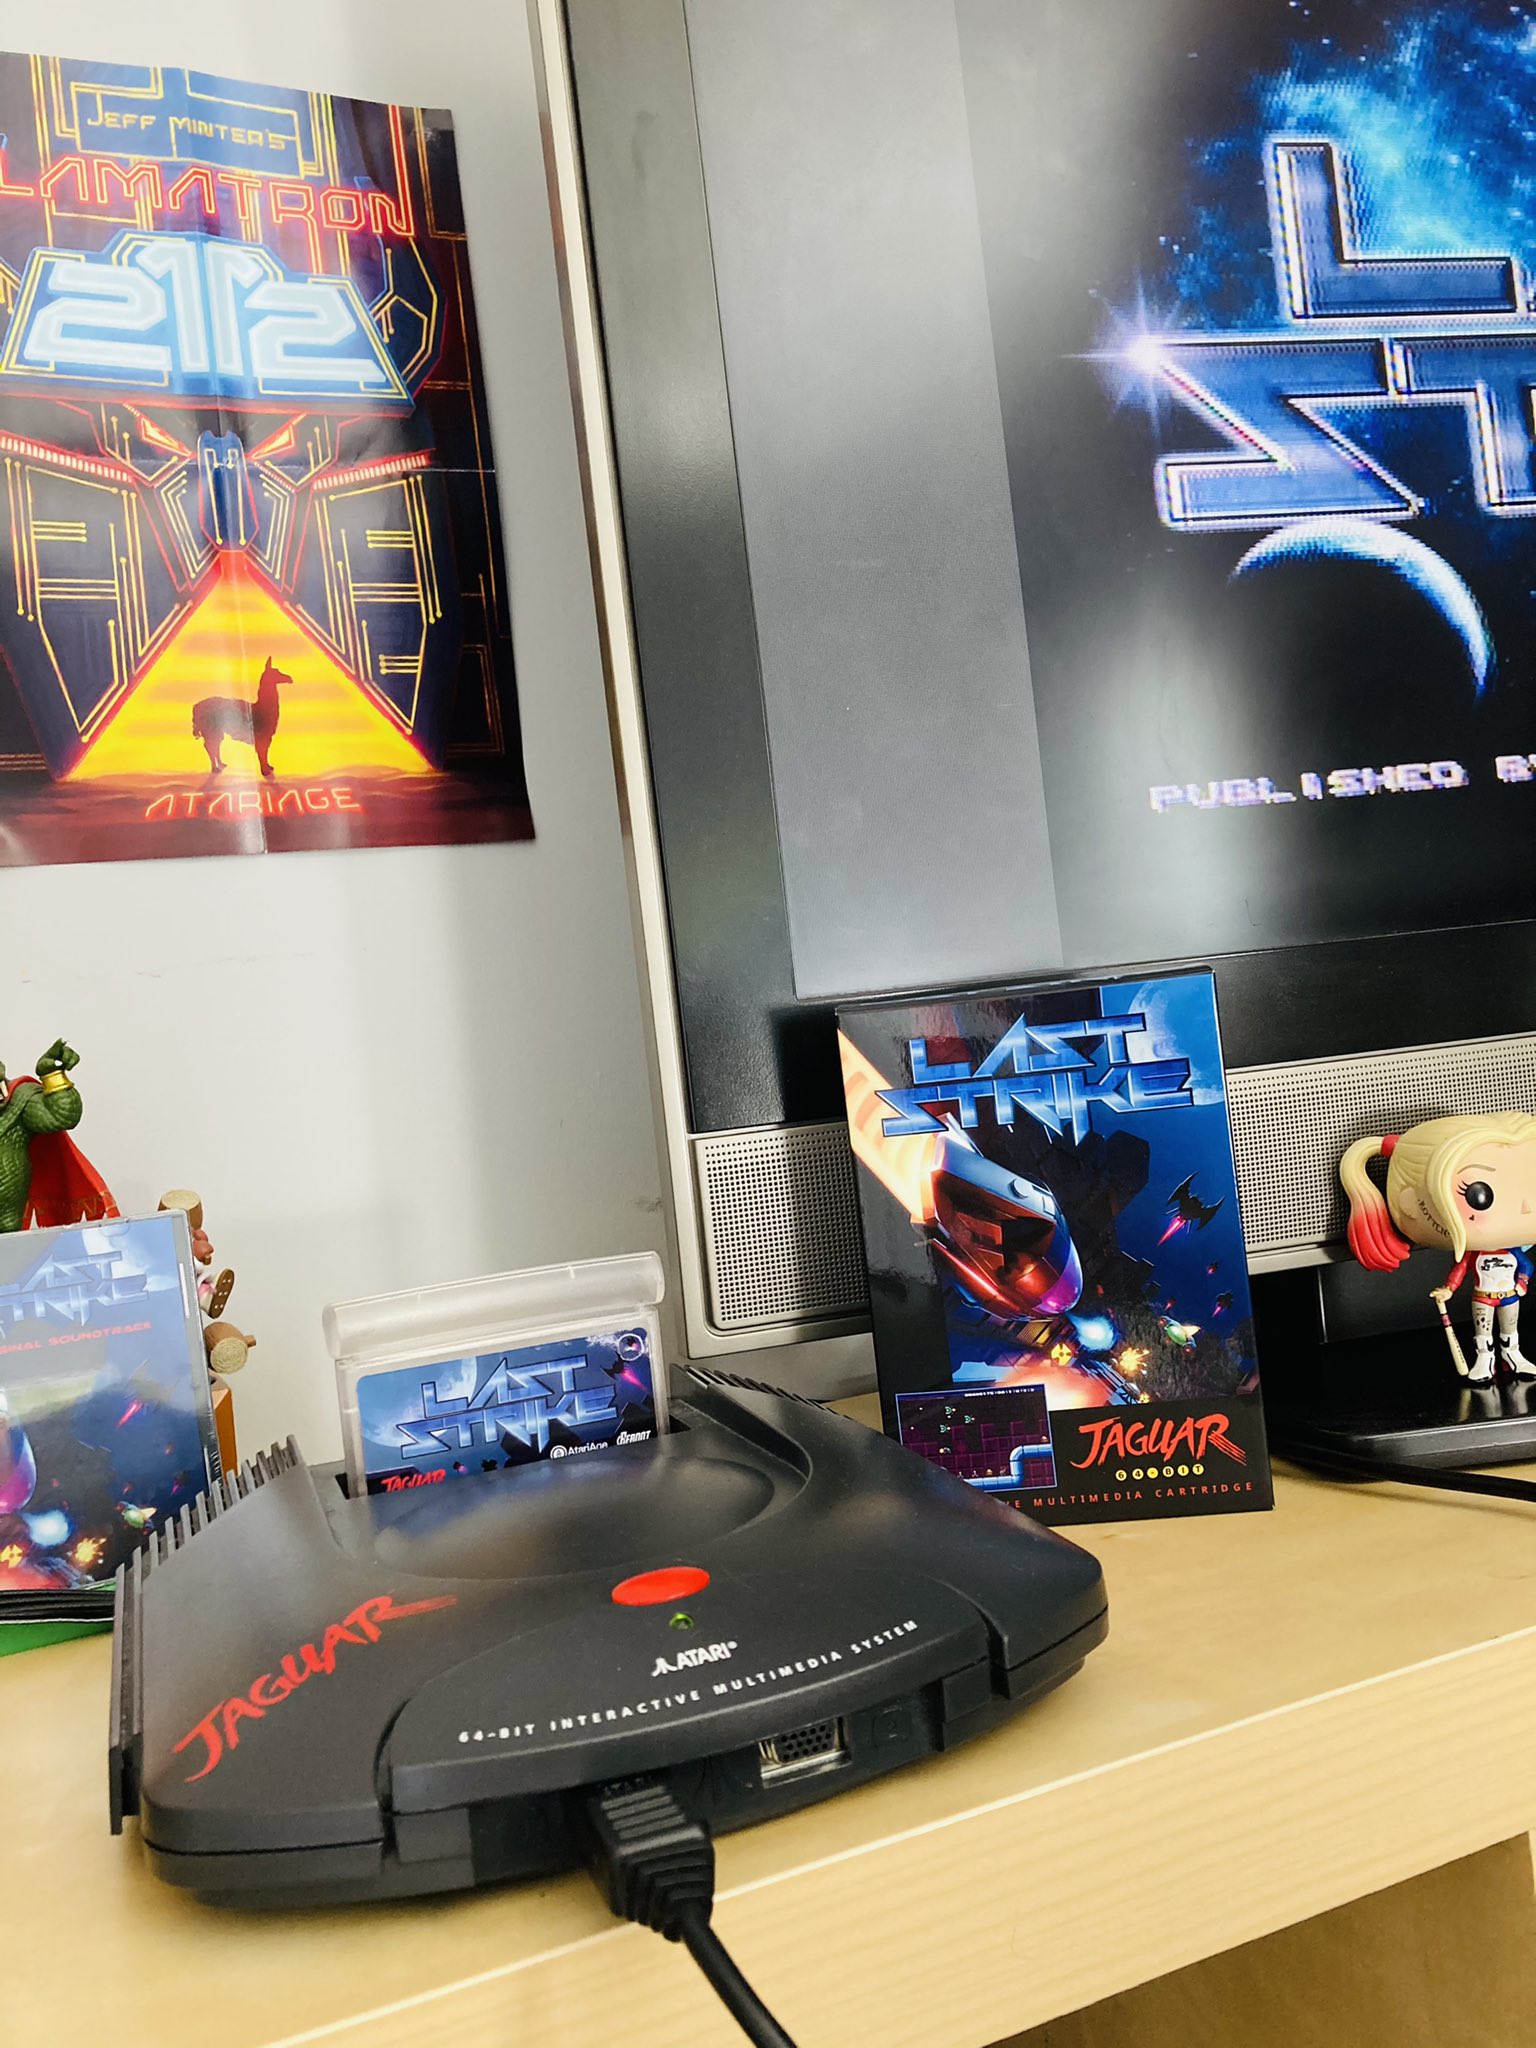
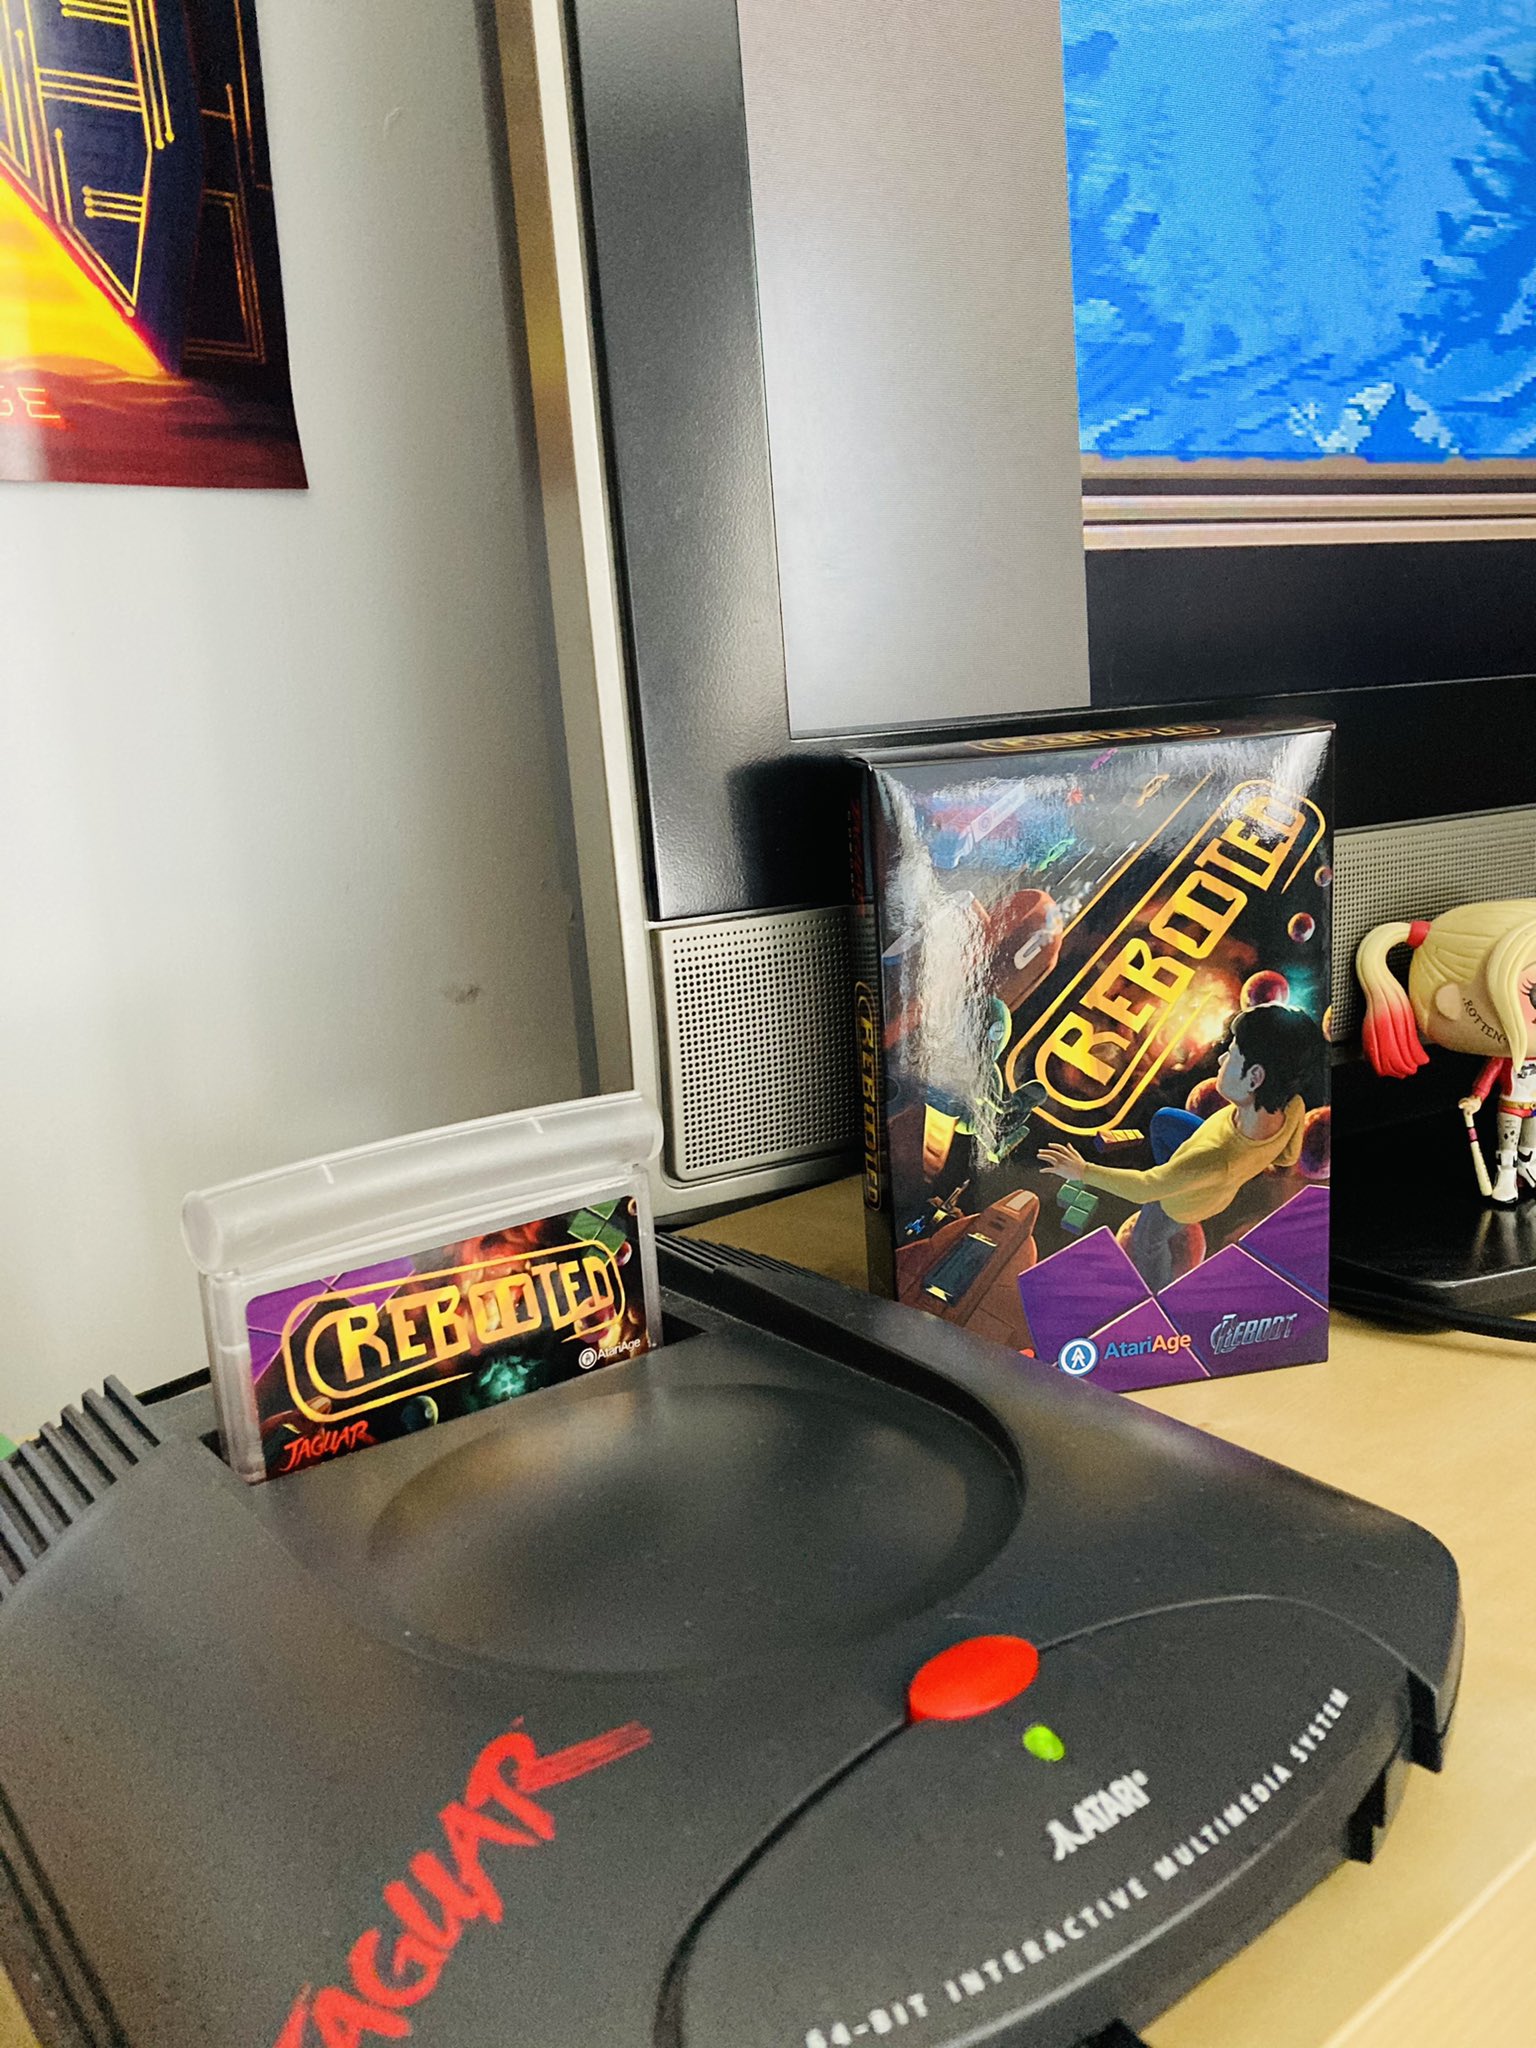
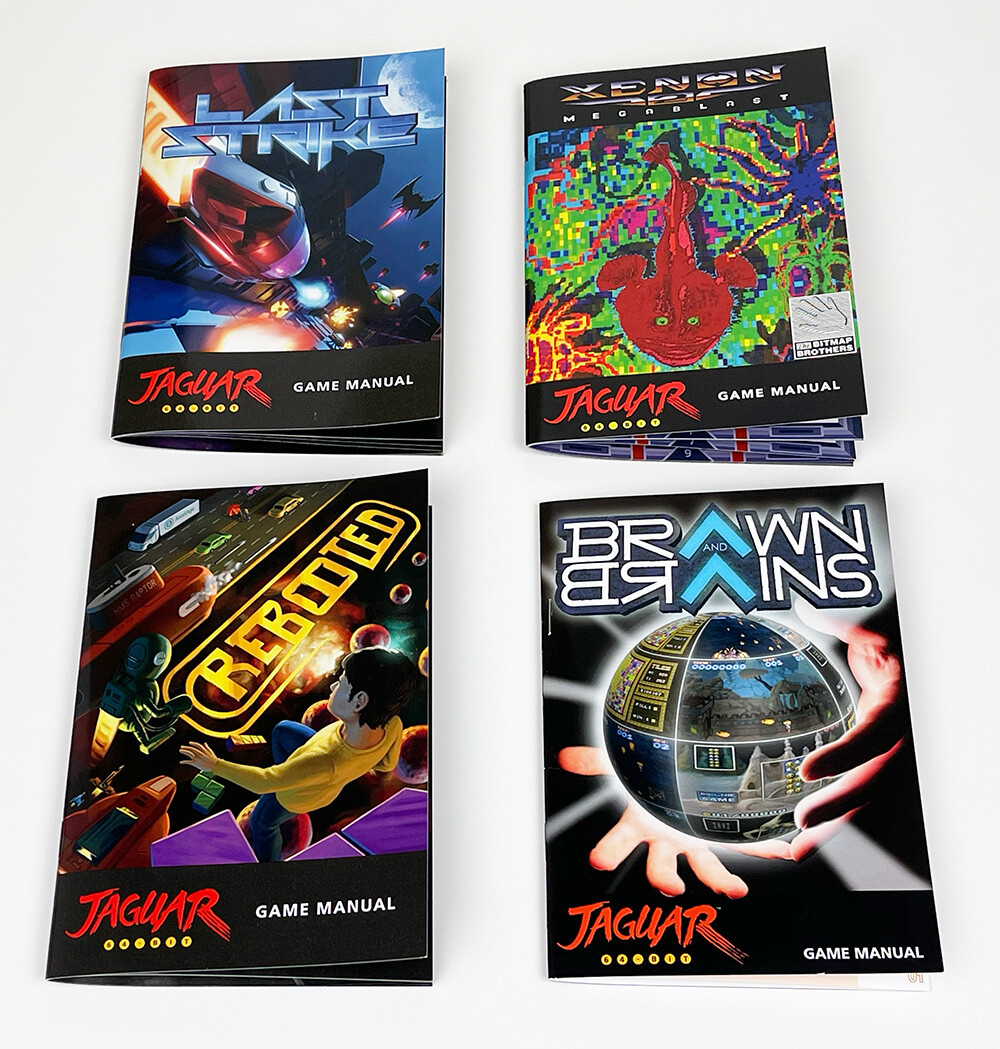
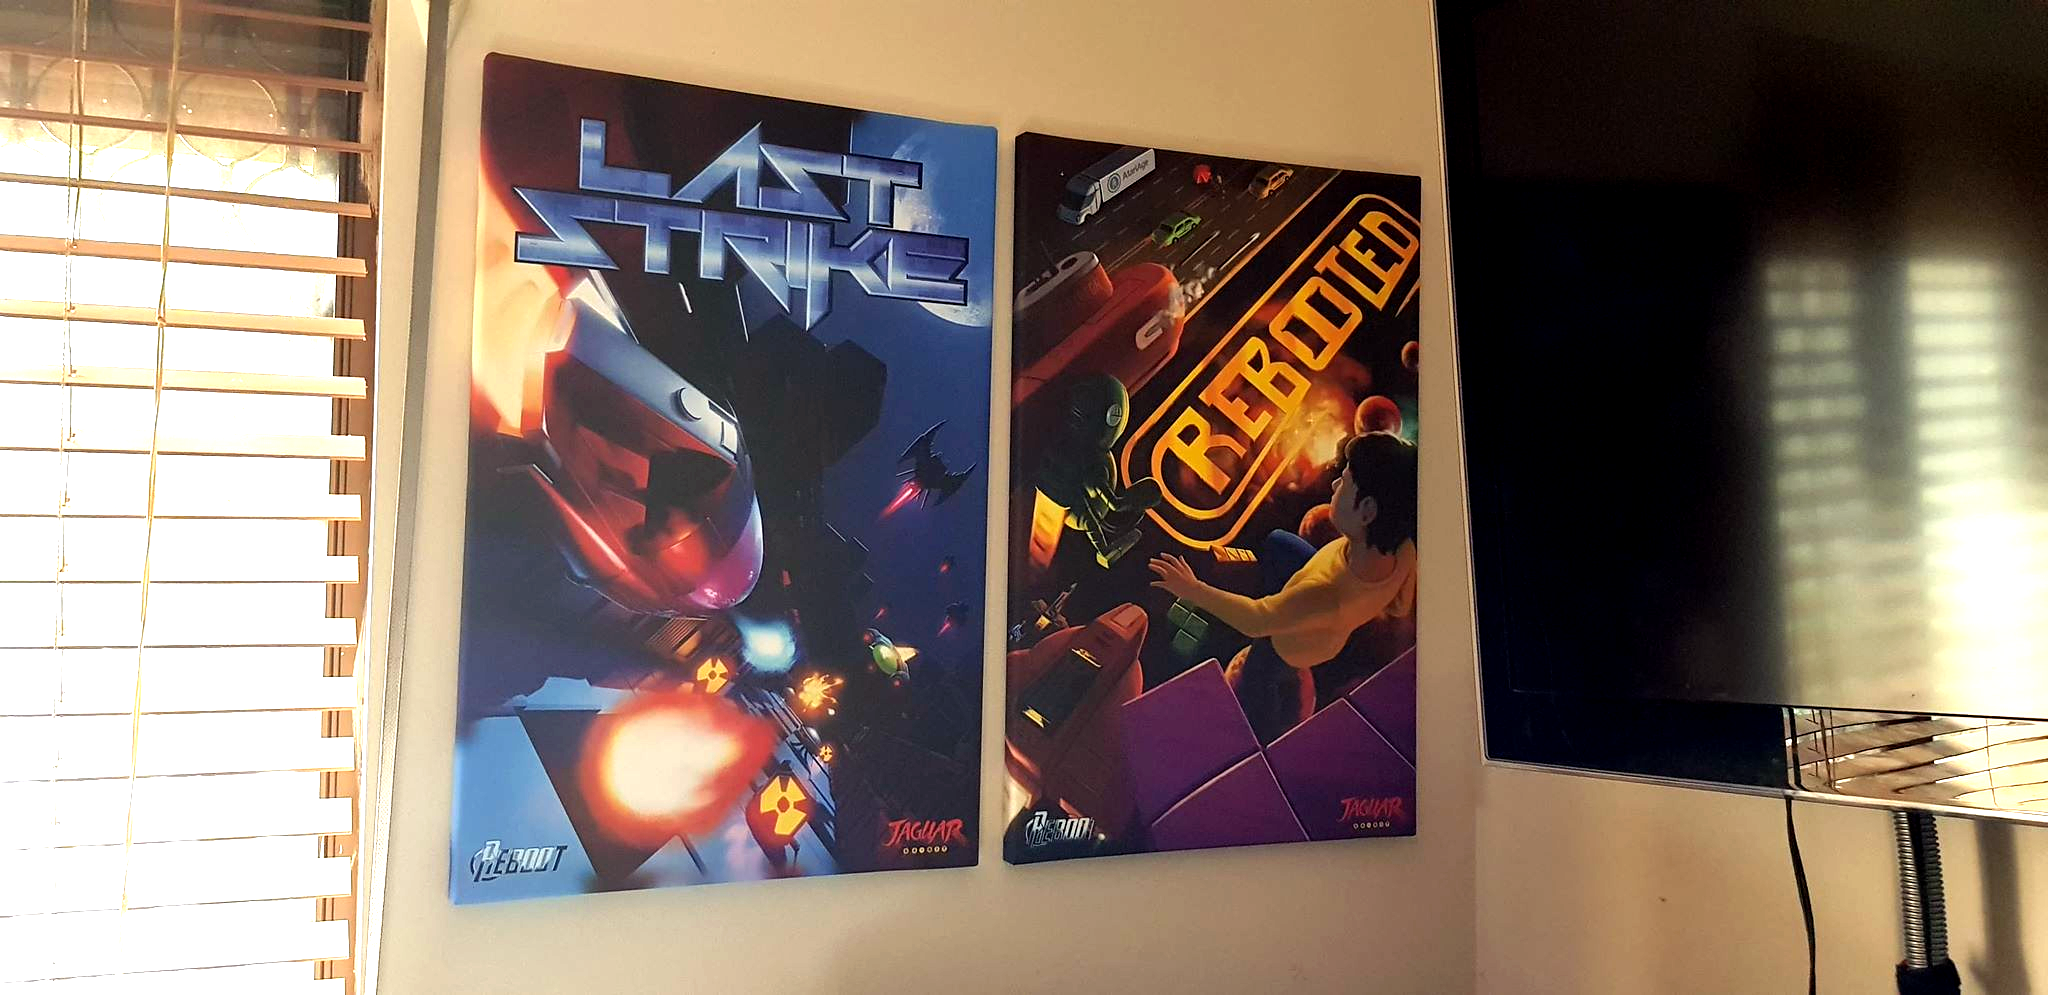
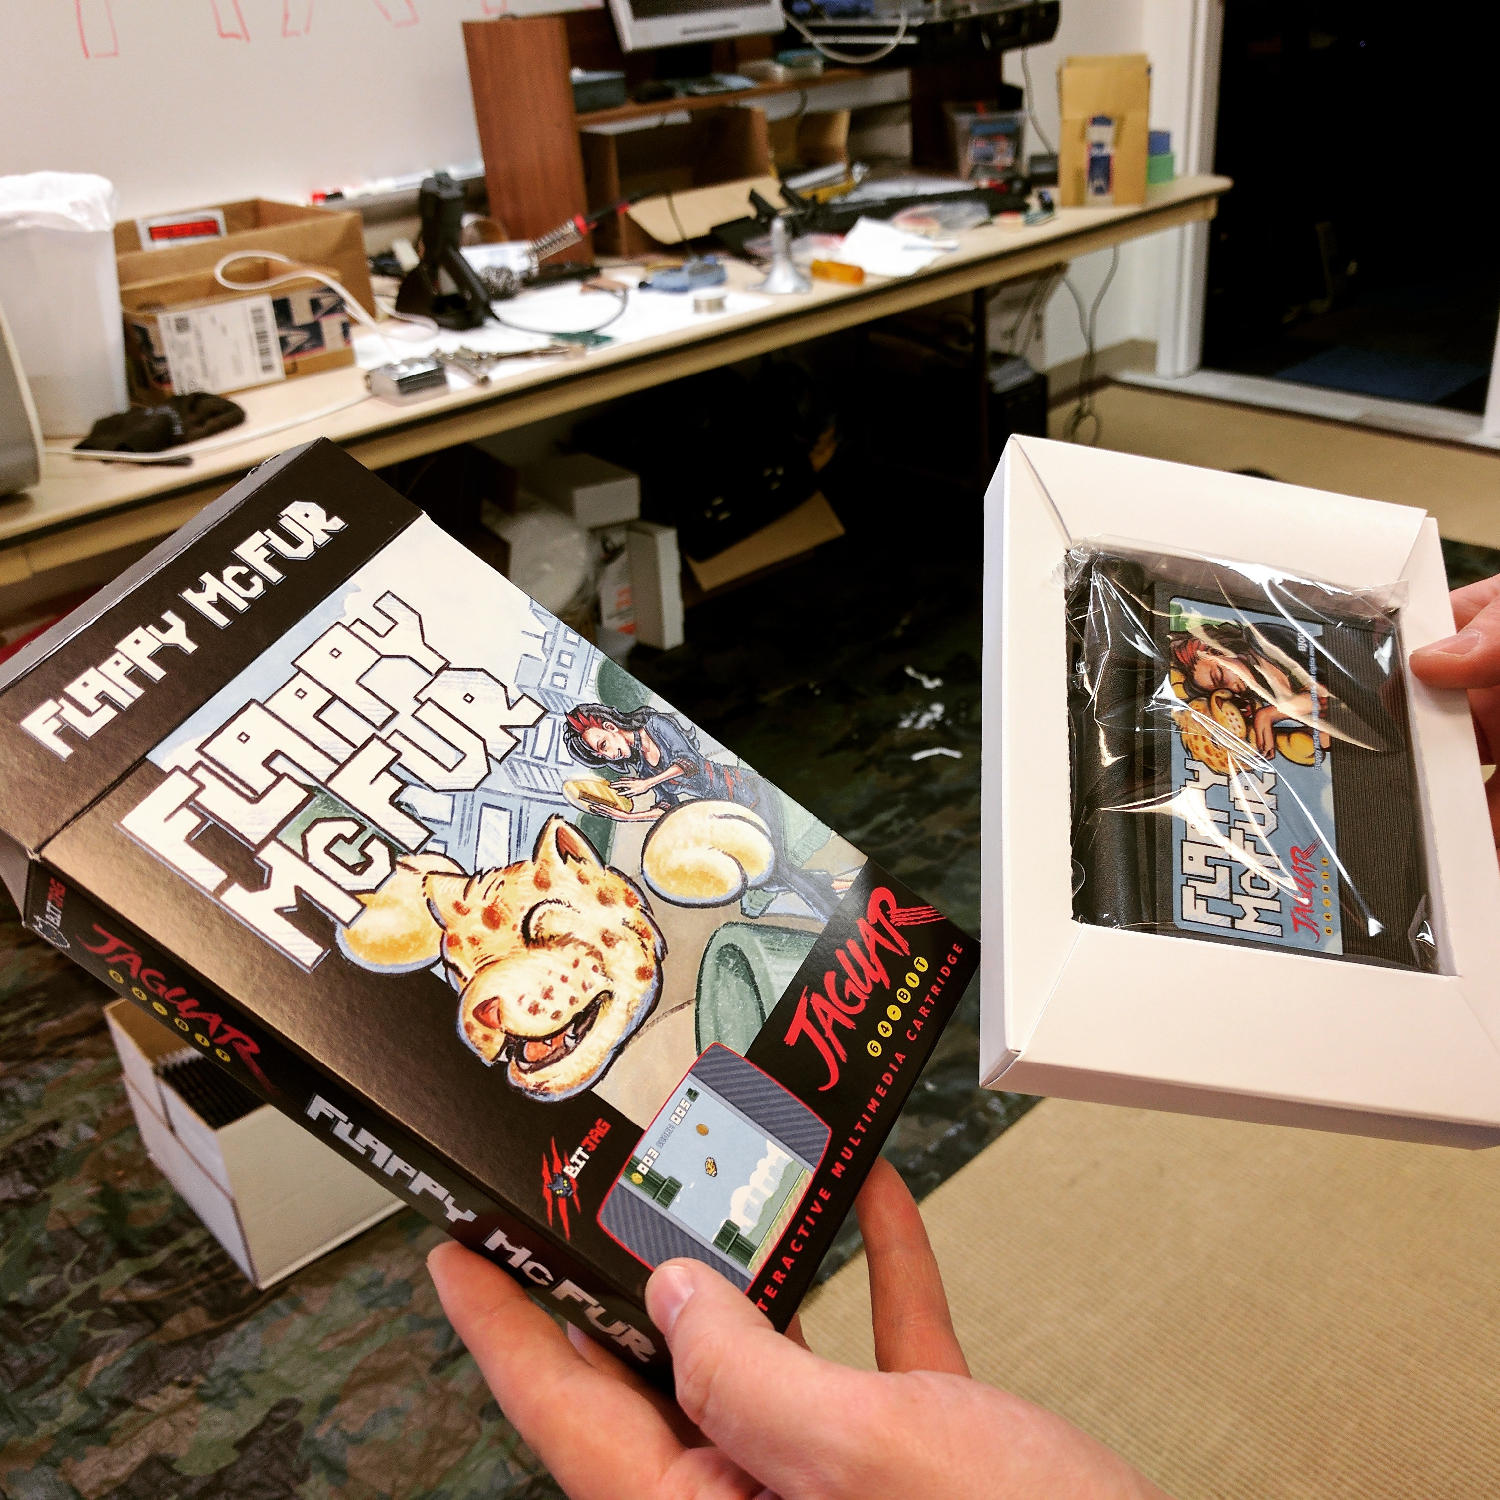
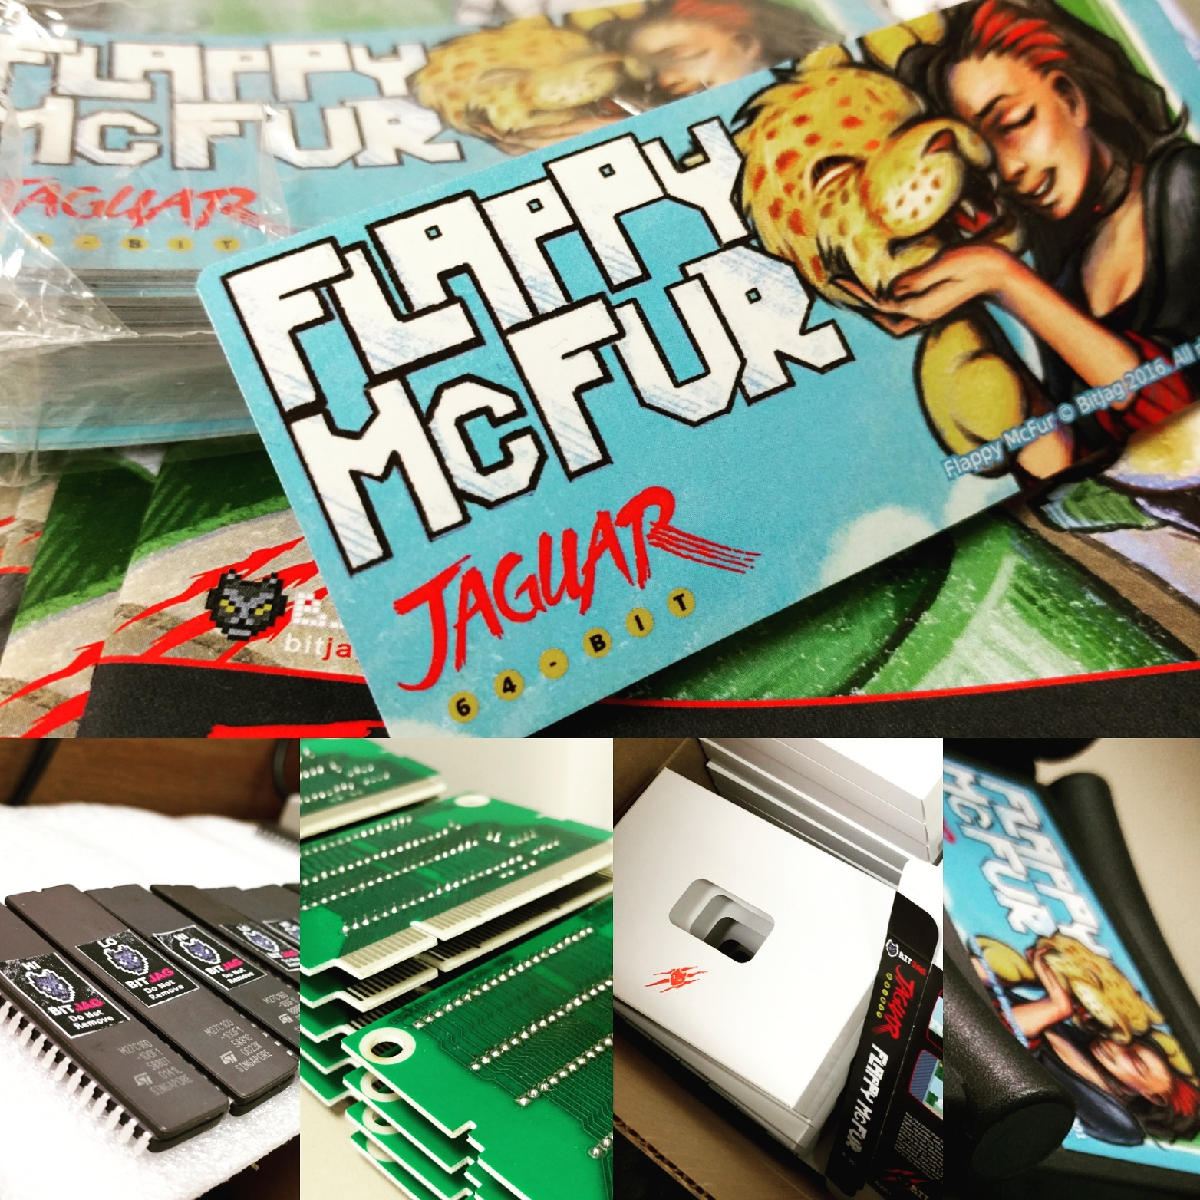
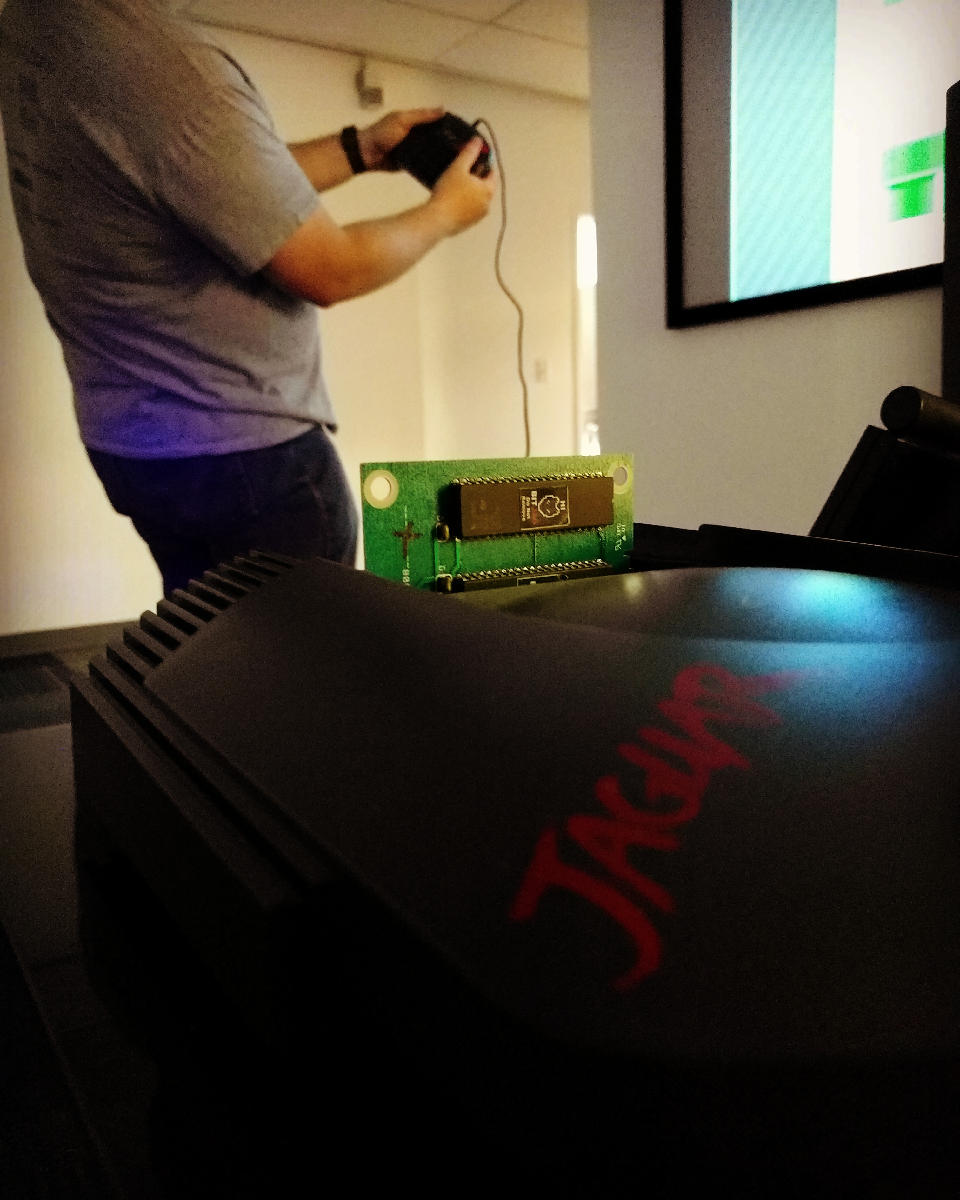
    I want to avoid posting final artwork here, but here is a render of that same 3D template that was used in previous steps of this process along with a time lapse of the process after the final thumbnail sketch was produced. Along with the box and cartridge label, I also assembled the manual for the game along with some basic cover art for the CD soundtrack. Also below are some pictures taken by Albert of AtariAge, Lawrence from Reboot, and a few people on Twitter who have already received copies of the game.

    I did have the opportunity to play the game during play testing. I want to avoid doing a lengthy review, since I am sure the game has gone through some changes since then, and my unavoidable bias due to my involvement. I do highly recommend the game if you like shooters though. In regards to variety it is much better than Raiden, but it is not quite as serious in tone. Having a fun edge to it, along with some good boss fights, it’s definitely worth adding to the collection. It gave me strong vibes of Blood Money for the Atari ST, one my childhood favorite games. Reboot knows how to make fun, high quality release, and it was great to be a part of that.

  • RETROKOMP |  Cover Art, Inktober 2016 & Flappy McFur Articles

    RETROKOMP | Cover Art, Inktober 2016 & Flappy McFur Articles

    I reached one of my 2016 goals! Get my artwork published in a third party publication of some sort. That publication is RETROKOMP, a quarterly printed retro gaming/computing magazine out of Poland.

    A good fellow named Piotr contacted me and requested to use a piece from my 2016 Inktober Atari Propaganda collection for the cover of their Q2 issue. Eager to make the piece they requested look as good as possible, I made some slight alterations and polishes to the original piece, and then submitted my artwork, along with any other images they need for their articles.

    Their articles featured my Inktober 2016 Atari Propaganda artwork, Flappy McFur, and some of BitJag’s on-going projects. Below are some images of the publication along with the articles. Too bad I can’t read Polish, I hope they aren’t ripping into my work. Either way, I am incredibly thankful for the opportunity, and can’t wait to see where this publication goes.

  • Tales of a Jaguar Head | Flappy McFur Atari Jaguar Homebrew

    Tales of a Jaguar Head | Flappy McFur Atari Jaguar Homebrew

    Three years of learning. Three years of programming. Three years of drawing. And it all should have taken three weeks. Flappy McFur is finally in the hands of the masses, or at least the 80 or so individuals that were actually interested.

    The beginning

    Atari Jaguar programming has been something that my brother and I have been interested for years, and ever since returning from my church mission from Taiwan, I have made it a primary goal.

    With the formation, branding, and online presence establishment, all that was left was for me to learn a bit of programming, and start making games. To help facilitate the programming learning curve, we took on a request from Paul Westphal to put together a demo specifically for his booth at the Portland Retro Gaming Convention.

    Programming at this time wasn’t completely foreign to me, but C programming was. So this little demo was a great opportunity to start my C coding adventure, and it led well into Flappy McFur.

    Development

    Version 0.3 was the first fruit of my efforts, and the fruits were bearable. The gameplay was there, but it was far from enjoyable. McFur moved around more like a horizontally locked fly than a disembodied Jaguar head falling in style. But, the core gameplay was there, and this little demo was well received by those out there who look out for anything new for the Jag.

    After the demo though, there was polish. I planned out menu systems, with a simple achievement system. Worked out four different play modes that changed the speed of the game and how the pipes behaved. With Bryce’s help, a simple text engine was implemented to facilitate menus, and he also implemented the save code system. All of this along with an end game made Flappy McFur a much more noticeable product and a more enjoyable experience overall, with a bit of depth to the gameplay.

    Development also included some play testing. Usually I would setup our Jag-In-A-Box at family parties, Draw Nights with friends, or just let all the nieces and nephews have a go at it. It was interesting to see how some people caught into the gameplay really well, while others found it impossible. It made balancing the difficulty a bit of a challenge, this is one reason why the additional play modes were added. To try and accommodate a wide spectrum if players.

    Even though the game overall is fairly simple, there was a massive learning curve for me to overcome. Overcoming that learning curve has had its payoff though, and I feel much more prepared to takle our next project.

    Art

    Sprites and Palettes

    Though few, painting sprites for this game was a highlight if the whole experience. Working with reduced color palettes and putting together simple animations like rotations of objects and the achievements, to more complicated animations like Cutter’s run cycle, all were a joy and remind me how much I love animation in general.

    We used the Gimp primarily for sprite work. I have been using the Gimp for nearly two decades now, and it is great support for paletted graphics with a more than adequate tool set. I did use Krita for Cutter’s run cycle animation because they had recently implemented a basic 2D animation tool set in Krita, but with the lack of palettes graphics support, I still needed ti pump those graphics through Gimp to prep them for Jag. Krita is supposed to have palettes graphics support in the near future, and I am looking forward to using Krita exclusively in my pipeline.

    With all that in mind, when I actually started putting together Flappy McFur, I was a bit lazy in figuring out how to do 8-bit paletted graphics. So, for a long time, I was dealing with performance issues, especially when music was implemented. It wasn’t until late in development that most of the graphics were converted to 8-bit paletted sprites for 16-bit sprites. This was a good switch though as it allowed us to do fade transitions easily.

    Box and Manual Art

    I initially wanted to do more artwork for the game, but the 3 primary illustrations ended up working really well for our needs.

    The first illustration was used to establish the character relationship and heavily influenced the game in both tone and narrative. The colored pencil and crayon look of the artwork was intentional as well. It gave it an elementary, non serious feeling throughout, inviting everyone to come and pick up the controller and play.

    Video Content

    I tried to keep any video advertisement minimal since the beginning. Primarily because if how time consume it is, but also because of the uncertainty of actually releasing the game.

    When we decided to actually finish up the game and release, effort was spent to get a good video for advertising the game, and a good gameplay video. At the end of the day, I am not too sure how much these videos helped at the end if the day, but they were nice to have, and will be good to have for history’s sake.

    The release and marketing

    Newsletter

    In and effort to reward our mailing list subscribers, we made sure that everyone that had signed up knew about the game first, we also provided a small discount for them as well. The discount was taken advantage of by a handful of our subscribers, and is something that we will definitely do in the future.

    Press Release

    It was fun to actually learn how to put a press release together for news websites. I distributed to a handful of people, with little response. Again, this was good to get familiar with, and it serves a good historical purpose. You can read the press release here.

    AtariAge post

    We had a great response from the AtariAge community. With part of the press release and other details about the project, including videos, we began selling the moment the announcement hit the forum. AtariAge Forum Thread – http://atariage.com/forums/topic/258180-flappy-mcfur-homebrew-now-available-to-order/

    Before people actually had the game in their hands, many of the comments were about the pixel art, and general support for the release. Responses to gameplay have been… mixed, maybe. Its hard to tell if people don’t want to say anything bad about it, or they are just a bit frustrated about its’ difficulty. Either way, below are a few reactions for the AtariAge forum thread.

    Hyper_Eye

    My wife and I enjoyed spending the evening playing Flappy McFur a couple nights ago. It’s certainly addictive. I found myself getting the controller back less and less. My wife and I probably haven’t played Jaguar together in 10+ years. She buys me Jaguar games as gifts and watches me open them. Maybe she’ll watch me play a bit. It was nice to actually play together. Thanks for the effort you put in to it!

    Swansea_Mariner

    Wow this game is hard, I just can’t get past pipe no. 9! I really like the dogger mode.

    Saturn

    Thank you (all) for this wonderful addition to the Jaguar library. Hope to see more.

    Reviews

    By way of reviews, we did have one website review and one YouTube review. Both favored the game. Thank you for the reviews! Links below.

    A small mention on the Retro New Roundup – https://youtu.be/FfeYMKsktFM?t=3m22s

    A more full written review on a more official news website – http://thegg.net/retro/atari-jaguar-gets-a-brand-new-homebrew-game-called-flappy-mcfur/

    A fairly thorough video review done by crusherbad64 – https://www.youtube.com/watch?v=5lo5AHXrhCU

    A nice little mention of Flappy McFur on a French Jaguar fan blog – http://jagfan.canalblog.com/archives/2016/11/03/34517203.html

    Other Social Media Posts

    Links

    Flappy McFur BitJag Project Page – http://bitjag.com/project_5.html

  • Inktober 2016 | Atari Propaganda

    Inktober 2016 | Atari Propaganda

    Another month of Ink. With the theme of “Atari Propaganda”, I am focusing on creating ads featuring Atari video games, and young people (particularly young women) enjoying those video games. I will post each piece as I finish them here. Further down the page are also links to time lapse videos for each piece.

    Goals

    • First, the nostalgia factor. I want to create work that any Atari fan can relate to. Featuring product from the 80’s and 90’s, with ad design reminiscent of the era as well.
    • Design each illustration with women in mind. Explore the question, “What if video game ads of the late 80’s, early 90’s, focused on both the male and female demographics, as opposed to just the male?”.
    • Produce a piece of artwork for each day of the month of October.
    • Compile Inktober’s work into a published book, available for sale. This book will include the final artwork along with process images, and will be between 60-80 pages.
    • I want to incorporate the artistic principle of negative space into my work.

    Gallery & Time Lapse Videos


    Project Wrap up

    Book Announcement


  • Atari Jaguar | McFur & Friend 3

    Atari Jaguar | McFur & Friend 3

    I haven’t had allot of time after Inktober, and getting my Inktober book together, to draw and paint. But I was able to squeeze in an hour here and there on this illustration for Flappy McFur, BitJag’s Atari Jaguar homebrew game.


    McFur_and_Friend_3_web

    The idea was simple, I wanted to depict Mcfur and Cutter moving forward together, enjoying the journey. The idea of them stepping out of the frame of the game’s world, and into another, I believe helped to convey the message of moving onto new things together. Obviously they are depicted very happy, as they always are, with McFur having his usual free spirit attitude, and cutter having a feminine but adventurous attitude about her. I feel the composition came together well, due to spending time on thumbnails, and most of the pieces fit well.

    Again, I stuck with the crayon/pastel look, as the game is very elementary and happy in nature, and the rough feel of crayons along with the bright saturated colors help bring the feeling of childhood to the piece. Krita has a couple of pastel brush I really like to use with my work, and they work perfectly to get the look I want for Flappy McFur.


    I took some time to review the other drawings I have done for Flappy McFur so fare (McFur & Friend 1, 2, and the box art), and it is interesting to see the evolution of the character design of both Cutter and McFur. It is almost like they have both grown up a bit as they have floated around mind. Subtle facial changes to Cutter, Mcfur’s shape is more worked out as well. I am sure if I ever do more drawings for them in the future, there will be more subtle changes to their designs, but for now, I do like the way they look.

  • Atari Jaguar | Flappy McFur | Box Art Illustration

    Atari Jaguar | Flappy McFur | Box Art Illustration

    This one has been a long time coming. I have always intended to update the original box art, done in Inkscape, with a nicer looking illustration. I just thought I would have gotten to it sooner.

    cd cover illustrated_2_final_web

    I keeping with the overall design of the original box art, I maintained the perspective, composition, and other key elements of the original, with only a few changes. The biggest change, and naturally the most obvious is that it isn’t vector art anymore. To compensate for the lack of scalability, I doubled my usual working resolution in Krita. I usually work at an A4-300dpi (2430x3508px). This time I basically doubled that resolution (4400x6218px), to help future proof the piece, in case we wish to do posters or banners.

    The other obvious change was the inclusion of the second character in our game, Cutter, McFur’s lovely companion turned human. Currently, Cutter’s part in the game is purely aesthetic, but there are plans in having her be a larger part in all the flapping the player will be doing. Something like dropping bonus coins or removing pipes for McFur every once in a while.

    flappy_mcfur_boxart_sample_1flappy_mcfur_boxart_sample_2flappy_mcfur_boxart_sample_3

    Now compared to the first and second illustrations done for this game, I decided to take the rough colored pencil and crayon look further, and I really liked the final result. I used two pastel brushes primarily, but I also used a couple of pencil and standard brushes when I needed a bit more detail in places. I am not worried about reworking the previous illustrations, because I feel they feel great for what they are, but finishing this piece makes me feel like doing one or two more new illustrations following this pattern. We’ll see.


    boxart_process_animation


    Enjoy the time lapse video I put together, a few close ups of detail, and have fun commenting on the differences between the old and new box art. I am also thinking about doing an extended cut of the time lapse that is about an hour long, so those of you who like to see more of my process in detail, you may have the opportunity soon.

  • Atari Jaguar | Nondestructive 50/60hz Switch Mod

    Atari Jaguar | Nondestructive 50/60hz Switch Mod

    Here is a little mod for the Atari Jaguar that I don’t think is available on the internet at the moment. I was looking to add a switch to one of my Jaguar consoles in order to switch between PAL (50hz) and NTSC (60hz). In order to test Flappy McFur in both modes. The tutorials available online all use an additional switch in order for the mod to work. Also, most of the available tutorials suggest cutting a hole in the beautiful Jaguar Console’s case. In the case of this one tutorial, you can even use a rocker switch, which looks pretty cool I must admit, but I am not comfortable with cutting a hole into my cat.

    So, during a conversation with an electrician friend, who has helped me with some other Jag related electronic issues, he pointed out that you just need to short out the point that is used to detect whether or not the console is in PAL or NTSC mode. Obvious right, this is what an external switch does. Then he proceeded to point out that the console already has an “additional” switch that could be used for that purpose, without damaging the console. That is the switch located on the RF module.

    A couple of minutes later, we had a Jaguar switching refresh rates like a pro.

    Disclaimer

    Now, the title of this post isn’t completely telling the truth. You do have to sacrifice one of the RF frequencies (high or low, I can’t remember which one…), but this is a small price to pay, and for most Jaguar owners, not a big deal. Composite or S-Video right? If you still really want to use RF, the option is available, but slightly limited. And before we start, I don’t take responsibility for anything that might happen to your console during or after you apply this modification. With that in mind, I have had this mod for about 2 months now, with no issues on my NTSC jaguar. Lets get started.


    50/60hz (PAL/NTSC) Switch Mod

    Tools and Supplies

    Tools and supplies are simple. Just a soldering iron, some solder, a wire (about 15 to 16 inches long – 38cm to 41cm), and a Jaguar console.

    Opening your Console

    Here is a quick video that will show you how to do that. Basically for screws and bending up a few tabs.

    Soldering

    First you will need to open your console, if you aren’t sure how to do this here is great video to show you how to do that. After you get access to the motherboard, you will need to remove the metal cap off of the RF modulator (the silver box near the back left of the console. This is easy enough to pop off using a screw driver or pliers. This will give you access to soldering point 1.

    Point 1 is located in the top right corner of the RF modulator box, second from the right side of the box (please refer to the picture for reference). If you aren’t worried about being perfect, you can just add some existing solder to point, attaching it to the existing pin. Or, you can remove the older solder, and then re-soelder the point with the wire attached as well.

    50_60_point_1

    Soldering point 2 is a bit trickier, and requires a steady hand, and just the smallest amount of solder. The point is located on chip U25, and is the pin located at the bottom right (please refer to the image below for reference). What I did was apply a bit of solder to the tip of my soldering iron, and then, while holding the wire to the pin, dabbed the point until the wire sticks to the pin of the chip. Try to avoid getting solder on any of the other surrounding pins, it might cause the Jaguar to produce more intoxicating fumes than it usually does.

    50_60_point_2

    Tidying up

    As you can see in the picture below, I brought the wired around the left edge of the console in order to avoid any potiention electrical problems in the future. And I used tape to hold it in place. On the left side of the RF module box, there is an opening big enough to allow the wire to pass through to the inside of the back when you place the metal cap back on.

    50_60_mod_wide


    I hope others find this modification useful. It is entirely reversible by desoldering the wire, no problem. Also, no worries about cutting a nasty hole in the side of your gorgeous console shell. If you run into problems with this mod, or think that this isn’t a good idea, please let me know. Here is a video showing the mod in action.

  • Atari Jaguar | Mcfur and Friend 2

    Atari Jaguar | Mcfur and Friend 2

    Went on a vacation to California, and had allot of time to do some thumbnails for a variety of things. I got a few together for Flappy McFur as well, and I am planning on taking those thumbs to finished pieces.

    Flappy and friend 2_web

    Not much different with this one. I approached it in a similar fashion as the first McFur and Friend. I really like the playful look of colored pencils. I wanted to do a similar background as the first one, with pipes and everything, but I was having a difficult time getting the composition to work. So, my inner designer kicked in and decided to simplify it. Taking a more abstract approach to the background, I decided just to show a sliver of the McFur’s world, as the focus should be mostly on McFur and his friend. Because I still wanted the pipes in there as well, I did a simple stencil shape of a pipe, and used that to balance the composition a bit. I really like the stencil idea, and I will probably be using it in the future illustrations.

    This is a new step in my artistic progress. As this is the first time that I have planned out a series of illustrations for a project, and carried it out. I wish to do at least a couple more illustrations for this project, to round out this series. It has been an awesome experience, planning out design elements, colors, a bit of character design. There are a couple other personal projects that I will eventually approach and hope to approach in a similar manner.

  • Atari Jaguar | McFur and Friend 1

    Atari Jaguar | McFur and Friend 1

    So, during my long hiatus from posting, many projects, many new pieces of art, have been brought into existence, through the sacrifice of time. By myself and others. Unfortunately, this includes the time that is spent putting together videos and posting on my blog. If you are consistent to my blog, or my YouTube Channel, thank you, and sorry for not being more consistent. But enough of the excuses, lets get on to the good stuff.

    bird_and_girl_web_3

    This time around more Jaguar projects, and this will be the first of a few posts. As you already know, my brother and I are involved in homebrew development for the Atari Jaguar. One of the projects we are working on is a Flappy Bird clone called Flappy McFur. There is more information on the project page, if your interested. In a nutshell, we are about halfway through development, and I am in the process of getting some art together for packaging and inserts, while my brother closes in on our end goals for the game. This is the first piece of official artwork for Flappy McFur.

    Before I get started though, just a thank you to everyone in the Thor Media office for feedback on the piece. It is always great to get feedback on my work, when I am too blind to see the mistakes.

    Because of the light nature of the game, certain design choices for maintaining a consistency across the artwork became apparent. First, match the saturation of game. Simple enough, yellows, greens, and reds are saturated, while everything else not so much (I guess that leaves my blues…) Which medium to use was a simple choice for me as well, colored pencils. I love working in colored pencil, probably the first medium I truly dove into and experimented with. Because of it’s affinity to the the look of crayons, but still maintaining the ability to create the detail I want in my drawings, I feel that it will match the mood of the game well. Also, Krita simulates pencils pretty darn well, and it feels almost as good as the real thing.


    With these few design choices, I believe the next 3 or 4 pieces will maintain a consistent feel.

    Speaking of the next pieces. I want to go with a cute and sometimes funny theme for each. Where McFur and his friend are in a playful mood. We might be incorporating McFur’s friend in the game some how. I like her design so far, but it may need a few tweaks for the game. I am hoping to put together a small comic for the game manual as well, but we we’ll see what happens there. Stay nearby, I will have a few more of theses over the next few weeks.

  • Atari Jaguar | Flappy Mcfur Pre-Release Box & CD Art

    Atari Jaguar | Flappy Mcfur Pre-Release Box & CD Art

    My brother and I have been working hard on the Atari Jaguar stuff, and new ideas, art, writting, and code, trickles into each and every project everyday. Flappy Mcfur is the first fruits of our efforts.


    flappy_mcfur_cd_lable_web

    Obviously a Flappy Bird clone for the Atari Jaguar, this program really was just a training ground for me in C programming. It was fun getting the basic assets together, and code the various aspects of game. From menus, to score keeping, and movement of Flappy McFur. Speaking of movement, it is very rudementary, and the next version will have movement more akin to Flappy Bird.

    flappy_mcfur_dvdcase_insert_front_web
    flappy_mcfur_dvdcase_insert_back_web

    The box art and CD art were both put together in Inkscape, with screenshots from the actual game. Currently we are not sure if we will actually be making and selling physical versions of the game, but I though it might be nice to give people who download it, the opportunity to put together something nice for it if they wish.

    The Pre-Release trailer was a blast to put together. I wanted something that would build up, and then let the viewer drop, realizing it isn’t anything too amazing. I really like the way the fly around with the console came out. I haven’t used lattices in 3D animation for a long time, and they poved really effective for bending the flowing text around the various contours of the Jaguar console and controller. The footage of gameplay was captured using the Virtual Jagauar emulator, and it plays almost exactly how it does on the actual Jaguar hardware. It’s such a simple game, why wouldn’t it? Also, this video, and the next one, were both completely done in Blender, with 2D assets in the Gimp.


    On another small note, Bryce noticed that out YouTube subscription counter, on the JagCorner channel, was almost to 64, and he came up with the idea for a little video to celebrate the 64th subscriber and the 64-bit glory of the Atari Jaguar. Check it out, and subscribe to our channel to keep up with other video content we will be producing in the future.